In this recipe, you will learn how to create an Azure Function for your favorite IDE in Visual Studio 2017.
Creating a function app using Visual Studio 2017
Getting ready
You need to download and install the following tools and software:
- Download the latest version of Visual Studio 2017. You can download it from https://visualstudio.microsoft.com/downloads/.
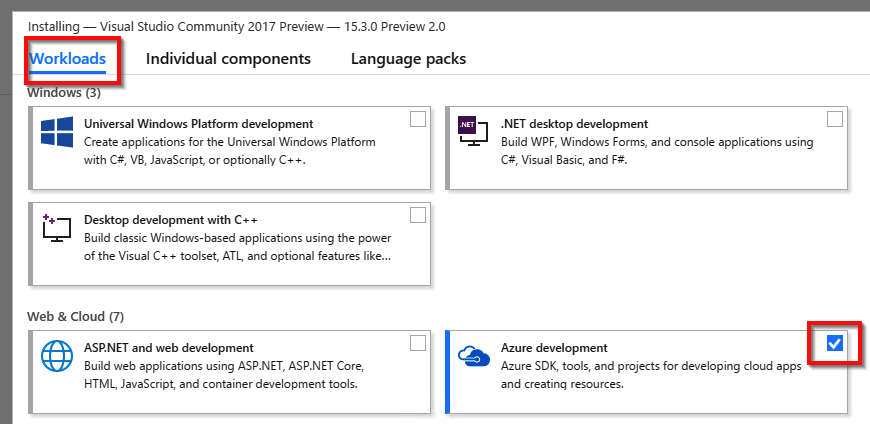
- During the installation, choose Azure development in the Workloads section, as shown in the following screenshot, and then click on the Install button:
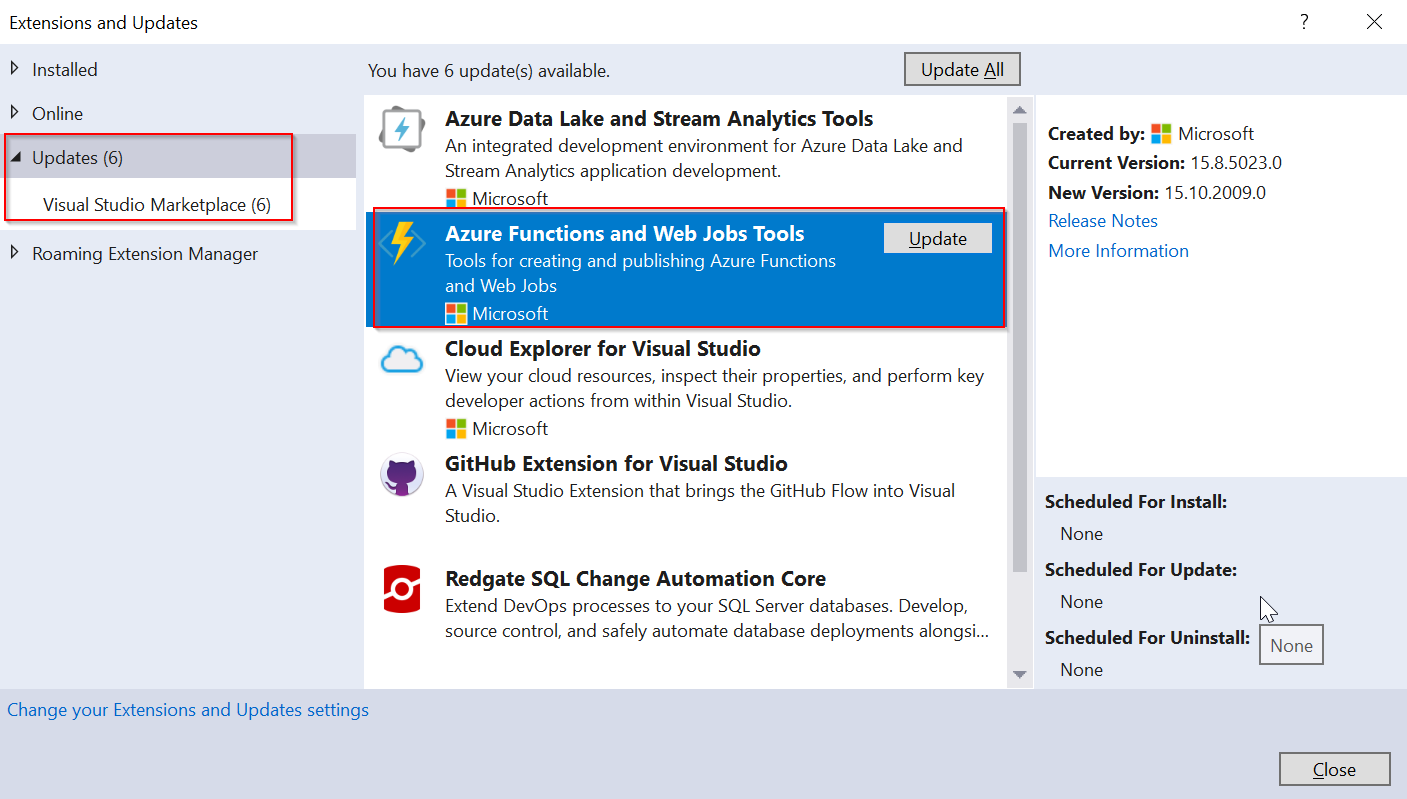
- Navigate to Tools | Extensions and Updates and see whether there are any updates to Visual Studio tools for Azure Functions, as shown in the following screenshot: