Installation procedure
Let's start with the installation of openSUSE Leap 42.2, stable release. I will use a Hyper-V virtualization environment, but any other, such as VMWare or Oracle Virtual Box, will be just fine. If you are planning to install a native Linux environment without virtualization, the steps are the same. The installation of ISO can be found at https://www.opensuse.org/. You can mount ISO directly inside your virtual machine, create a bootable USB drive, or burn a DVD. The choice is yours.
The steps for the installation of openSUSE Leap 42.2 are as follows:
- The welcome screen will show up after the initial boot procedure from USB drive, DVD ROM, or ISO image directly as shown in the following screenshot.
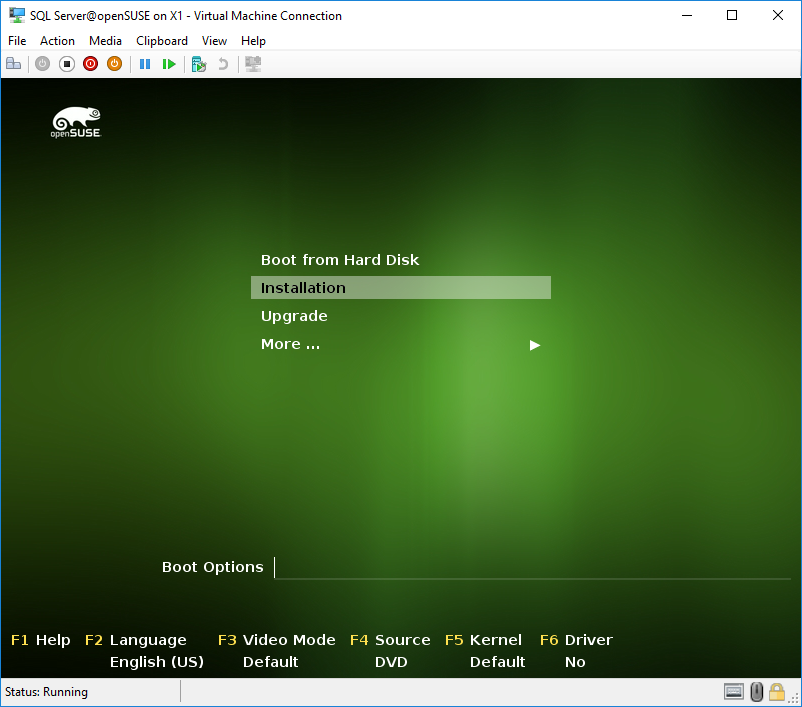
Figure 1-1. openSUSE welcome screen
- In the next step, you can choose to book from the hard drive, start a fresh installation of openSUSE, run an upgrade process of an old installation, or initialize some advanced steps. We will choose
Installation.
- Now, we pick the installation language and keyboard layout as shown in the following screenshot. You can test specific language characters if you come from non-English region. The license agreement is also there. Click
Nextafter you are satisfied with your choices.
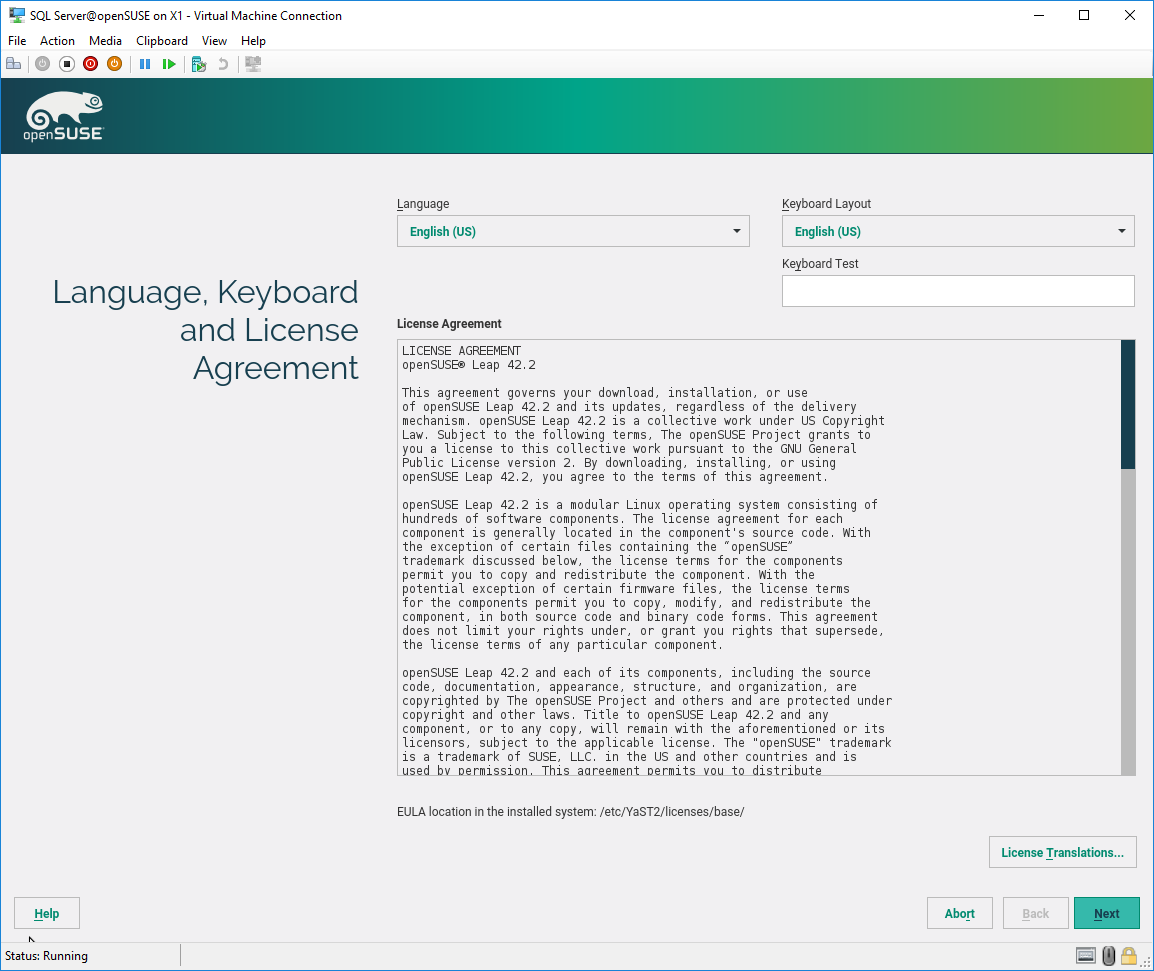
Figure 1-2. Keyboard layout and license agreement
- Linux can work without a network connection, but for full efficiency, this step is recommended. Here you will see a list of all network adapters that are recognized by the setup procedure in your PC, laptop, or virtual machine.
You can click on Next and finish network configuration after the installation procedure (if you decide to configure the network after installation, skip to the disk partition creation part), or you can do it now by choosing the network adapter name and clicking on Edit.
In most use cases, choosing Dynamic Address will be just fine. It will give you IP address, DNS, and Gateway settings. However, in some situations, you will need to manually enter those parameters by selecting Statically Assigned IP Address (In this scenario, you will need to know the DNS setting and gateway parameters to successfully configure network settings manually)
This is an important step if you are planning to use internet access in the following steps.

Figure 1-3. Set up the network
- openSUSE comes with a huge collection of software and an excellent built-in package manager, but still you can install a lot more from separate media. Also you can add online software repositories before the installation starts. If you choose online repositories, then you will need an internet connection (you can go back to configure it, or you can leave both options off and activate those options after installation).
A slow internet connection can slow down your installation and you will need separate installation media for the add-ons. If you are an inexperienced Linux user, then I suggest that you leave the network connection and online repositories configuration until after installation is done.
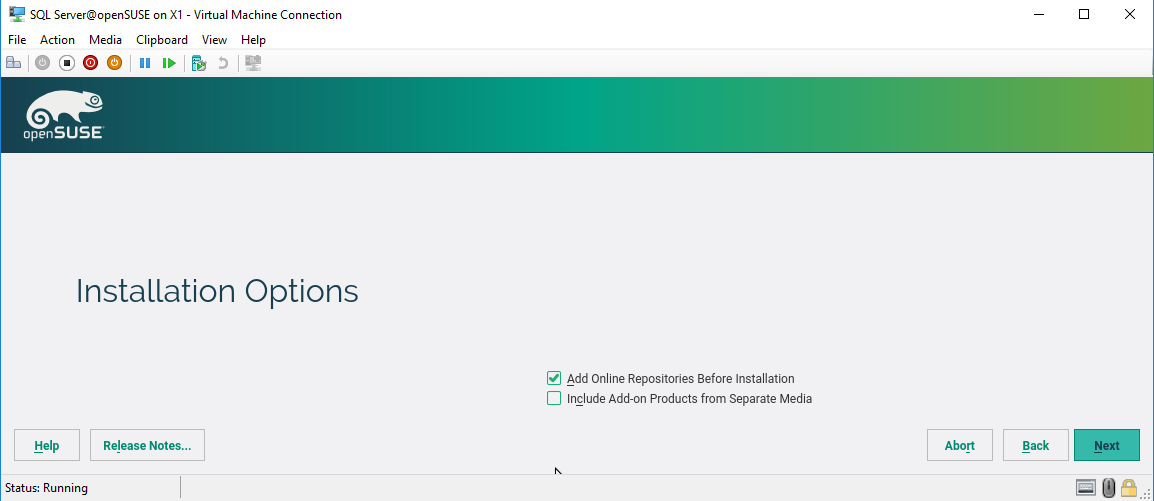
Figure 1-4. Option to add online repositories during install
- You have the option to add online repositories during this step, you can choose your region and corresponding time zone. The same as in a Windows environment, these settings are reflecting the latter in the operating system and application that are depended on these parameters. The GUI is very nice, and by simply clicking, you can zoom in and focus on your country. By clicking on
Other Settings, you can fine-tune those settings.
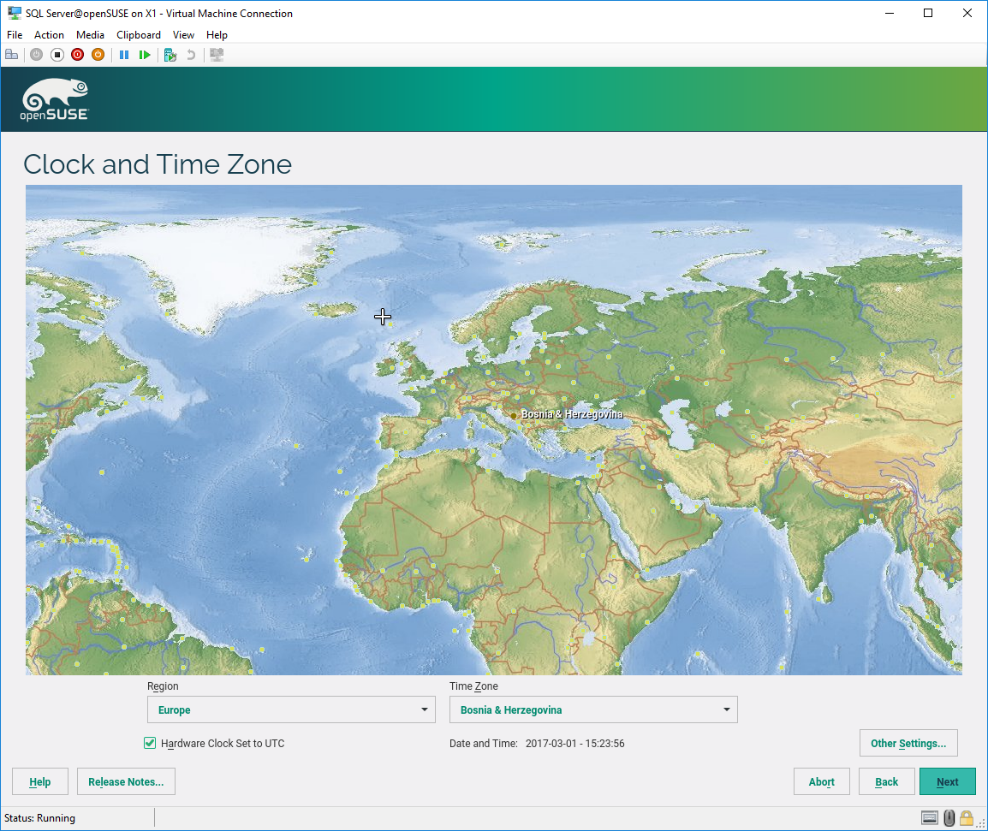
Figure 1-5. Regional settings
- Now is the moment of truth. Yes, seriously. This step will adapt your frontend and install the desktop environment of your choice.
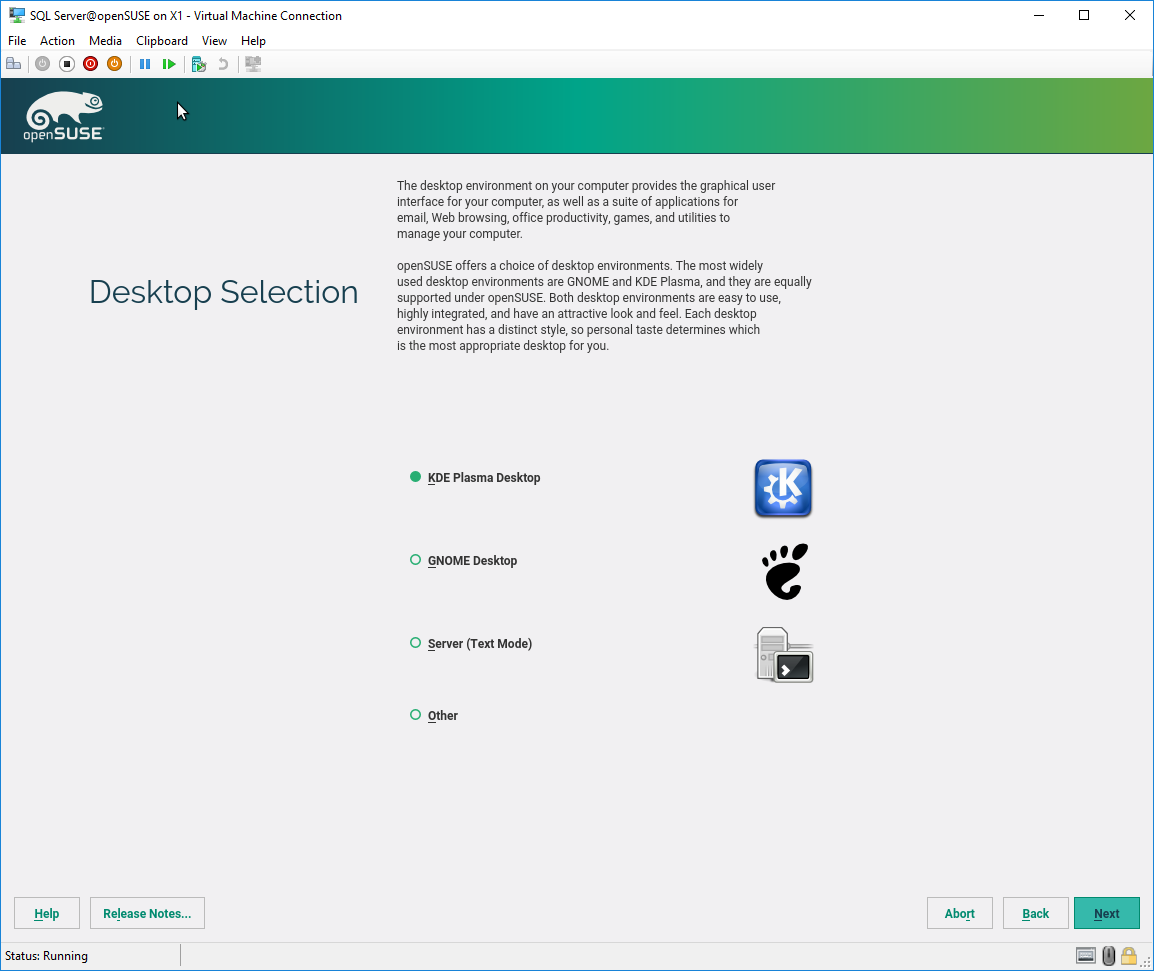
Figure 1-6. Desktop selection
Almost every Linux distribution gives you two options. When it comes to openSUSE, you can pick one of the following:
- KDE Plasma desktop (https://www.kde.org/)
- GNOME desktop (https://www.gnome.org/)
- Server (text mode)
- Other
Let us take a look at each one:
- KDE Plasma desktop: KDE is not something new on the scene. It has been here since 1996 and in more than 20 years it has built a loyal user base. It is simple, efficient, robust, and Windows-like. You even have a
Start(K) menu. If you are coming from a Windows background, then this should be your first choice. Don't get me wrong! KDE is popular in the world of Linux distributions. KDE is also my first choice and I will use it as the default installation option for openSUSE and Kubuntu (the KDE version of Ubuntu). - GNOME desktop: It is same as in the example before, GNOME is on the stage since 1999 and the user base is also large. We can say that the Linux community is divided between KDE and GNOME desktop environments. This is not a bad thing. Differences and options are good things and, if you are not a
Startmenu fan, then GNOME is just for you. openSUSE distribution comes with KDE as the default. - Server (text mode): This mode is simple, fast, and a good old Command Prompt environment. If you are planning to run some kind of production service (web, mail, FTP, and so on), there is no need for GUI at all (this philosophy is taken and implemented in Windows OS (Windows Core and Nano version)).
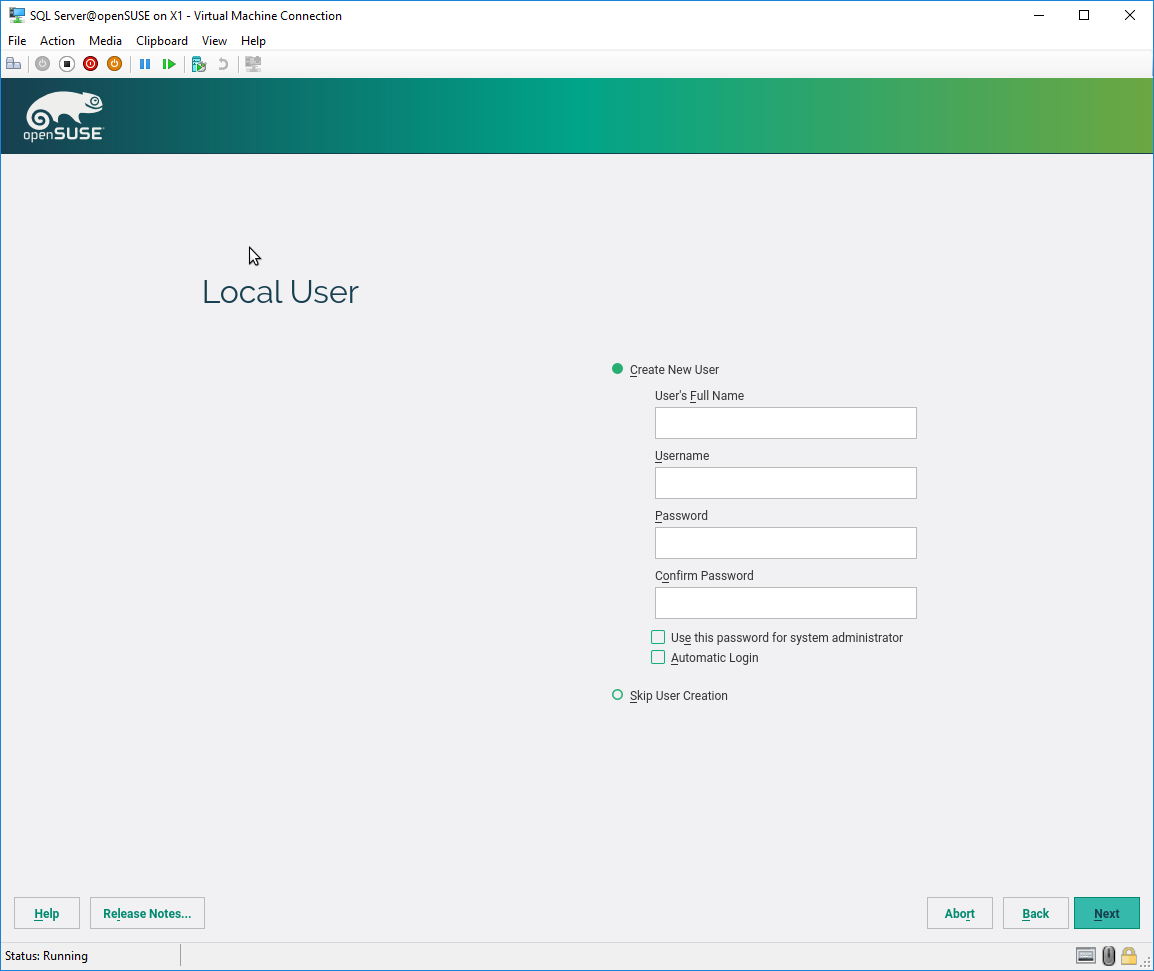
Figure 1-7. Creating initial local user
- The next step is about creating new user profile for daily tasks. Unlike Windows, Linux does not have admin first philosophy. This is regular user without root (super user permissions). It is not a good idea to work neater on Windows or Linux as admin (root). If you check
Use this password for system administrator, the same password will be associated with root account. It will be required for admin tasks. However, if you skip this option it will bring you to the next screen where you can define different root password. This step is so important that installation gives you an option to test the keyboard layout just in case you are planning to use some exotic kind of characters.
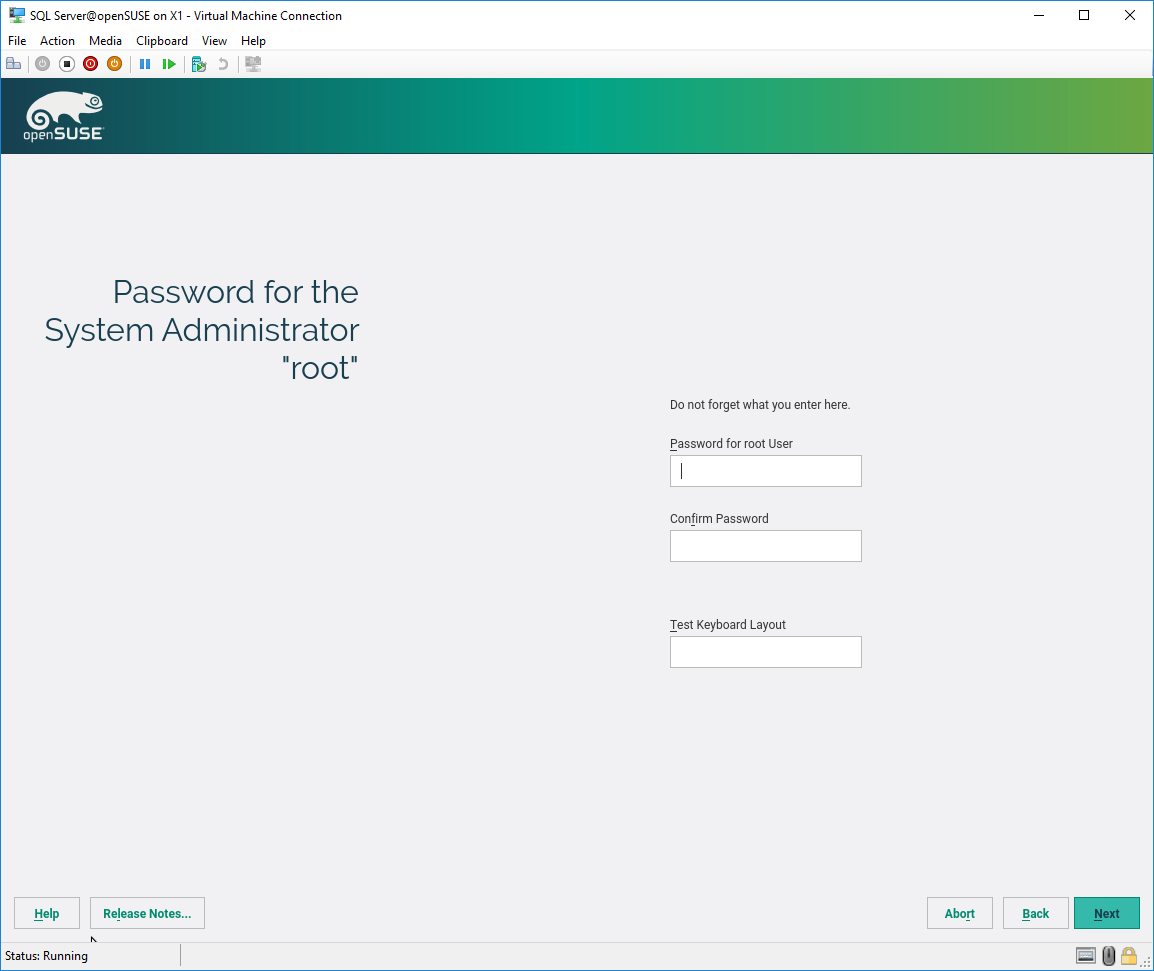
Figure 1-8. Password for root access
- The next step is reviewing of chosen options. Still, you can go back and correct/modify some parameters before changes become permanent. After some time, when setup finishes you will get login screen. Enter your credentials and you are ready to go with openSUSE.
This book is not an openSUSE user guide, so if you are Windows user then you can reference some additional resources, but it will be easy. KDE is something familiar and its GUI is efficient enough to support your exploring through this great distribution.
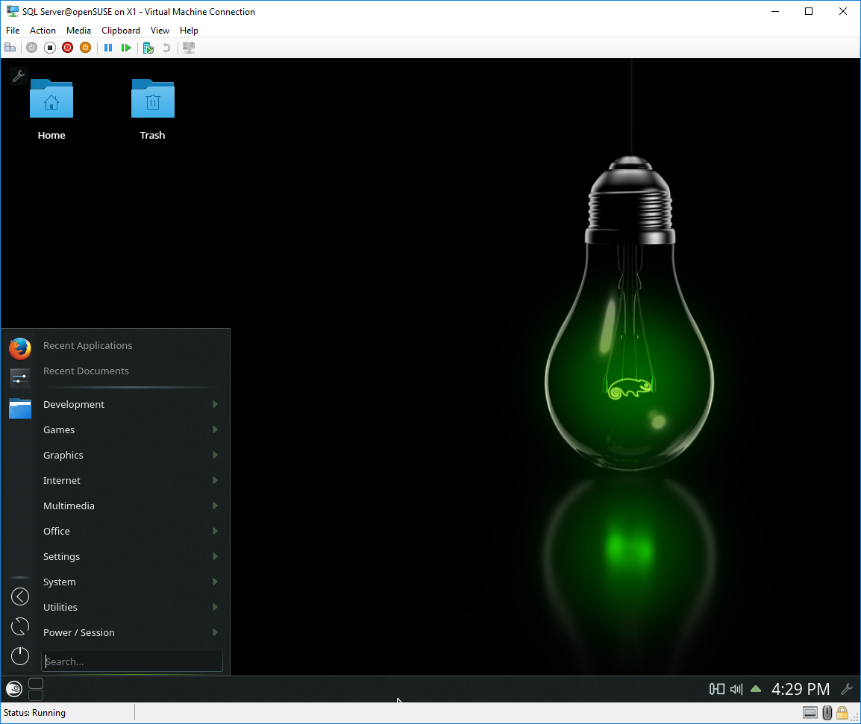
Figure 1-9. Welcome to openSUSE