Structuring tests with React Testing Library
To structure and write our test code, we will use the Arrange-Act-Assert pattern that's typical in writing unit tests. There are a few ways to use React Testing Library API to structure tests, but we will be using React Testing Library team's recommended approach to render React elements into the Document Object Model (DOM), select resulting DOM elements, and make assertions on the expected resulting behavior.
Rendering elements
To test your React components' output, you need a way to render them into the DOM. The React Testing Library's render method takes a passed-in component, puts it inside a div element, and attaches it to the DOM, as we can see here:
import { render} from '@testing-library/react'
import Jumbotron from './Jumbotron'
it('displays the heading, () => {
  render(<Jumbotron />)
}
In the previous code, we have a test file. First, we import the render method from React Testing Library. Next, we import the Jumbotron component we want to test. Finally, we arrange our test code in the it method by using the render method to render the component to test.
It is necessary to write additional code to clean up our test in many testing frameworks. For example, if a component is rendered into the DOM for one test, it needs to be removed before the next test is executed. Removing the component from the DOM allows the following test to start from a clean slate and not be affected by code from previous tests. React Testing Library's render method makes test cleanup easier by automatically taking care of removing components from the DOM, so there is no need to write additional code to clean up the state affected by previous tests.
Now that you know how to arrange a test by rendering a component into the DOM for testing, we will learn how to interact with the component's resulting DOM output in the next section.
Selecting elements in the component DOM output
Once we have rendered our component to test into the DOM, the next step is to select elements. We will do this by querying the output as a user would. The DOM Testing Library API has a screen object that is included with React Testing Library, allowing you to query the DOM:
import { render, screen } from '@testing-library/react'
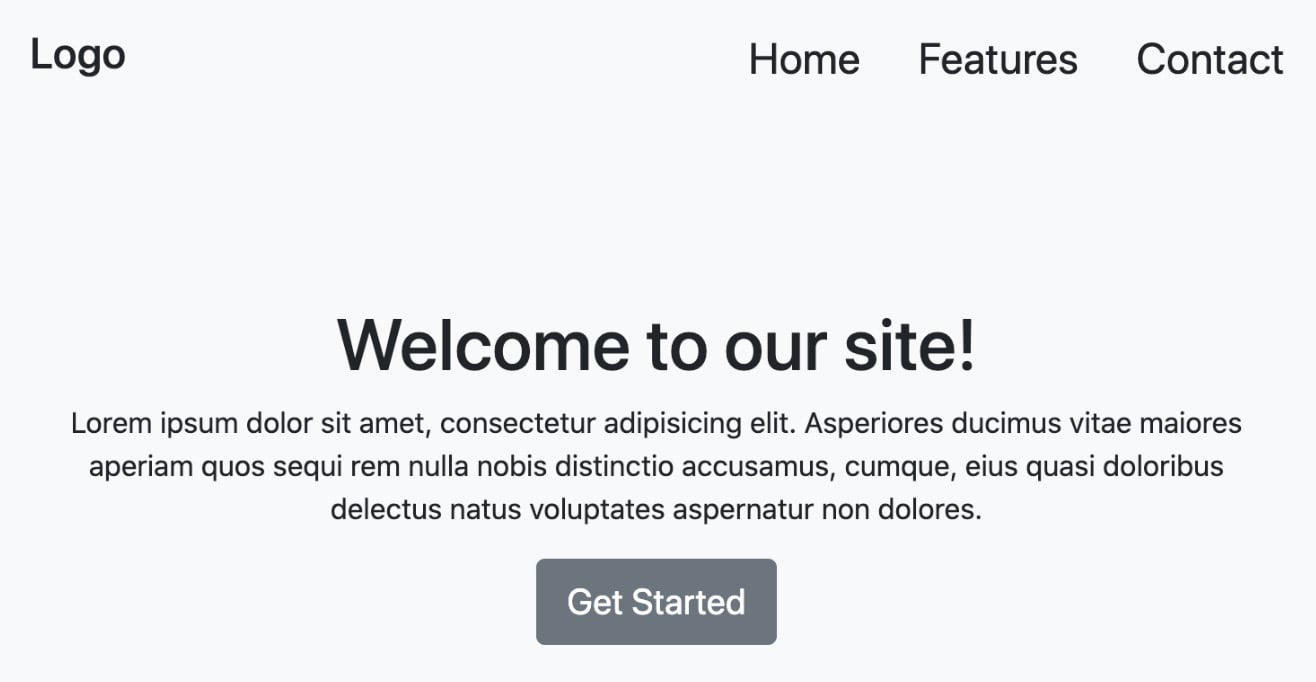
In the previous code, we imported screen from React Testing Library just like we imported render. The screen object exposes many methods, such as getByText or getByRole, used to query the DOM for elements, similar to actual users that we can use in our tests. For example, we might have a component that renders the following DOM output:

Figure 2.1 – Jumbotron component
If we wanted to search the DOM for the element with the text Welcome to our site!, we could do so in two ways.
One way would be using the getByText method:
it('displays the heading', () => {
  render(<Jumbotron />)
  screen.getByText(/welcome to our site!/i)
})
The getByText method will query the DOM, looking for an element with text matching Welcome to our site!. Notice how we use a regular expression inside the getByText method. A user looking for the element wouldn't care if the text was in upper or lower case, so getByText and all other screen object methods follow the same approach.
A second way we could query the DOM for the element with the text Welcome to our site! is by using the getByRole method:
it('displays the heading, () => {
  render(<Jumbotron />)
  screen.getByRole('heading', { name: /welcome to our
    site!/i })
})
The getByRole method allows you to query the DOM in ways similar to how anyone, including those using screen readers, would search. A screen reader would look for an element with the role heading and the text welcome to our site!. There are many other methods available on the screen object to query elements based on how you decide to find them. The DOM Testing Library team recommends using the getByRole method to select elements as much as possible in the documentation.
Also, because our test code essentially says, search for a heading element with the text 'welcome to our site!', it is more explicit than the previous example, where we used getByText to search for any element that has the text 'welcome to our site!'.
In the Enhancing jest assertions with jest-dom section of Chapter 1, Exploring React Testing Library, we learned that the methods of jest-dom provide context-specific error messages.
The methods on the screen object provide the same benefits. For example, if you attempt to use getByRole to select an element that is not present in the DOM, the method will stop test execution and provide the following error message:
Unable to find an accessible element with the role
  "heading" and name `/fake/i`
In the previous code, the error message explicitly tells you that the query method did not find the element. Also, the error message helps by logging elements that are selectable based on the rendered DOM:
heading:
      Name "Logo":
      <h3
        class="navbar-brand mb-0"
        style="font-size: 1.5rem;"
      />
      Name "Welcome to our site!":
      <h1 />
In the preceding code, the logged elements help by providing a visual representation of the DOM to understand better why the element you searched for was not found. Now you know how to select elements using React Testing Library.
We will learn more advanced ways of interacting with components, such as clicking or entering text, in Chapter 3, Testing Complex Components with React Testing Library.
Next, we will learn how to assert the expected output of components.
Asserting expected behavior
The last step in the test structure is to make assertions on behavior. In the Enhancing jest assertions with jest-dom section of Chapter 1, Exploring React Testing Library, we learned how to install and use the jest-dom tool to make assertions. Building on our test where we searched for the heading element with the text welcome to our site!, we can use the toBeInTheDocument method from jest-dom to verify whether the element is in the DOM:
it('displays the heading', () => {
  render(<Jumbotron />)
  expect(
    screen.getByRole('heading', { name: /welcome to our
      site!/i })
  ).toBeInTheDocument()
})
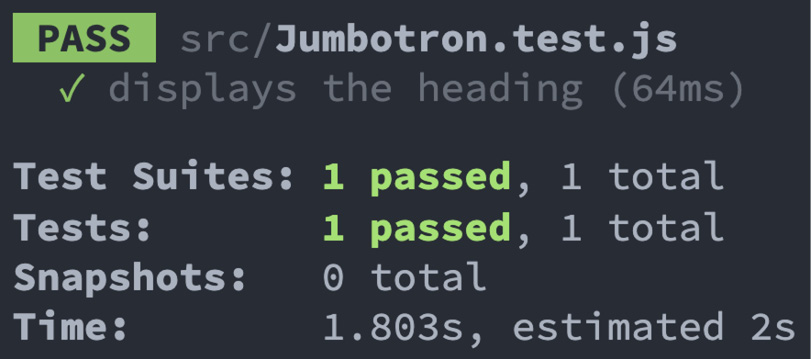
If the element is not found, we will receive error messages and visual feedback to help determine the source of the problem logged to the console, similar to what we saw in the Interacting with the component DOM output section. If we get the expected behavior, then we will receive feedback in the console that our test passed, as shown in the following screenshot:

Figure 2.2 – Jumbotron component test results
In the previous screenshot, the results indicate that the displays the heading test passes. Now you know how to make assertions on the output of components with React Testing Library. The skills learned in this section have set the foundational skills needed in the next section, where we start testing presentational components.


