


Testing your app
Testing is an important step in any software development, even in low-code with Appian and in a no-code approach when creating a Quick App. Later in this book, we will have a closer look at how testing and QA in Appian works. For now, let's create some new improvements to make sure the app works as designed. Proceed as follows:
- Click the + NEW IMPROVEMENT button, as illustrated in the following screenshot:
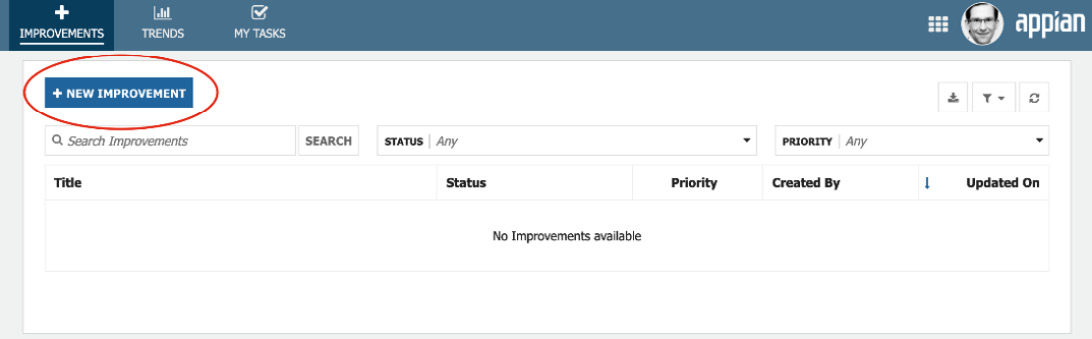
Figure 1.23 – Empty list, ready for adding items
- You now see a screen to add a new improvement. This screen looks very similar to the one you saw just minutes ago in the preview function of the Quick Apps Designer, as we can see here:
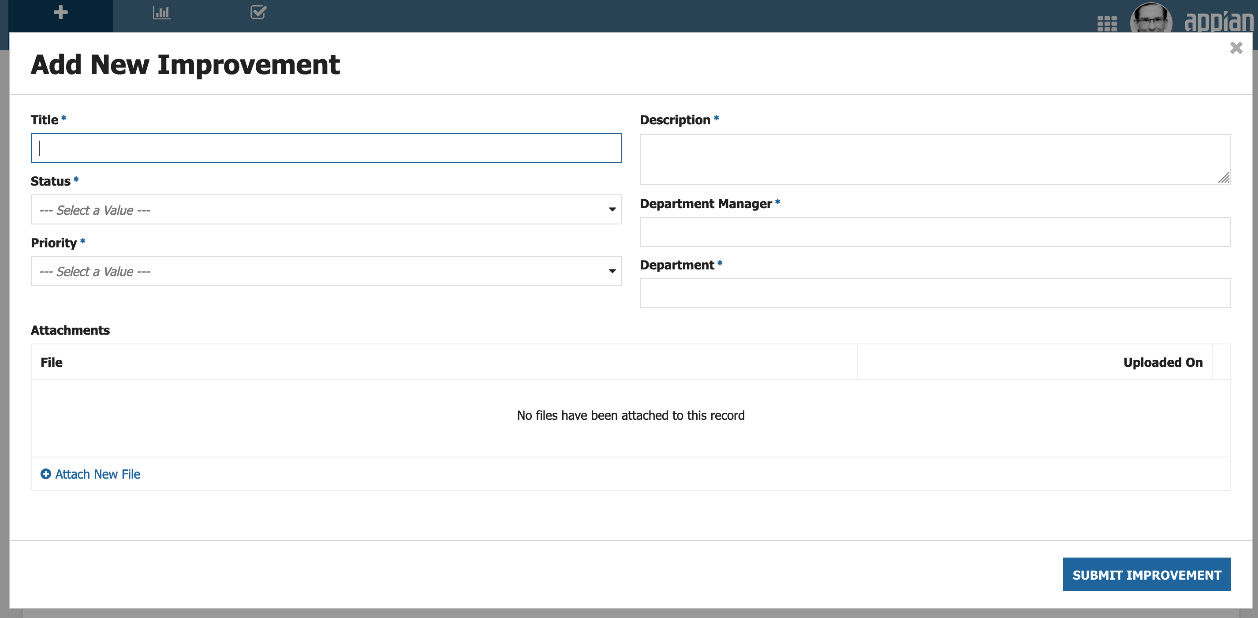
Figure 1.24 – Add New Improvement screen
- Enter some data to create a new improvement record item. An example of what to add is provided in the following screenshot:
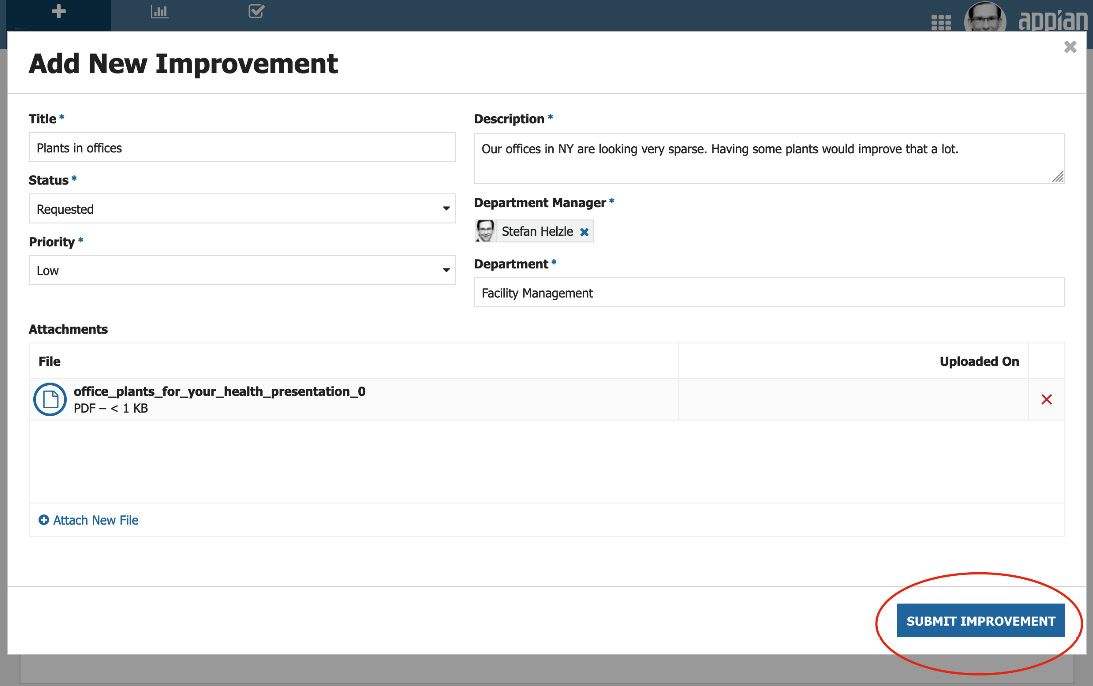
Figure 1.25 – New improvement with some data entered
- After clicking the SUBMIT IMPROVEMENT button, you should see a list showing your just created item, as depicted in the following screenshot:
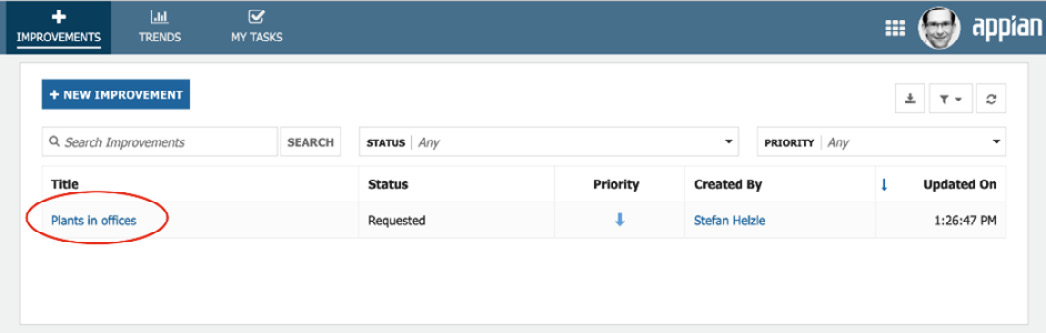
Figure 1.26 – The record list showing one item
- Click the new item to open it. You will see the data you entered a moment ago in the format as defined in the Quick Apps Designer, as illustrated in the following screenshot:
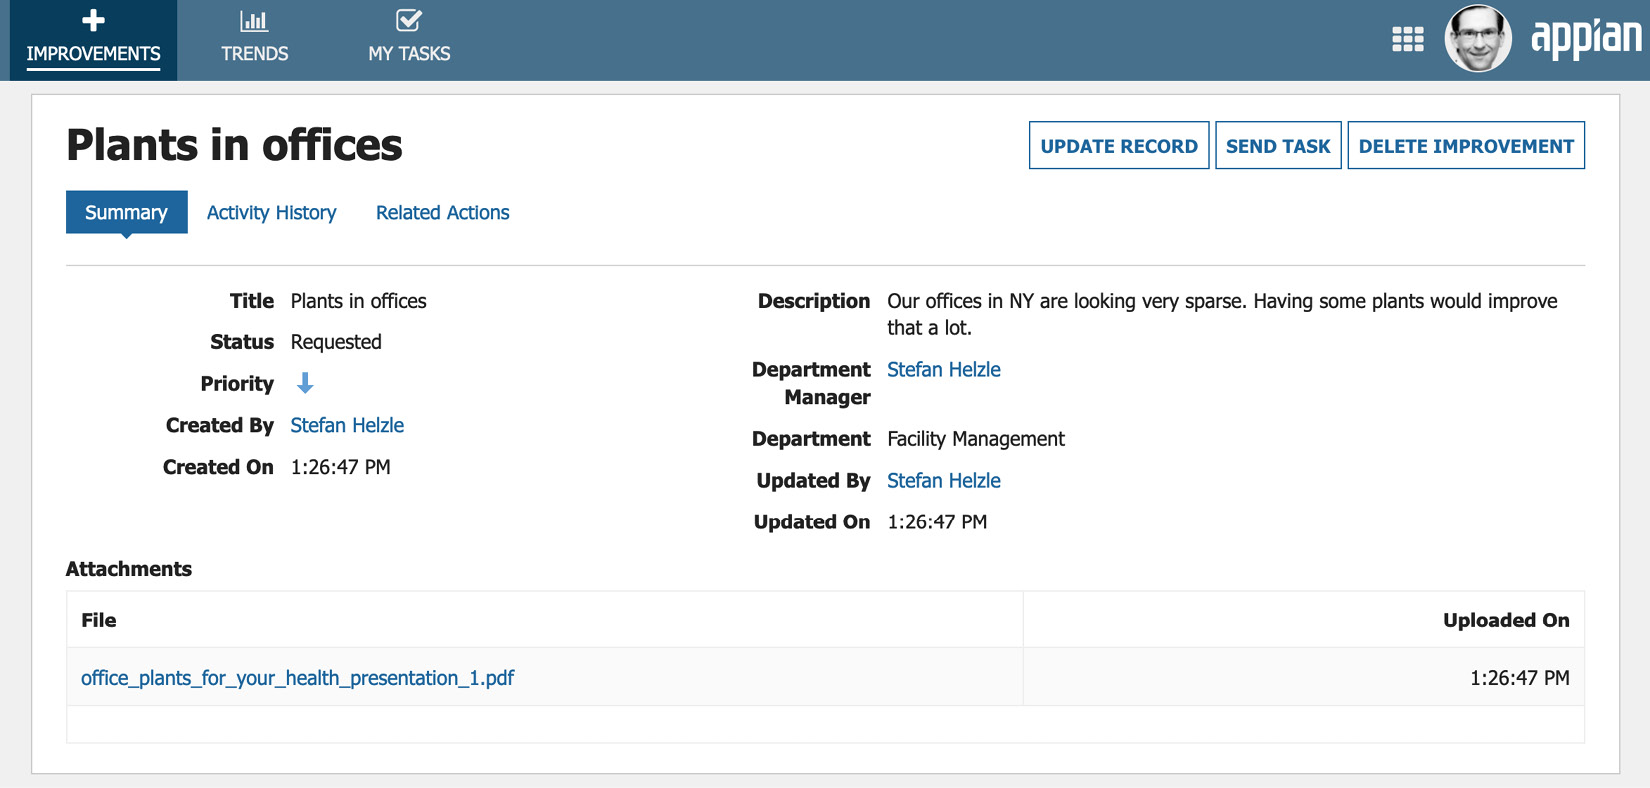
Figure 1.27 – The improvement record dashboard
This app is instantly available on your mobile device. Download the Appian app from your mobile app store, start it and follow these four simple steps:
- Set up a new account.
- Add a new account.
- Enter the server name of your Appian environment.
- Enter your credentials.
The preceding steps are illustrated in the following screenshot:
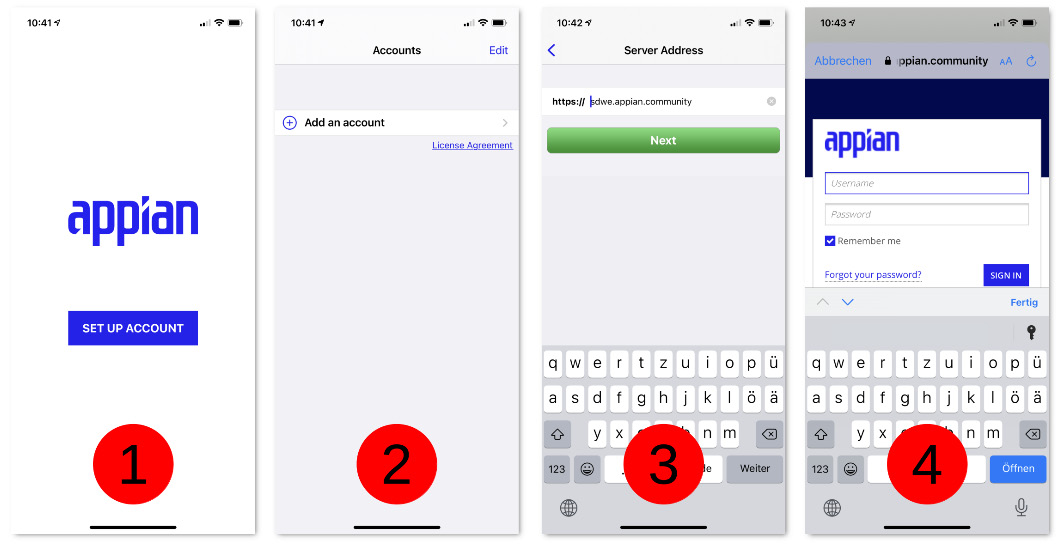
Figure 1.28 – Account setup steps
Voilà—your first mobile app! Take a look:
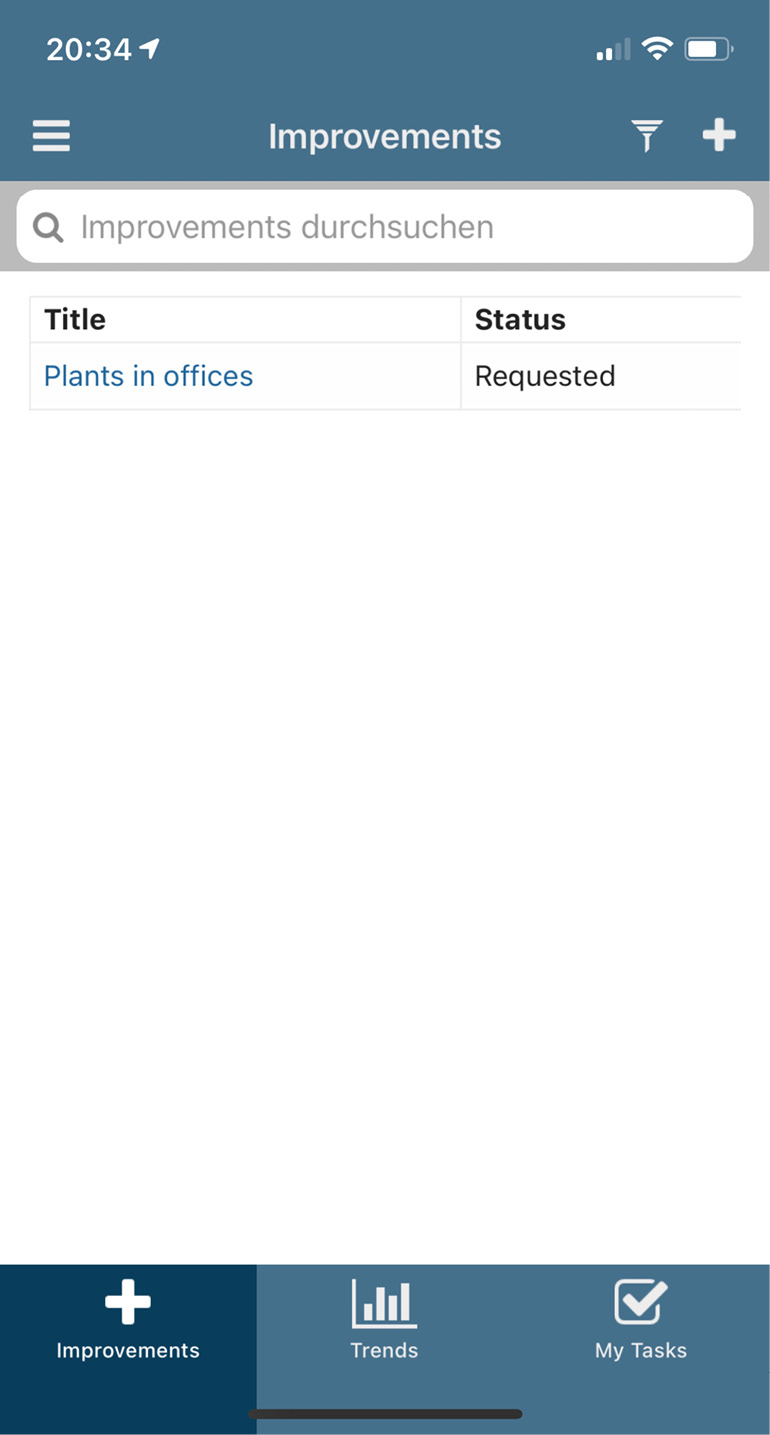
Figure 1.29 – List of improvements on mobile
Tap that list item to open the improvement. The following information is shown in the next figure:

Figure 1.30 – Improvement dashboard on mobile
Hence, with this we are done with testing our very first application.


