Installation
Installation of this software is also simple and does not take much longer than a minute.
Step 1 – Choosing your version
Story is available in two forms, a free version and a subscription version. The monthly plan for Adobe Story is US $9.99.
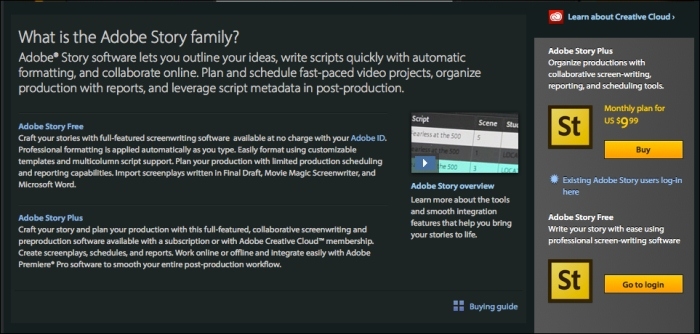
The free version of Adobe Story is a professional screenwriting software that places an emphasis on working on the go. The program gives you access to basic word processing software that is built around professional screenwriting templates. If you upgrade to the Plus version, you will be given access to a more in-depth organizational system, the ability to work on your projects both online and offline through the use of a desktop application, character auto-fill, image import, change tracking, task assignment and breakdown reports, and be allowed to share documents with other users for better collaborations.
Step 2 – Setting up your system
Following are the minimum system requirements for running Adobe Story on your computer. These are the optimum settings for Story to run smoothly:
|
Windows |
Mac OS |
|---|---|
|
|
Step 3 – Setting up Adobe Story
The steps to set up Adobe Story are explored in the following sections.
Creating Adobe ID
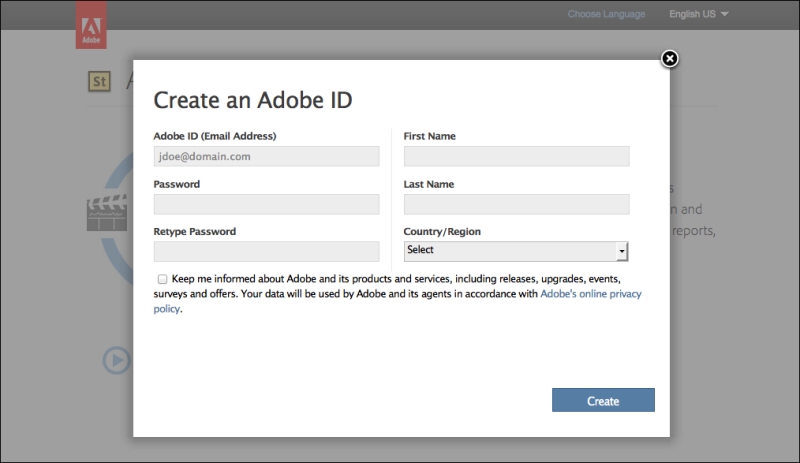
First, you must establish an Adobe ID before you can proceed any further. Adobe IDs are free to create. When you are on the main page for Adobe Story — https://story.adobe.com/en-us/index.html, you will see the Create Free Account option.
Follow the steps to finish this process; the Create an Adobe ID dialog box is shown in the following screenshot:
Opening Adobe Story
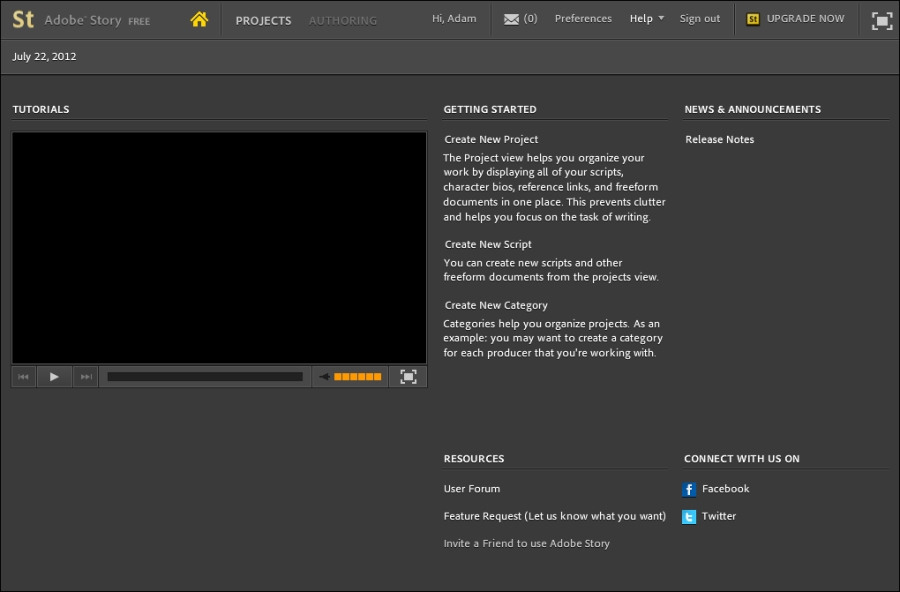
Once your Adobe ID is created and you verify your e-mail account, Adobe Story (free version) will become available for you to sign in. On the top-right corner of the Adobe Story screen you will see the Upgrade Now option. Click this button if you choose to use Adobe Story Plus. Otherwise your installation journey ends here. This button is shown in the following screenshot:
Installing desktop application
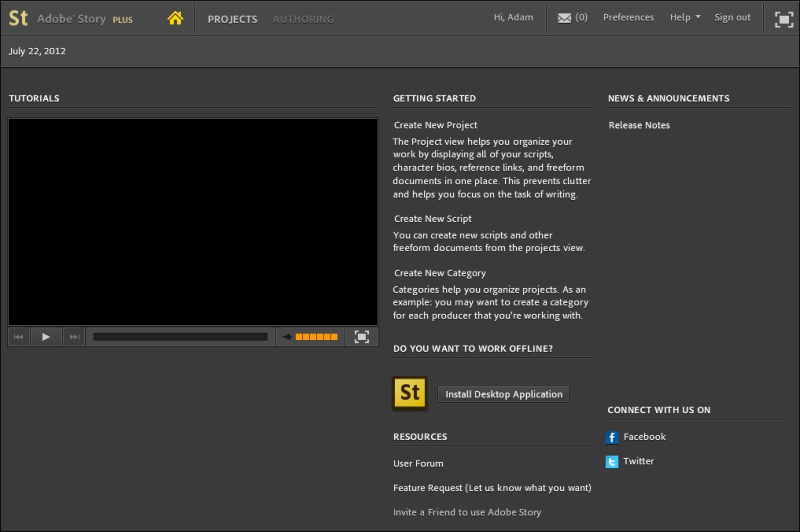
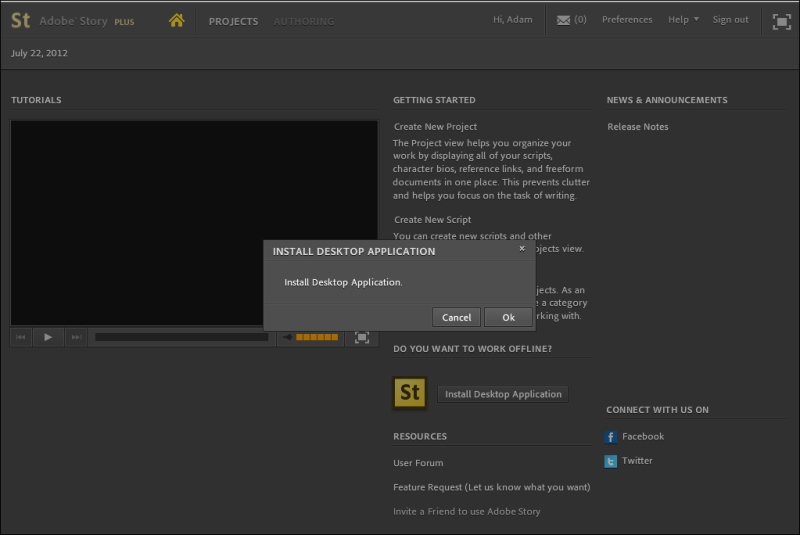
If you choose to upgrade to Plus, your home screen in the online version of Adobe Story will have a new link. On the right-half of the screen next to the Story logo, you will see the Install Desktop Application button. This is where you go in order to set up Adobe Story on your home computer; this button can be seen in the following screenshot:
A prompt will appear asking you if it is ok to go ahead with the installation; as shown here:
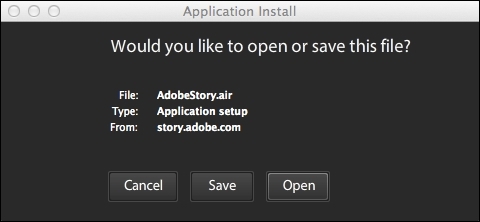
You can either choose to save the file and install it later or open it directly; these options are shown in this screenshot:
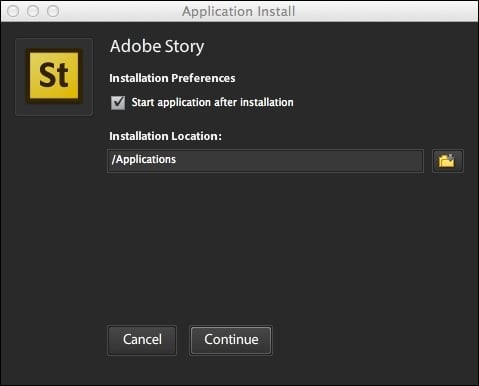
Once you choose to open the file, you will be asked to choose the location of where you want Story to be installed. For Macs, the default will be Applications and for Windows, Program Files. Refer to the following screenshot:
And that's it!!
The installation process is quick and shouldn't take more than a minute. Once it completes, Adobe Story Plus will open on your computer, prompting you to sign in with your Adobe ID.
Once you sign in, you will be ready to start writing your script!


