Installing Java Development Kit and GlassFish
In order to be able to install and run GlassFish, your system first needs to have JDK 7 installed.
Installing JDK 7
You can download Java Development Kit 7 from http://www.oracle.com/technetwork/java/javase/downloads. You need the JDK download as shown in the following screenshot:
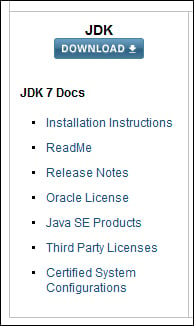
Accept the license agreement and choose the right bundle for your operating system and architecture, for example, Windows x64 for 64-bit Windows or Windows x86 for 32-bit Windows.
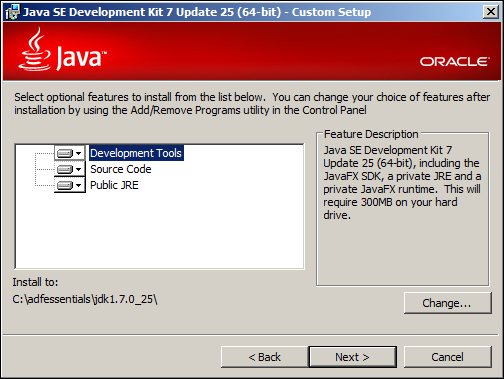
When the installation is complete, double-click on the downloaded file to install the JDK. In the second step of the install wizard, change the directory to one placed under your adfessentials folder, for example, C:\adfessentials\jdk1.7.0_25 as shown in the following screenshot:
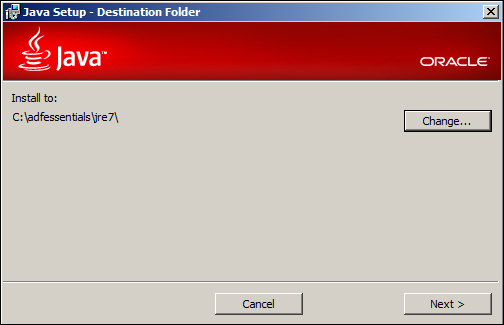
When asked where to install the JRE, change the destination folder to C:\adfessentials\jre7 as shown in the following screenshot:
When the installation is complete, you need to set your JAVA_HOME environment variable to point to the JDK directory (for example, C:\adfessentials\jdk1.7.0_25).
Installing GlassFish
Note
At the time of writing, Version 4.0 of GlassFish has been released, but you cannot run ADF Essentials on it. So, this book will concentrate on GlassFish 3.1.
GlassFish Server Open Source Edition 3.1.2.2 can be downloaded from http://glassfish.java.net/download-archive.html. Like MySQL, GlassFish exists in both an open source version and a commerical version—if you want the commercial version, it can be found on the Oracle Technology Network under Middleware, GlassFish Server.
As the following screenshot shows, there are install sets available for Windows, Linux, Unix, Mac, and so on. Just click on the link for the file that matches your environment:
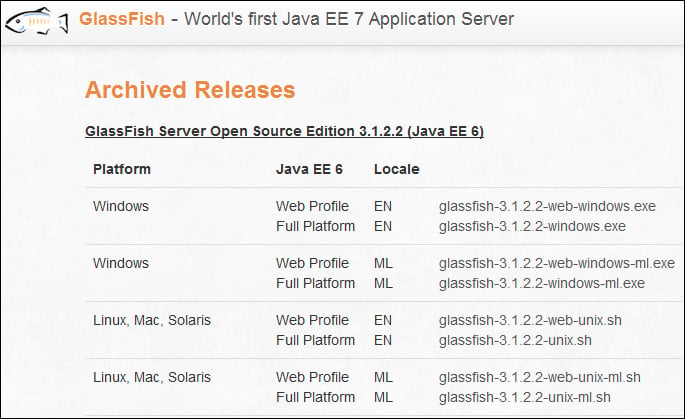
GlassFish installation
To install GlassFish, change to the directory where you downloaded the file and execute the following command:
glassfish-3.1.2.2-windows.exe –j c:\adfessentials\jdk1.7.0_25
Note
The GlassFish installation file sometimes cannot find your Java Development Kit, especially on 64-bit Windows. The preceding command works in all environments.
In the GlassFish installer, choose the following options:
Installation type: Typical
Install directory:
c:\adfessentials\glassfish3Update tool: Don't choose this
Tip
You do not want your server to automatically update itself. If one of your applications is not compatible with the new server version, your users will experience that the application is suddenly down, and you will have no idea that it has happened until they tell you.
The installer runs and installs the GlassFish software shown as follows:

Setting up the domain
When the software is installed, the installer will prompt you to create a domain like this:
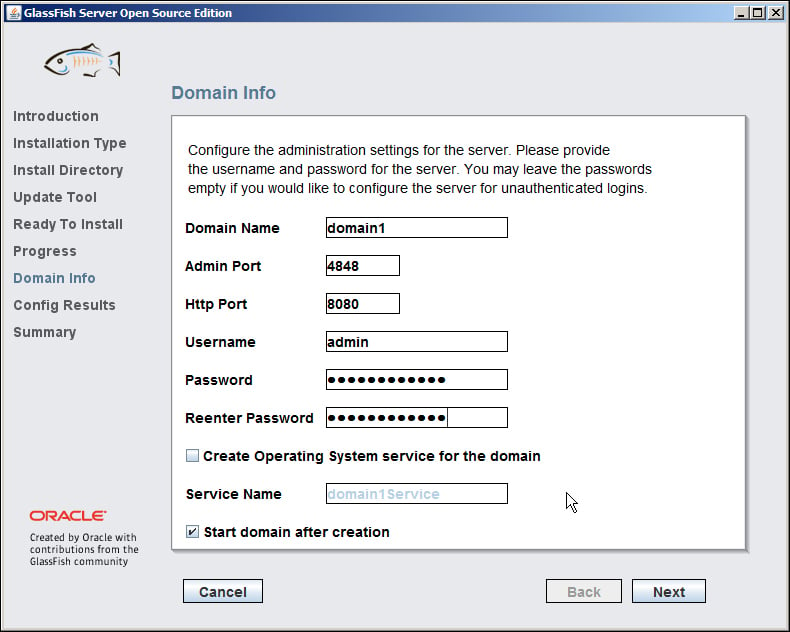
You can leave the default domain name and ports. You should set a password for the admin user—again, if this is a non-critical development workstation and you want to be sure that you have the password written down, feel free to use this example password: ADFsecret/13.
Tip
If you are already running an Oracle database on the same machine, change the default HTTP port to something other than the default 8080 (because an Oracle database by default installs a service on port 8080).
After the domain has been created and started, click on Next to see the installation summary as shown in the following screenshot:
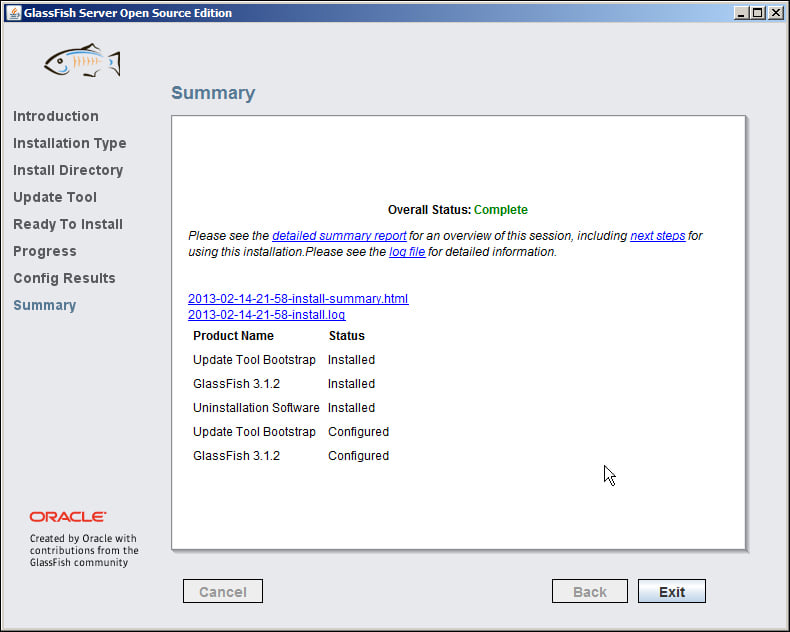
When you click on Exit, you will be prompted to register your GlassFish server, but this is not mandatory.
Does it work?
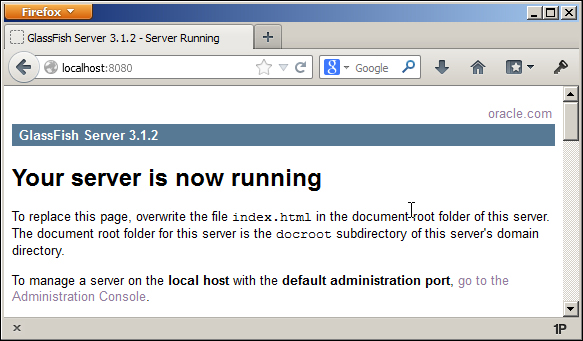
In order to check if your GlassFish server is indeed running, you can enter the URL http://localhost:<port> (for example, http://localhost:8080) in your browser to see the Your server is now running confirmation message like this:
Installing the MySQL connector in GlassFish
In order to be able to connect from GlassFish to a database, you need a connector. GlassFish does not have a MySQL connector built-in, so you need to go to http://www.mysql.com/products/connector and download the JDBC Connector for MySQL (Connector/J). You may be prompted to log on to your Oracle Web account.
Unpack the file and copy the mysql-connector-java-5.1.25-bin.jar file (or whatever the version number is by the time you read this) into the lib directory of your GlassFish domain (C:\adfessentials\glassfish3\ glassfish\domains\domain1\lib or similar). Then, stop GlassFish and start it again (on Windows, the start and stop commands are found on the Start menu under GlassFish Server Open Source Edition).
Adding a DataSource to GlassFish
In order for your applications to be able to connect to your MySQL database, you need to define a DataSource. Your applications will refer to the DataSource by name, and the configuration on the GlassFish server defines which database the DataSource will connect to. This gives the application server administrator the necessary freedom to move the application between environments, move databases to other servers, and so on.
You can set up a DataSource though the GlassFish Server Administration Console. You specified the port for this service as the Admin port when you installed GlassFish. The default port is 4848, so you can point your browser to http://localhost:4848 to start the admin console.
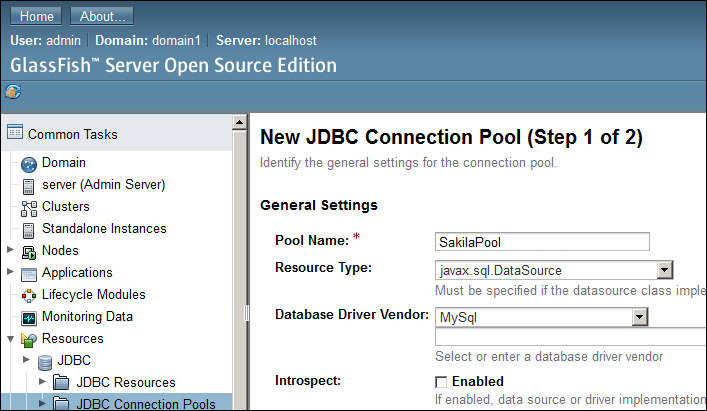
Open the Resources node on the left and then JDBC. Click on JDBC Connection Pools and then click on New in order to create a new connection pool. Give it the name SakilaPool, choose javax.sql.DataSource as Resource Type, and choose MySql as Database Driver Vendor. Your screen should look like this:
On the next screen, scroll down to the Additional Properties section and sort the properties by name (by clicking in the Name header). Find the following settings and set their value as follows:
databaseName: sakila
password:
ADFsecret/13(or whatever other password you chose when you installed MySQL)servername:
localhostuser:
root
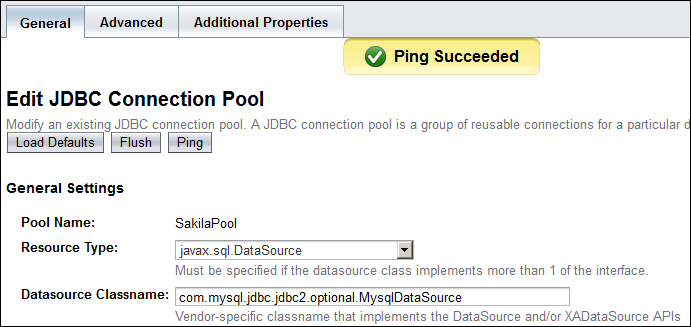
When you have clicked on Finish to create the pool, click on the SakilaPool name and then click on the Ping button to test that GlassFish can connect to MySQL. You should see a Ping Succeded message as shown in the following screenshot:
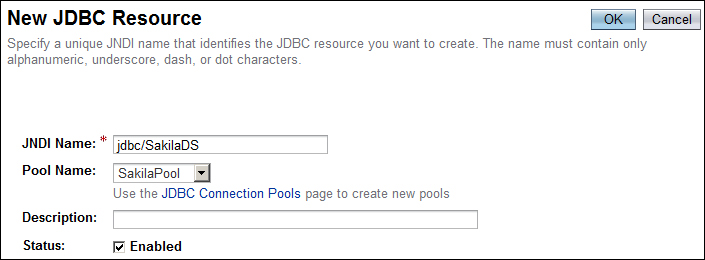
Then, click on JDBC Resources and then click on New in order to create a new JDBC resource. Give it the JNDI name jdbc/SakilaDS and select the SakilaPool connection pool for this JDBC resource as shown in the following screenshot:
