Setting up Your Environment
Before exploring the book in detail, you need to set up specific software and tools. In the following section, you shall see how to do that.
Installing PostgreSQL 14
The following sections list the instructions for installing and setting up PostgreSQL 14 on Windows, Linux, and macOS.
Downloading and Installing PostgreSQL on Windows
First, download and install PostgreSQL on Windows:
- Navigate to https://www.postgresql.org/download/. Select
Windowsfrom the list ofPackages and Installers.
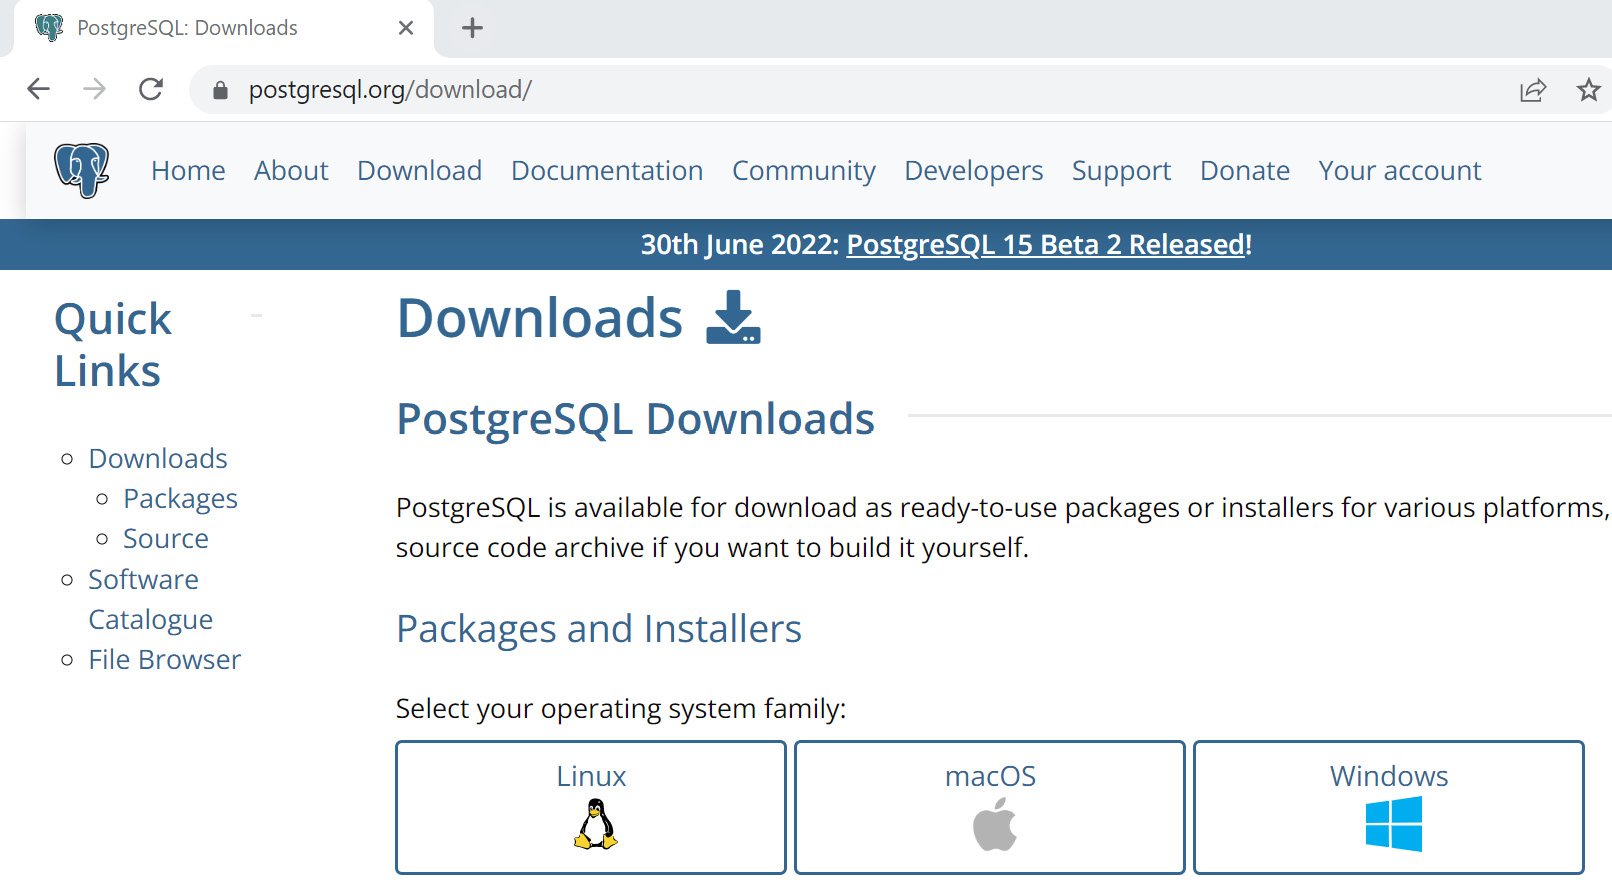
Figure 0.1: PostgreSQL Downloads page
- Click
Download the installer.
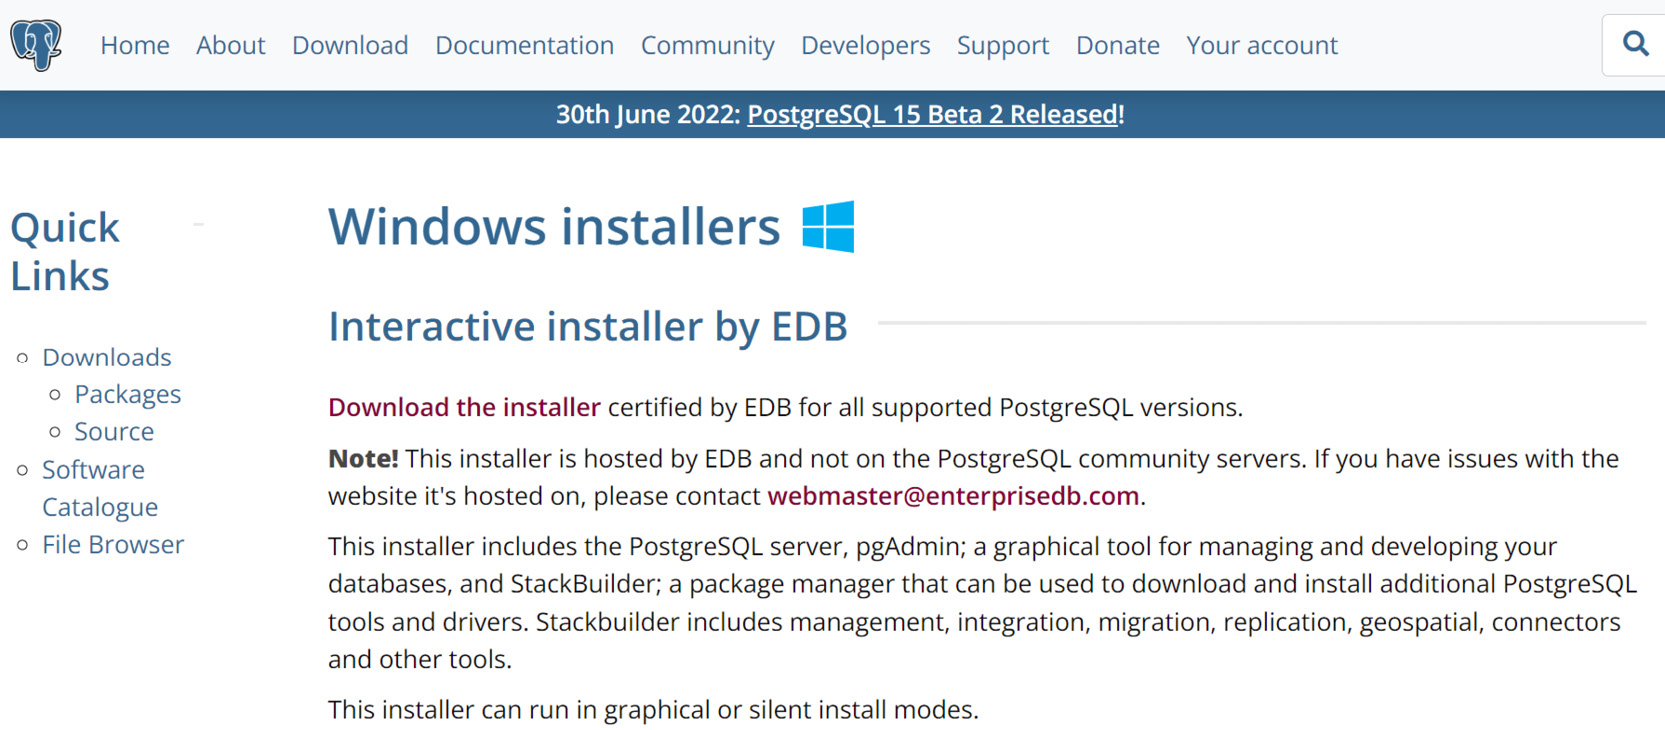
Figure 0.2: PostgreSQL interactive installer download
- Select version
14.2as this is the version that is used in this book.
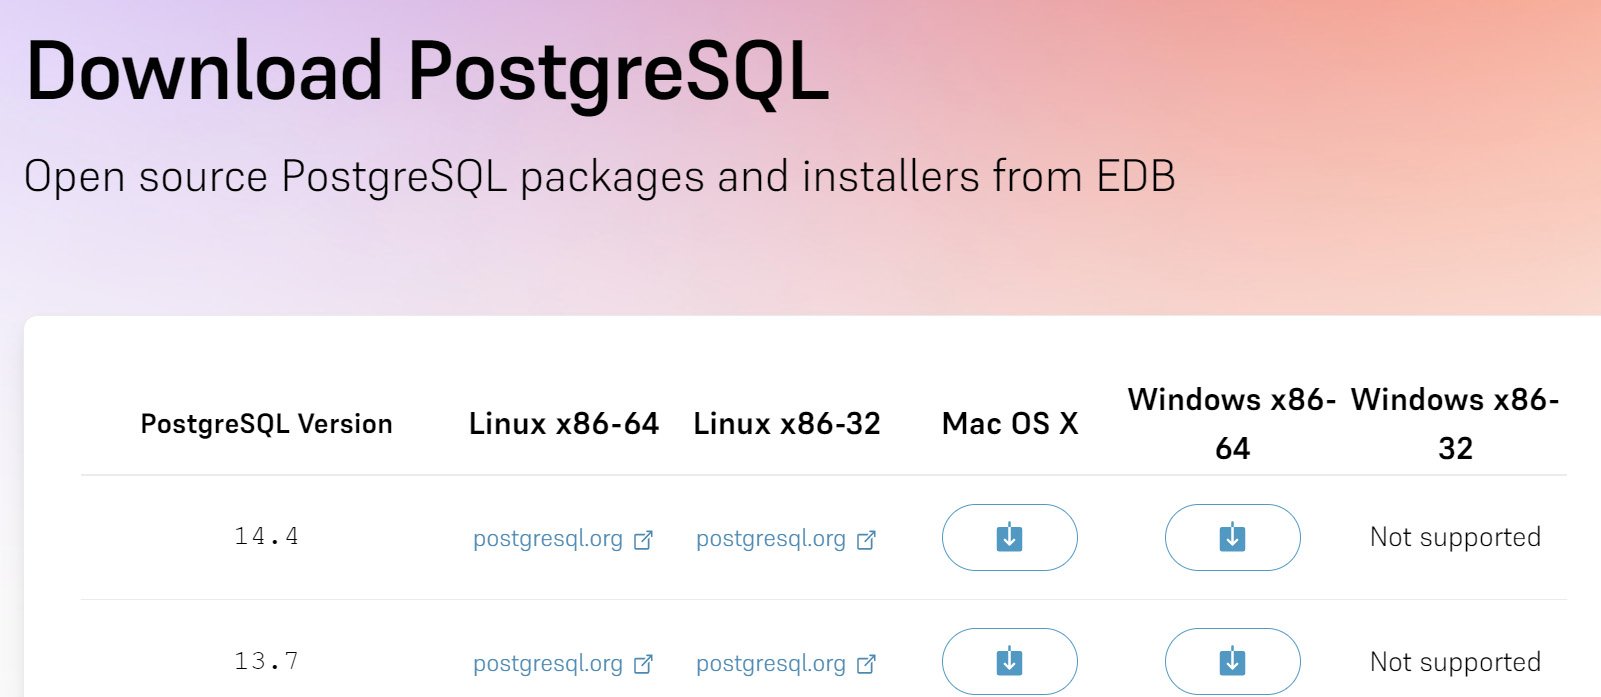
Figure 0.3: PostgreSQL downloads page
- Click
Nextfor most of the installation steps. You will be asked to specify a data directory. It is recommended that you specify a path that you will easily remember in the future.
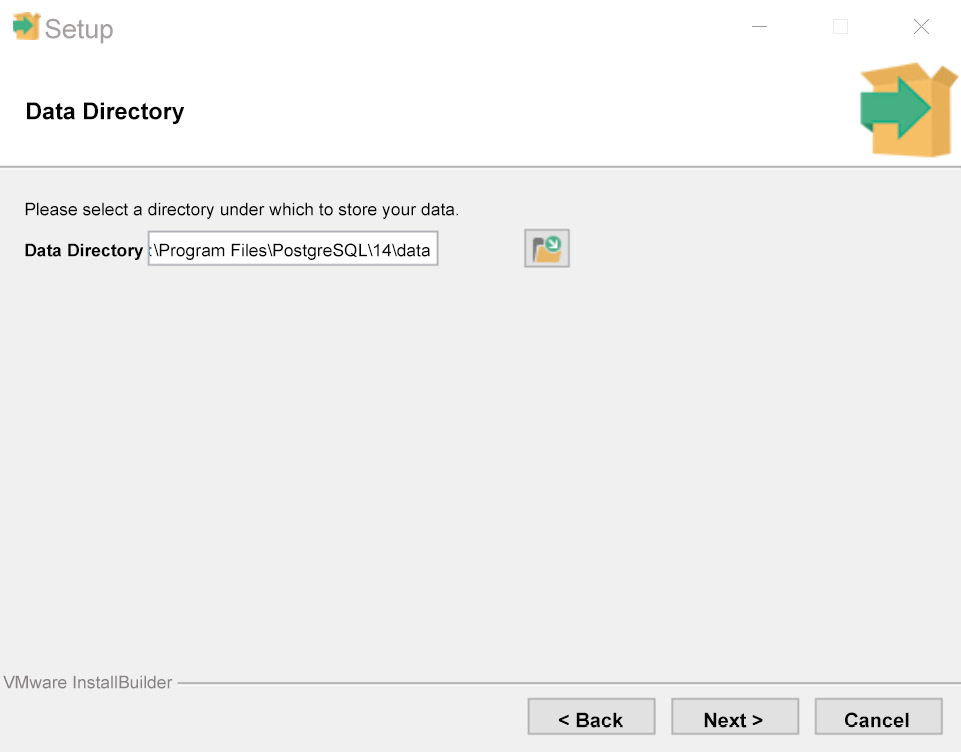
Figure 0.4: PostgreSQL installation – Windows
- Specify a password for the
postgressuperuser.
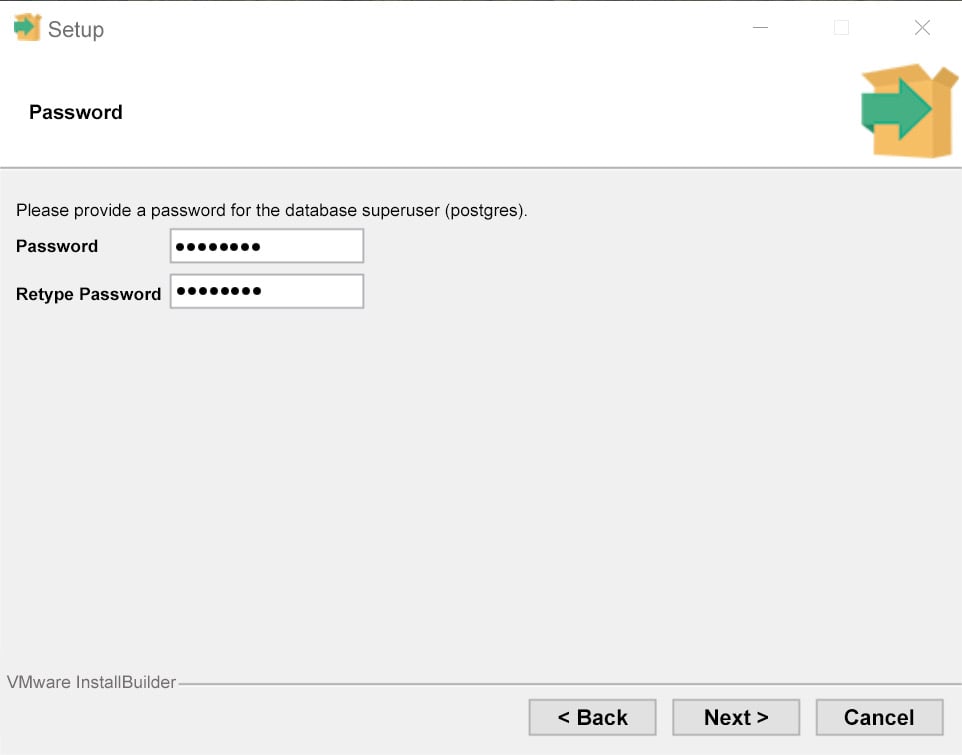
Figure 0.5: Setting the superuser password
- Do not change the port number that is specified by default, unless it conflicts with an application that is already installed on your system.
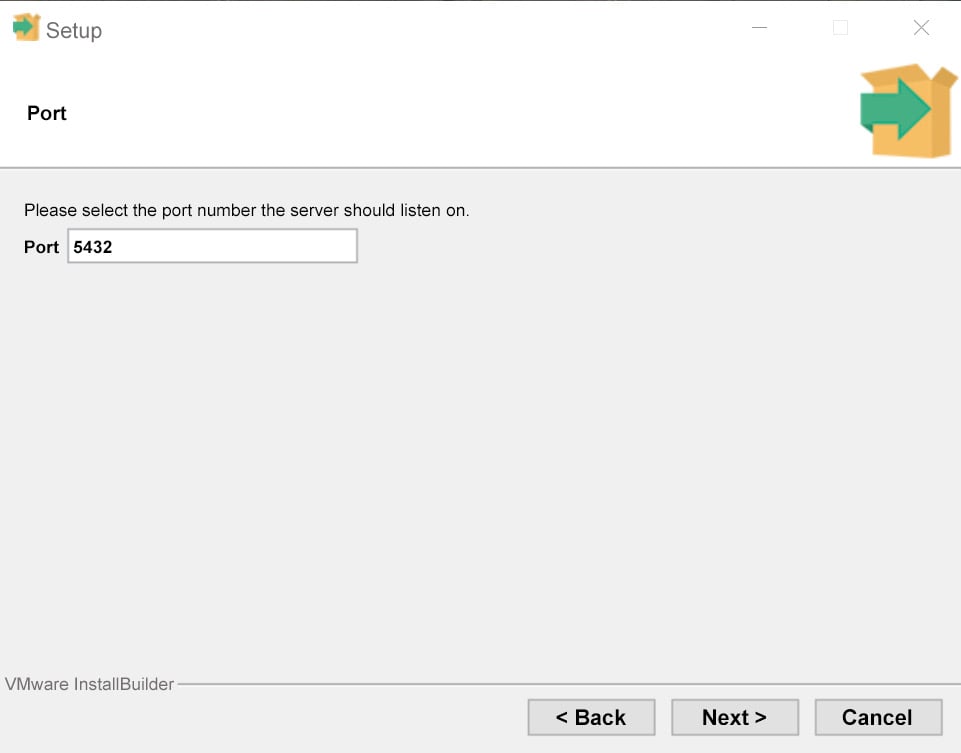
Figure 0.6: PostgreSQL port settings
- Click
Nextto proceed through the rest of the steps and wait for the installation to finish.
Setting the PATH Variable
To validate whether the PATH variable has been set correctly, open the command line, type or paste the following command, and press the return key:
psql -U postgres
If you get the following error, you need to add the PostgreSQL binaries directory to the PATH variable:

Figure 0.7: Error – Path variable not set
The following steps will help you do that:
- Search for the term
environment variablesin Windows Search:
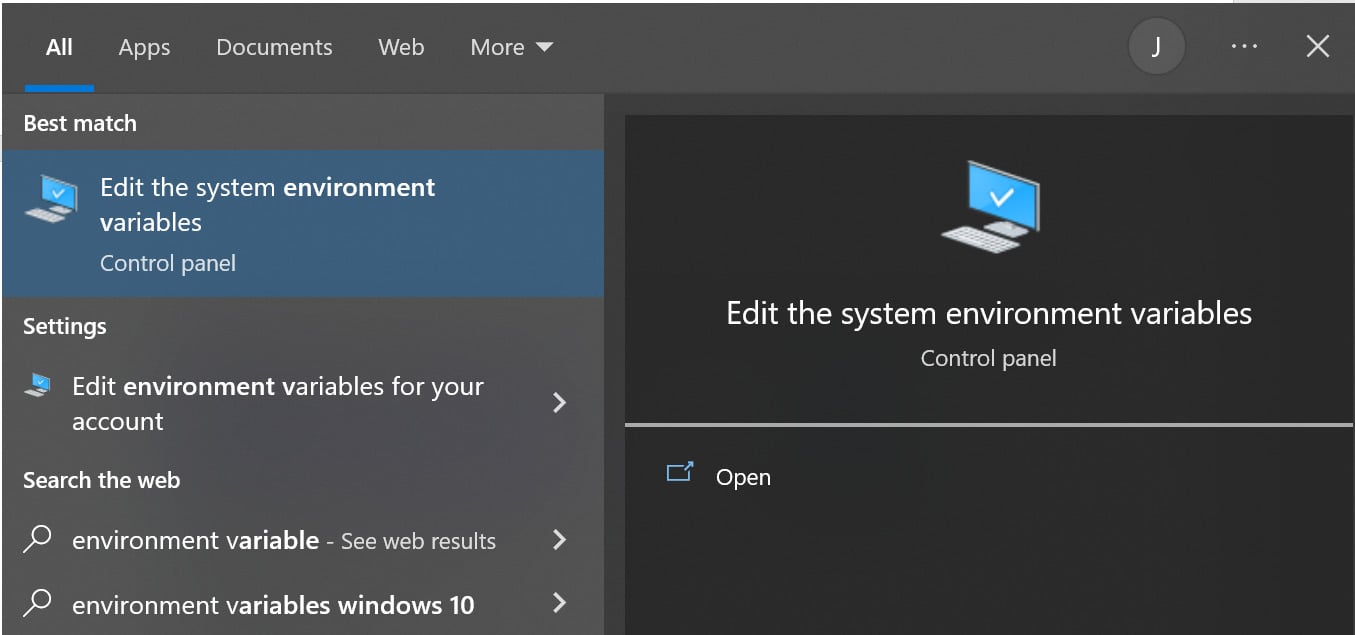
Figure 0.8: Windows Search for environment variables
- Click
Environment Variables:
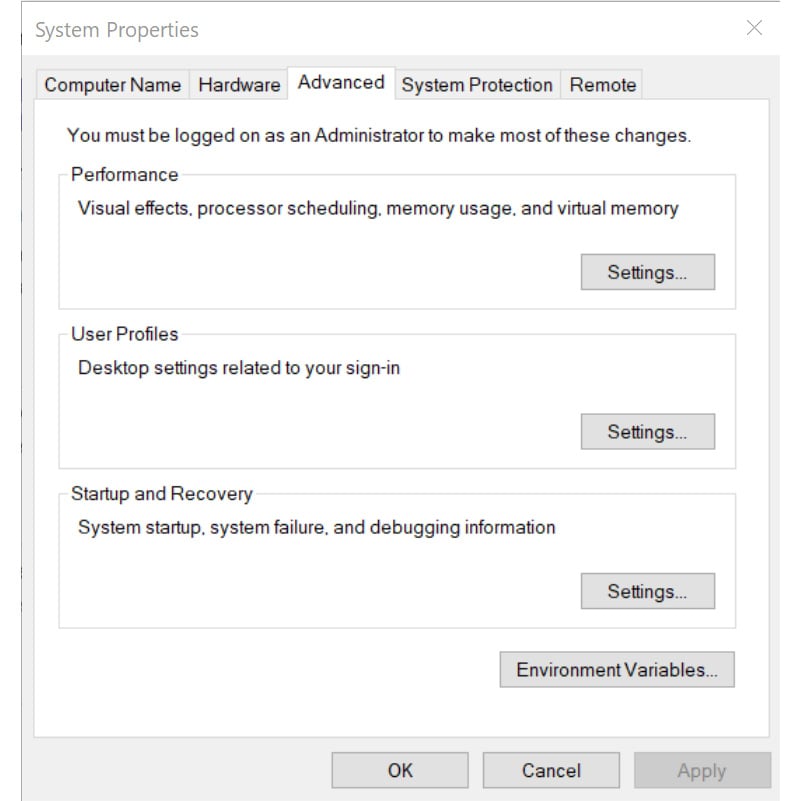
Figure 0.9: Windows System Properties
- Click
Pathand then clickEdit:
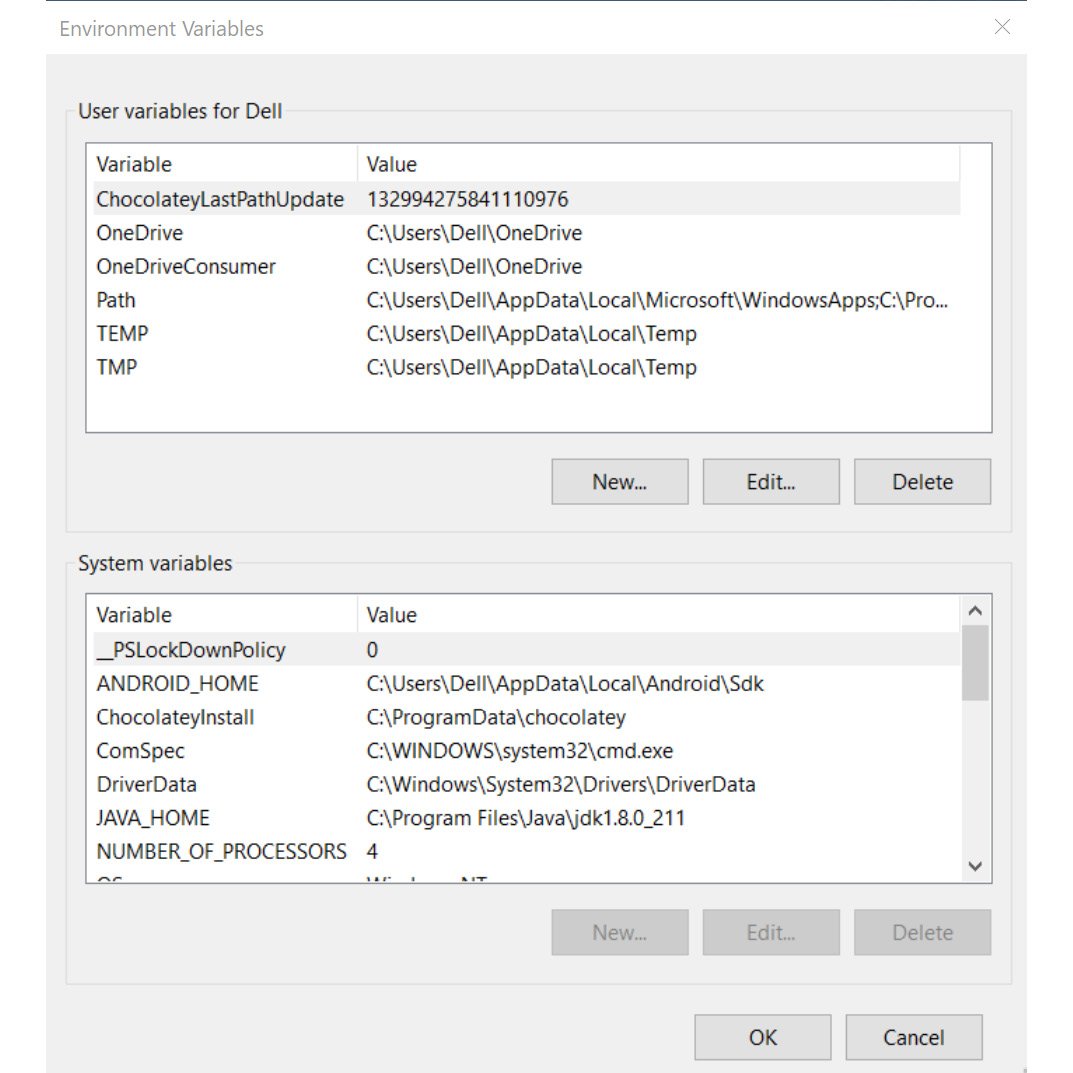
Figure 0.10: Setting the PATH variable
- Click
New:
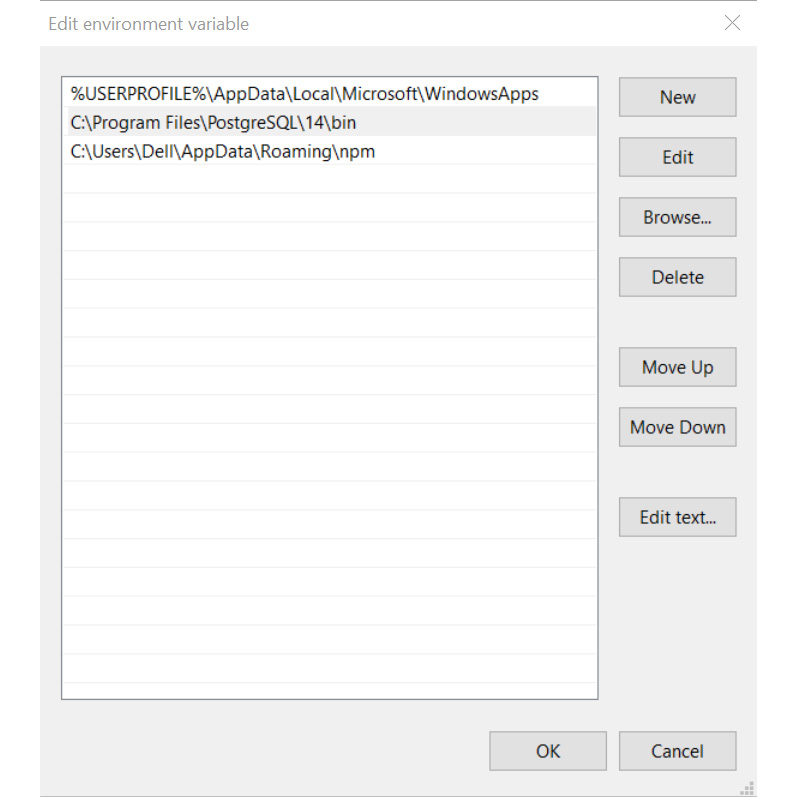
Figure 0.11: Setting the PATH variable
- Using Windows Explorer, locate the path where PostgreSQL is installed. Add the path to the
binfolder of the PostgreSQL installation:
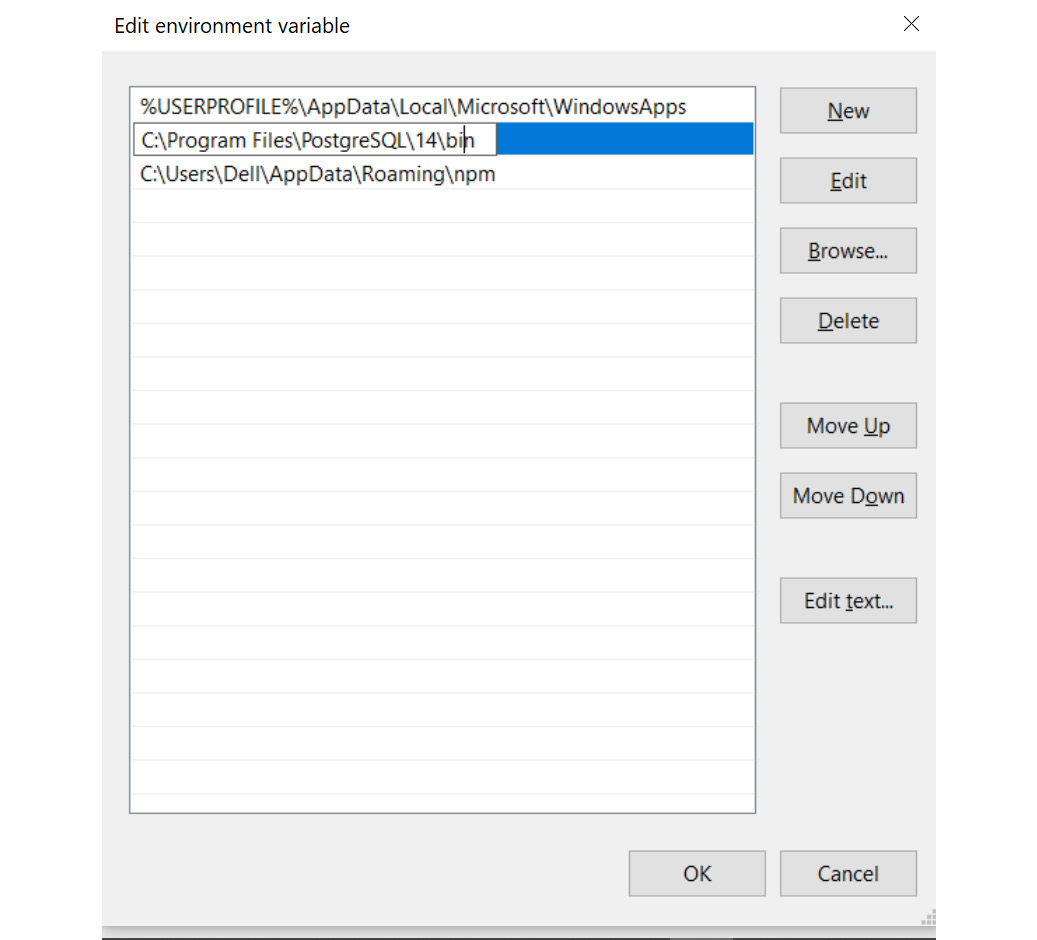
Figure 0.12: Entering the path
- Click
OKand restart the system. - Now, open the command line where you can either type or paste the following command. Press the return key to execute it:
psql -U postgres
- Enter the password you set in step 5 of the Downloading and Installing PostgreSQL on Windows section. Then, press the return key. You should be able to log in to the PostgreSQL console:
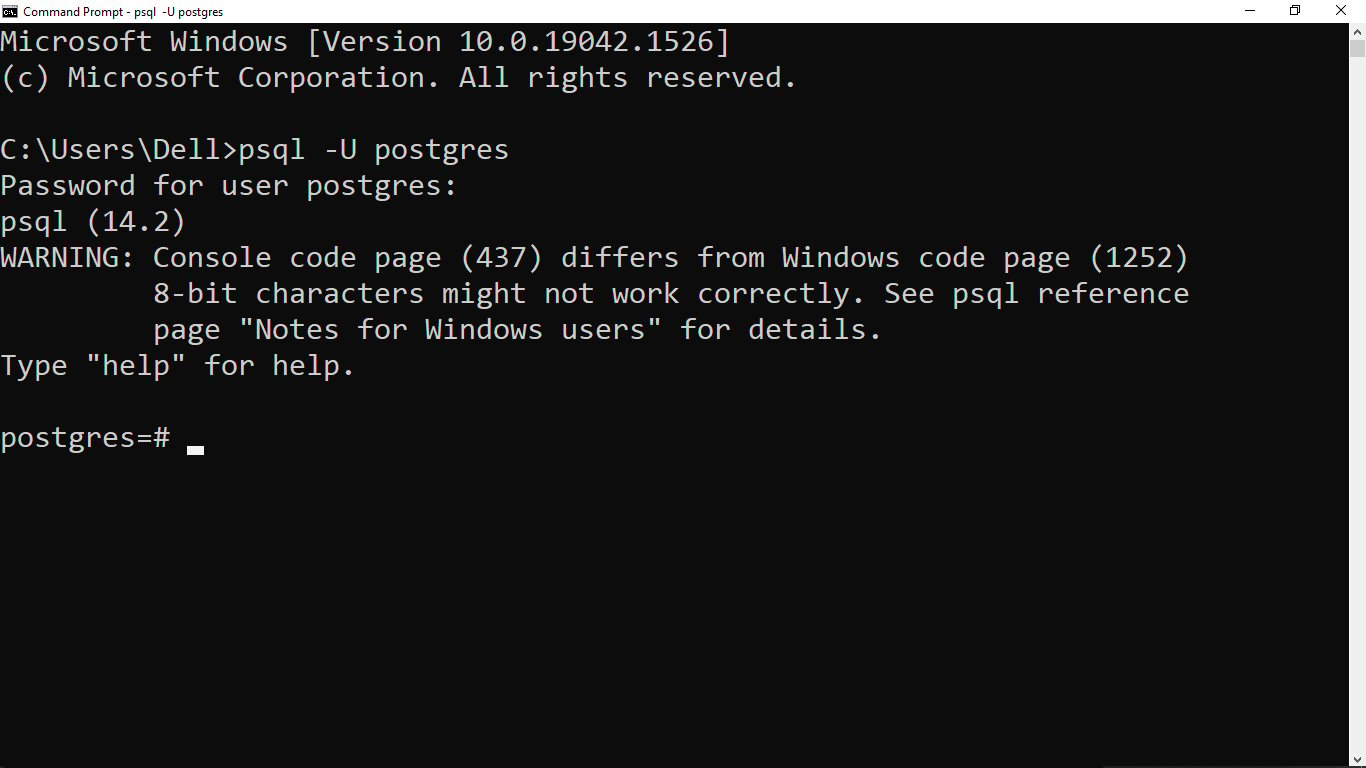
Figure 0.13: PostgreSQL shell
- Type
\qand press the return key to exit the shell:
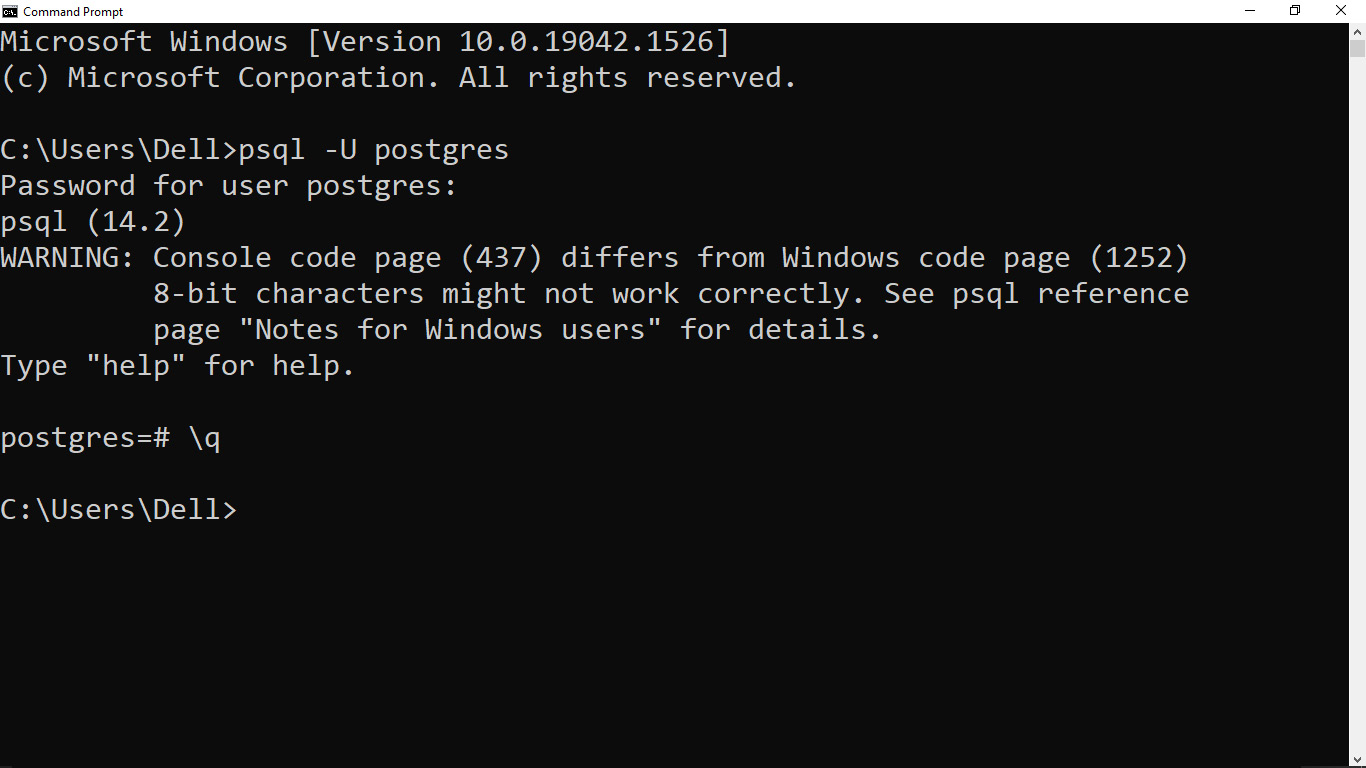
Figure 0.14: Exiting the PostgreSQL shell
The following steps will help you install PostgreSQL on Ubuntu or a Debian-based Linux system.
- Open the Terminal. Then, type or paste the following command on a new line and press the return key:
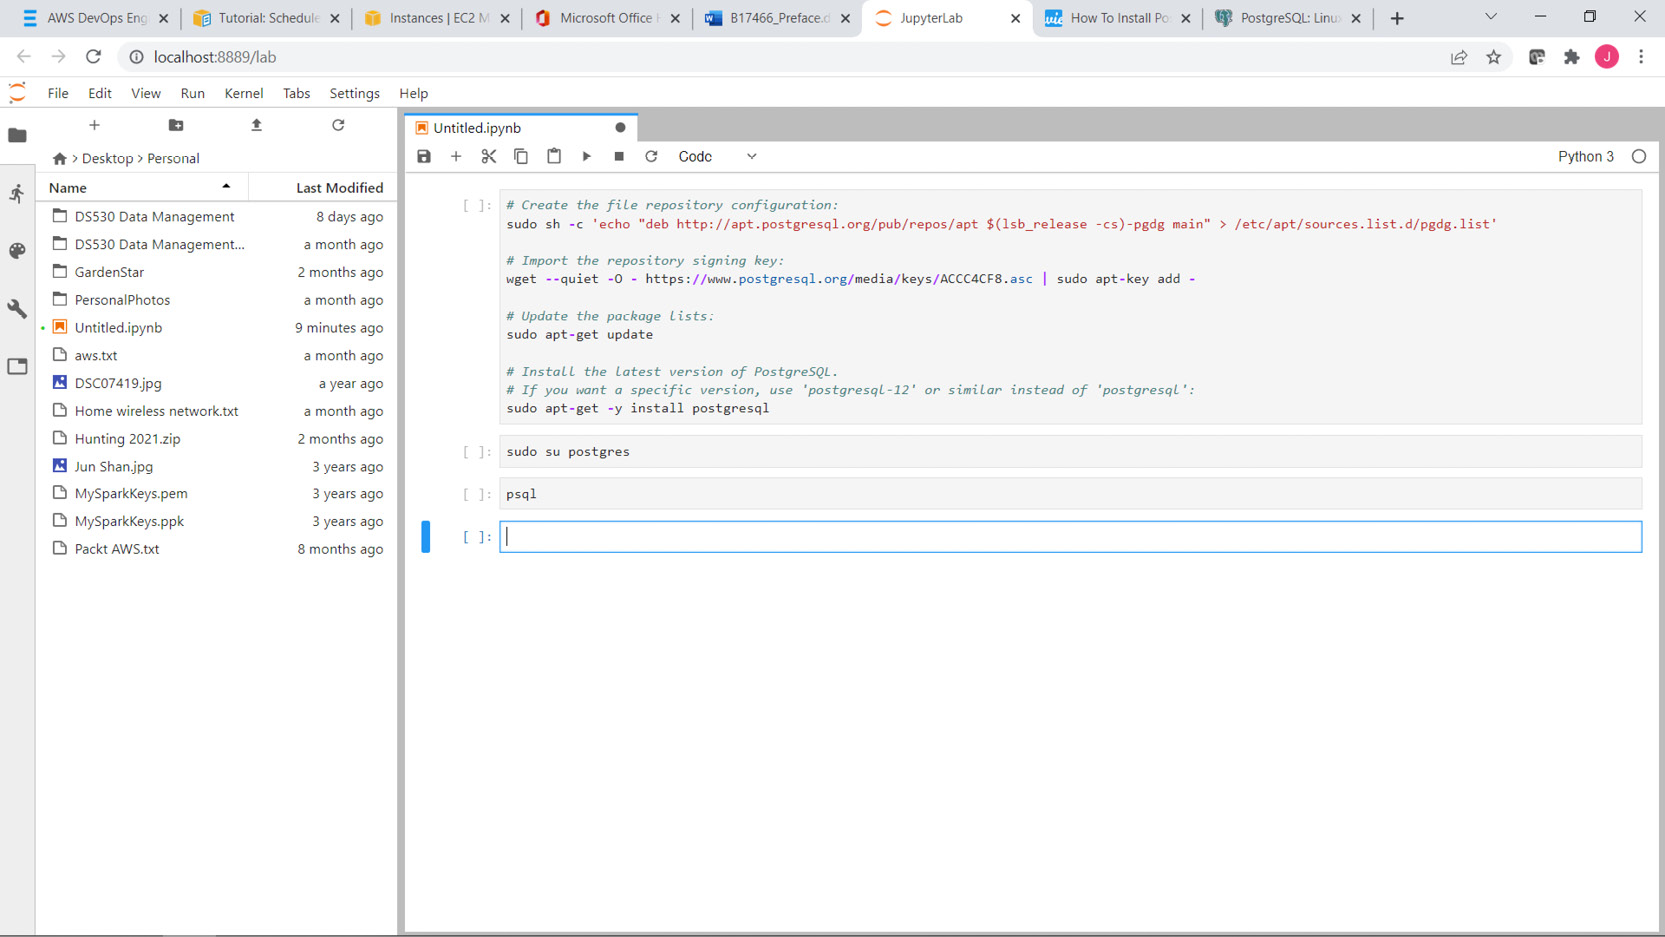
Figure 0.15: Commands on the Terminal
- Upon installation, PostgreSQL will create a user called
postgres. You will need to log in as that user to access the PostgreSQL shell:sudo su postgres
You should see your shell prompt change as follows:

Figure 0.16: Accessing the PostgreSQL shell on Linux
- Typing the following command will take you to the PostgreSQL shell:
psql
You can type \l (a backslash and a lowercase L) to see a list of all the databases that are loaded by default:
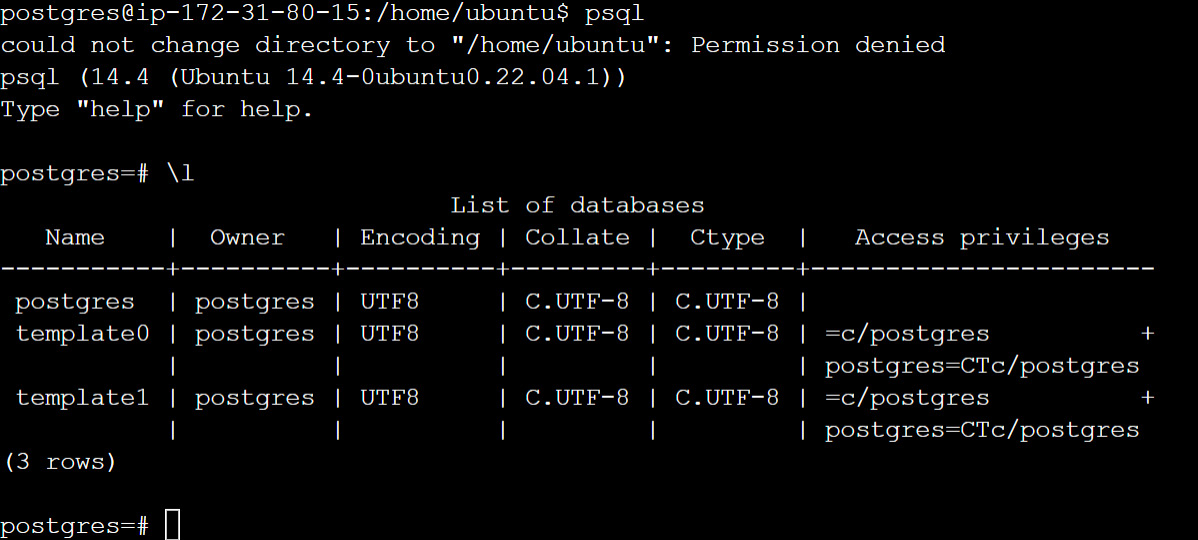
Figure 0.17: List of databases on Linux
Note
You have covered how to install PostgreSQL on Ubuntu and Debian-based systems here. For instructions to install it on other distributions, please refer to your distribution's documentation. The PostgreSQL download page for Linux can be found at https://www.postgresql.org/download/linux/.
Installation on macOS
This section will help you install PostgreSQL on macOS. Before you start installing the software, make sure you have the Homebrew package manager installed on your system. If you do not, head over to https://brew.sh/ and paste the script provided on the webpage in a macOS Terminal (the Terminal app) and press the return key.
Follow the prompts that appear and wait for the script to finish the installation.
Note
The following instructions are written based on macOS Catalina version 10.15.6, which was the latest version at the time of writing. For more help on using Terminal, refer to the following link: https://support.apple.com/en-in/guide/terminal/apd5265185d-f365-44cb-8b09-71a064a42125/mac.
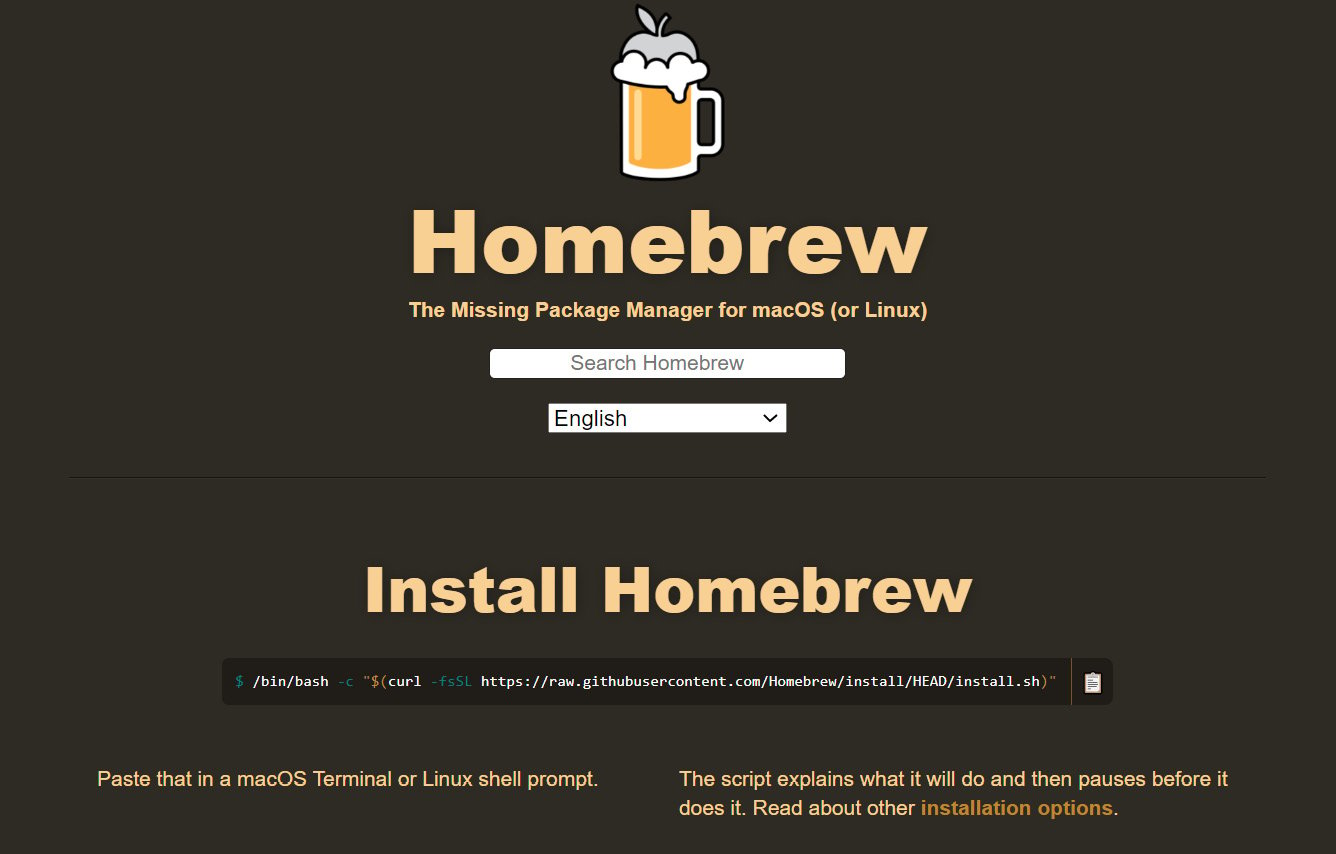
Figure 0.18: Installing Homebrew
Once Homebrew is installed, follow these steps to install PostgreSQL:
- Open a new Terminal window. Type in the following commands in succession followed by the return key to install the PostgreSQL package:
brew doctor brew update
brew install postgres
Wait for the installation to complete. Depending on your local setup and connection speed, you will see messages like those shown below (note that only the partial installation log is shown here):
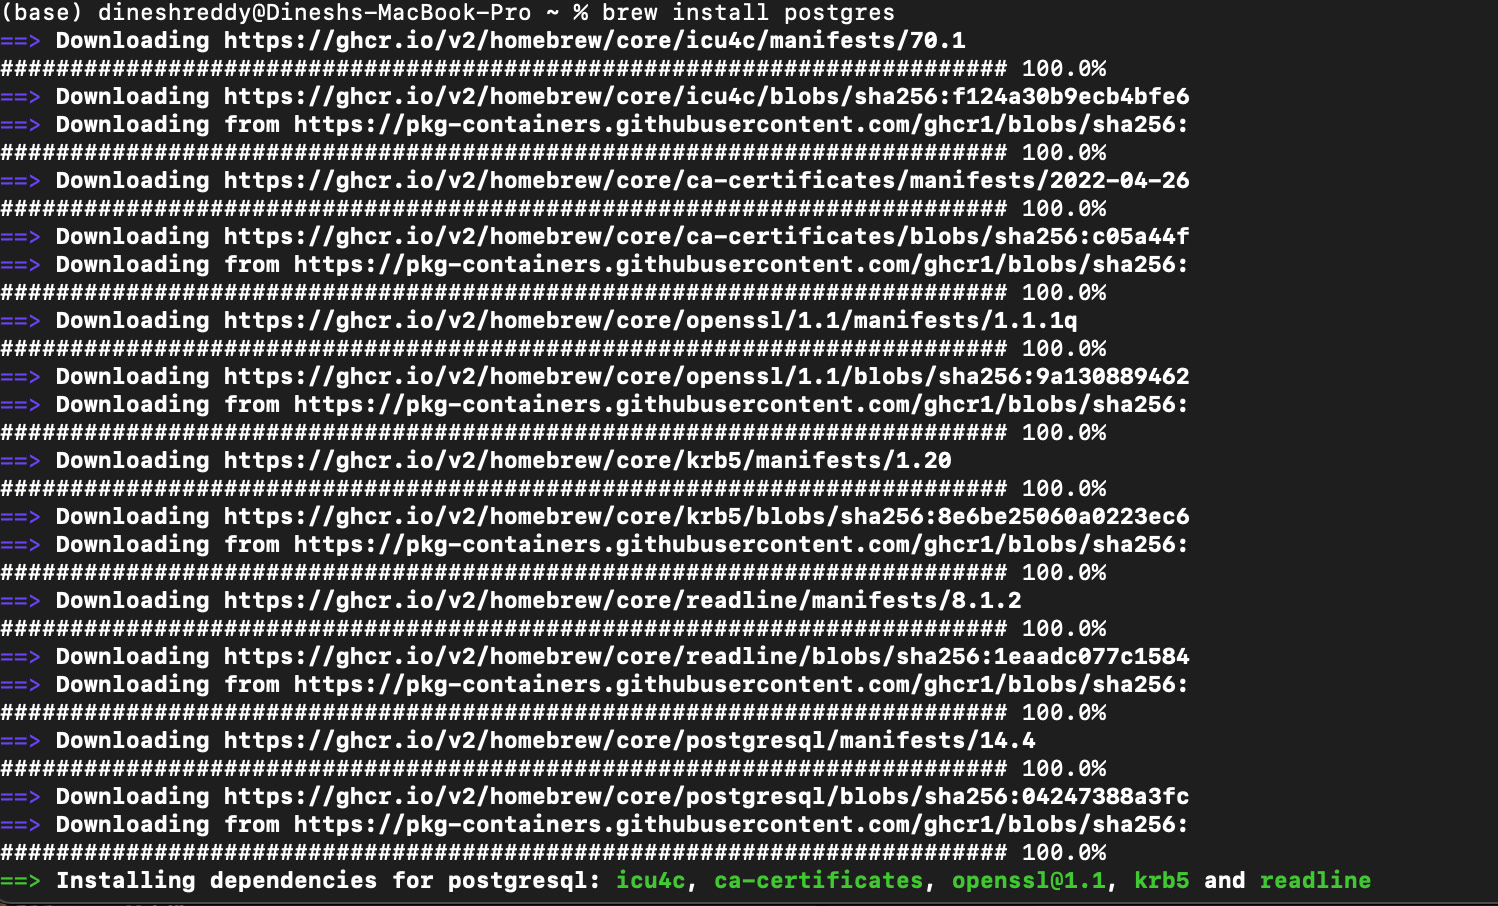
Figure 0.19: Installation progress (partially shown) for PostgreSQL
- Once the installation is complete, start the PostgreSQL process by typing the following command in Terminal and pressing the return key:
pg_ctl -D /usr/local/var/postgres start
You should see an output similar to the following:

Figure 0.20: Starting the PostgreSQL process
- Once the process is started, log in to the PostgreSQL shell using the default superuser called
postgresas follows (press the return key to execute the command):psql postgres
- You can type
\l(a backslash and a lowercase L) followed by the return key to see a list of all the databases that are loaded by default:

Figure 0.21: List of databases loaded by default
- Enter
\qand then press the return key to quit the PostgreSQL shell.Note
pgAdmin will get installed automatically along with PostgreSQL 14.
Installing Python
Installing Python on Windows
- Find your desired version of Python on the official installation page at https://www.anaconda.com/distribution/#windows.
- Ensure that you select Python 3.9 from the download page.
- Ensure that you install the correct architecture for your computer system—that is, either 32-bit or 64-bit. You can find out this information in the
System Propertieswindow of your OS. - After you download the installer, double-click on the file and follow the user-friendly prompts on screen.
Installing Python on Linux
To install Python on Linux, you have a couple of good options:
- Open Command Prompt and verify that Python 3 is not already installed by running
python3 --version. - To install Python 3, run this:
sudo apt-get update
sudo apt-get install python3.9
- If you encounter problems, there are numerous sources online that can help you troubleshoot the issue.
- You can also install Python by downloading the Anaconda Linux installer from https://www.anaconda.com/distribution/#linux and following the instructions.
Installing Python on macOS
Similar to Linux, you have a couple of methods for installing Python on a Mac. To install Python on macOS, do the following:
- Open the Terminal for Mac by pressing CMD + Spacebar, type
terminalin the open search box, and hit Enter. - Install Xcode through the command line by running
xcode-select—install. - The easiest way to install Python 3 is using
Homebrew, which is installed through the command line by runningruby -e "$(curl -fsSL https://raw. githubusercontent.com/Homebrew/install/master/install)". - Add Homebrew to your
$PATHenvironment variable. Open your profile in the command line by runningsudo nano ~/.profileand insertingexportPATH="/usr/local/opt/python/libexec/bin:$PATH"at the bottom. - The final step is to install Python. In the command line, run
brew install python. - Again, you can also install Python via the Anaconda installer, which is available at https://www.anaconda.com/distribution/#macos.


