We will now focus on interacting with Vim without the use of a mouse or navigational menus. Programming is a focus intensive task on its own. Hunting through context menus is nobody's idea of a good time, and keeping our hands on the home row of your keyboard helps trim constant switching between a keyboard and a mouse.
Common operations (or how to exit Vim)
Opening files
First, start your favorite Command Prompt (Terminal in Linux and macOS, Cygwin in Windows). We'll be working on a very basic Python application. For simplicity's sake, let's make a simple square root calculator. Run the following command:
$ vim animal_farm.py
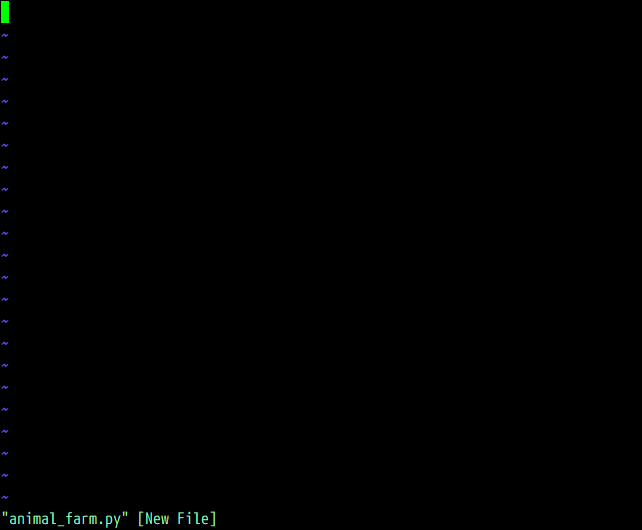
This opens a file named animal_farm.py. If the file existed, you'd see its contents here, but since it doesn't, we're greeted by an empty screen, as shown in the following example:

You can tell that the file doesn't exist by the [New File] text next to a file name in the status line at the bottom of the screen. Woohoo! You've just opened your first file with Vim!
If you already have Vim open—you can load a file by typing the following, and hitting Enter:
:e animal_farm.py
You have just executed your first Vim command! Pressing colon character : enters a command-line mode, which lets you enter a line of text which Vim will interpret as a command. Commands are terminated by hitting the Enter key, which allows you to perform various complex operations, as well as accessing your system's Command line. Command :e stands for edit.
Changing text
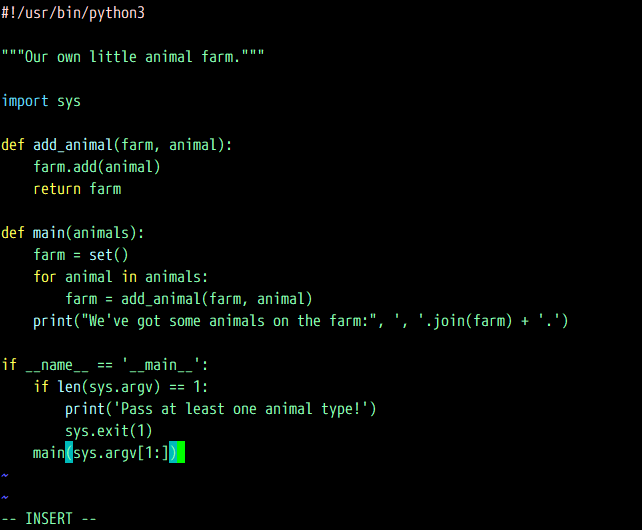
By default you're in Vim's normal mode, meaning that every key press corresponds to a particular command. Hit i on your keyboard to enter an insert mode. This will display -- INSERT -- in a status line (at the bottom), (and, if you're using gVim, it will change the cursor from a block to a vertical line), as can be seen in the following example:

The insert mode behaves just like any other modeless editor. Normally, we wouldn't spend a lot of time in insert mode except for adding new text.
Let's create our Python application by typing in the following code. We'll be navigating this little snippet throughout this chapter:

To get back to normal mode in Vim, hit Esc on your keyboard. You'll see that -- INSERT -- has disappeared from the status line. Now, Vim is ready to take commands from you again!
Saving and closing files
Let's save our file! Execute the following command:
:w
:w stands for write.
Let's exit Vim and check if the file was indeed created. :q stands for quit. You can also combine write and quit commands to write and exit by executing :wq.
:q
If you made changes to a file and want to exit Vim without saving the changes, you'll have to use :q! to force Vim to quit. Exclamation mark at the end of the command forces its execution.
Now that we're back in our system's Command line, let's check the contents of a current directory, as seen in the following code:
$ ls
$ python3 animal_farm.py
$ python3 animal_farm.py cat dog sheep
The following screenshot shows what the three preceding commands should output:

A word about swap files
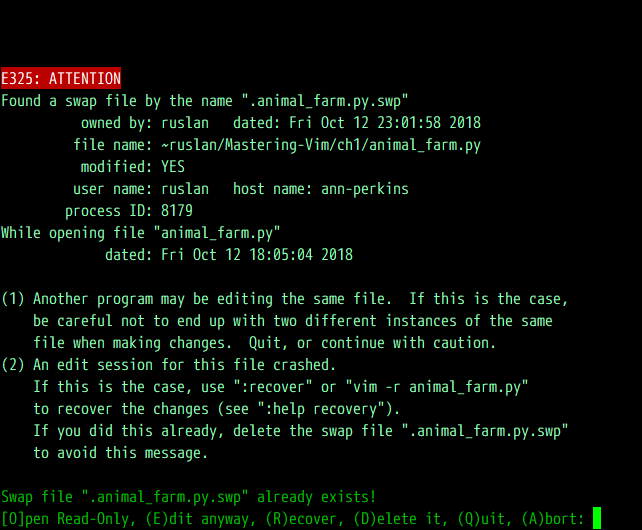
By default, Vim keeps track of the changes you make to files in swap files. The swap files are created as you edit the files, and are used to recover the contents of your files in case either Vim, your SSH session, or your machine crashes. If you don't exit Vim cleanly, you'll be greeted by the following screen:

You can either hit r to recover the swap file contents, or d to delete the swap file and dismiss the changes. If you decide to recover the swap file, you can prevent the same message from showing up next time you open the file in Vim by reopening a file and running :e, and pressing d to delete the swap file.
By default, Vim creates files like <filename>.swp and .<filename>.swp in the same directory as the original file. If you don't like your file system being littered by swap files, you can change this behavior by telling Vim to place all the swap files in a single directory. To do so, add the following to your .vimrc:
set directory=$HOME/.vim/swap//
You can also choose to disable the swap files completely by adding set noswapfile to your .vimrc.


