Search icon CANCEL
Subscription
0
Cart icon
Your Cart (0 item)
Close icon
You have no products in your basket yet
Arrow left icon
Explore Products
Best Sellers
New Releases
Books
Videos
Audiobooks
Learning Hub
Newsletter Hub
Free Learning
Arrow right icon
timer SALE ENDS IN
0 Days
:
00 Hours
:
00 Minutes
:
00 Seconds
Arrow up icon
GO TO TOP
Learn Blender Simulations the Right Way

You're reading from   Learn Blender Simulations the Right Way Create attractive and realistic animations with Mantaflow, rigid and soft bodies, and Dynamic Paint

Arrow left icon
Product type Paperback
Published in Nov 2022
Publisher Packt
ISBN-13 9781803234151
Length 368 pages
Edition 1st Edition
Tools
Concepts
Arrow right icon
Author (1):
Arrow left icon
Stephen Pearson Stephen Pearson
Author Profile Icon Stephen Pearson
Stephen Pearson
Arrow right icon
View More author details
Toc

Table of Contents (21) Chapters Close

Preface 1. Part 1: Using Mantaflow for Fire, Smoke, and Fluids
2. Chapter 1: An Introduction to Mantaflow FREE CHAPTER 3. Chapter 2: Understanding Domains, Flows, and Effectors 4. Chapter 3: Creating a Realistic Campfire Simulation 5. Chapter 4: Creating a Waterfall Using Mantaflow 6. Chapter 5: Creating a Realistic Explosion 7. Part 2: Simulating Physics with Soft Bodies and Cloth
8. Chapter 6: Getting Started with Soft Bodies 9. Chapter 7: Creating a Soft Body Obstacle Course 10. Chapter 8: Introduction to Cloth Simulations 11. Chapter 9: Creating a Realistic Flag 12. Part 3: Diving into Rigid Bodies
13. Chapter 10: An Introduction to Rigid Bodies 14. Chapter 11: Creating a Rigid Body Physics Course 15. Part 4: Understanding Dynamic Paint in Blender
16. Chapter 12: Introduction to Dynamic Paint 17. Chapter 13: Creating a Paintbrush Effect 18. Chapter 14: Creating a Raindrop Effect 19. Index 20. Other Books You May Enjoy

Adding the materials

In the previous chapter, we learned all about dynamic paint and what it takes to create a simulation, but we didn’t cover materials. That is what this next section is all about! We will be taking all the images we just exported from dynamic paint and importing them into the material. After that, we will learn how to create a material for the hair particles. Let’s get started!

Creating the canvas material

The first thing we need to do before we start working on adding nodes to the material is to separate the paintmaps and the wetmaps. When we baked the image sequence, both the paintmaps and wetmaps were put into the same folder.

So instead, let’s select all the wetmap.png files and move them into a new folder, as you can see in the following figure:
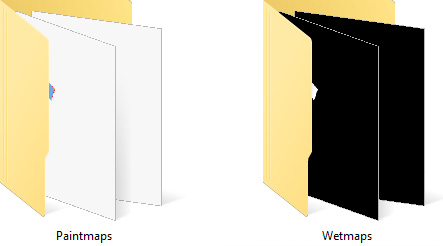
Figure 13.25 – Image folders

Figure 13.25 – Image folders

With that done, we are ready to jump back into Blender and start creating the materials:

  1. Head over to the Shading...
lock icon The rest of the chapter is locked
Register for a free Packt account to unlock a world of extra content!
A free Packt account unlocks extra newsletters, articles, discounted offers, and much more. Start advancing your knowledge today.
Unlock this book and the full library FREE for 7 days
Get unlimited access to 7000+ expert-authored eBooks and videos courses covering every tech area you can think of
Renews at $19.99/month. Cancel anytime