JBoss Developer studio installation requires the following configuration:
- 4 GB RAM (minimum 2 GB RAM)
- 2 GB hard disk space
- JDK 8 to run, but it can deploy applications using lower versions
Download devstudio-10.3.0.GA-installer-standalone.jar and begin the installation using the following command:
java -jar devstudio-10.3.0.GA-incstaller-standalone.jar
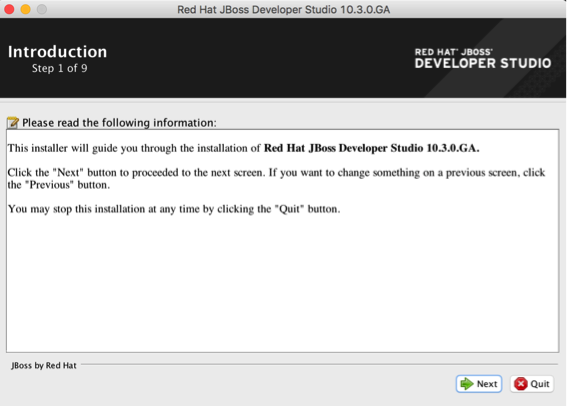
This installation needs JRE 8 to proceed; once launched, the GUI installer starts an installation workflow where you will have to click on the Next button to move to the next step:
The installation wizard has nine steps, which are easy to follow:
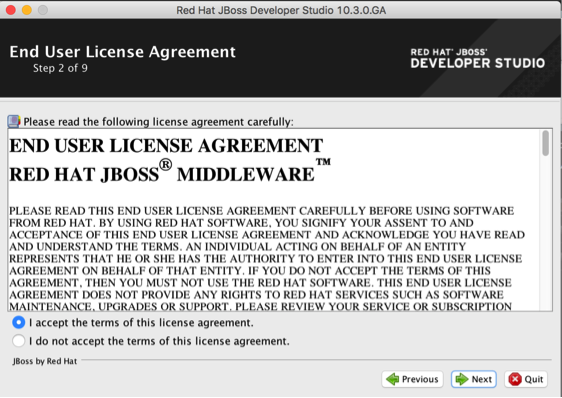
Read and accept the terms of the license agreement:
Installation is done by default in /Applications/devstudio; you can change this directory to use a custom one:
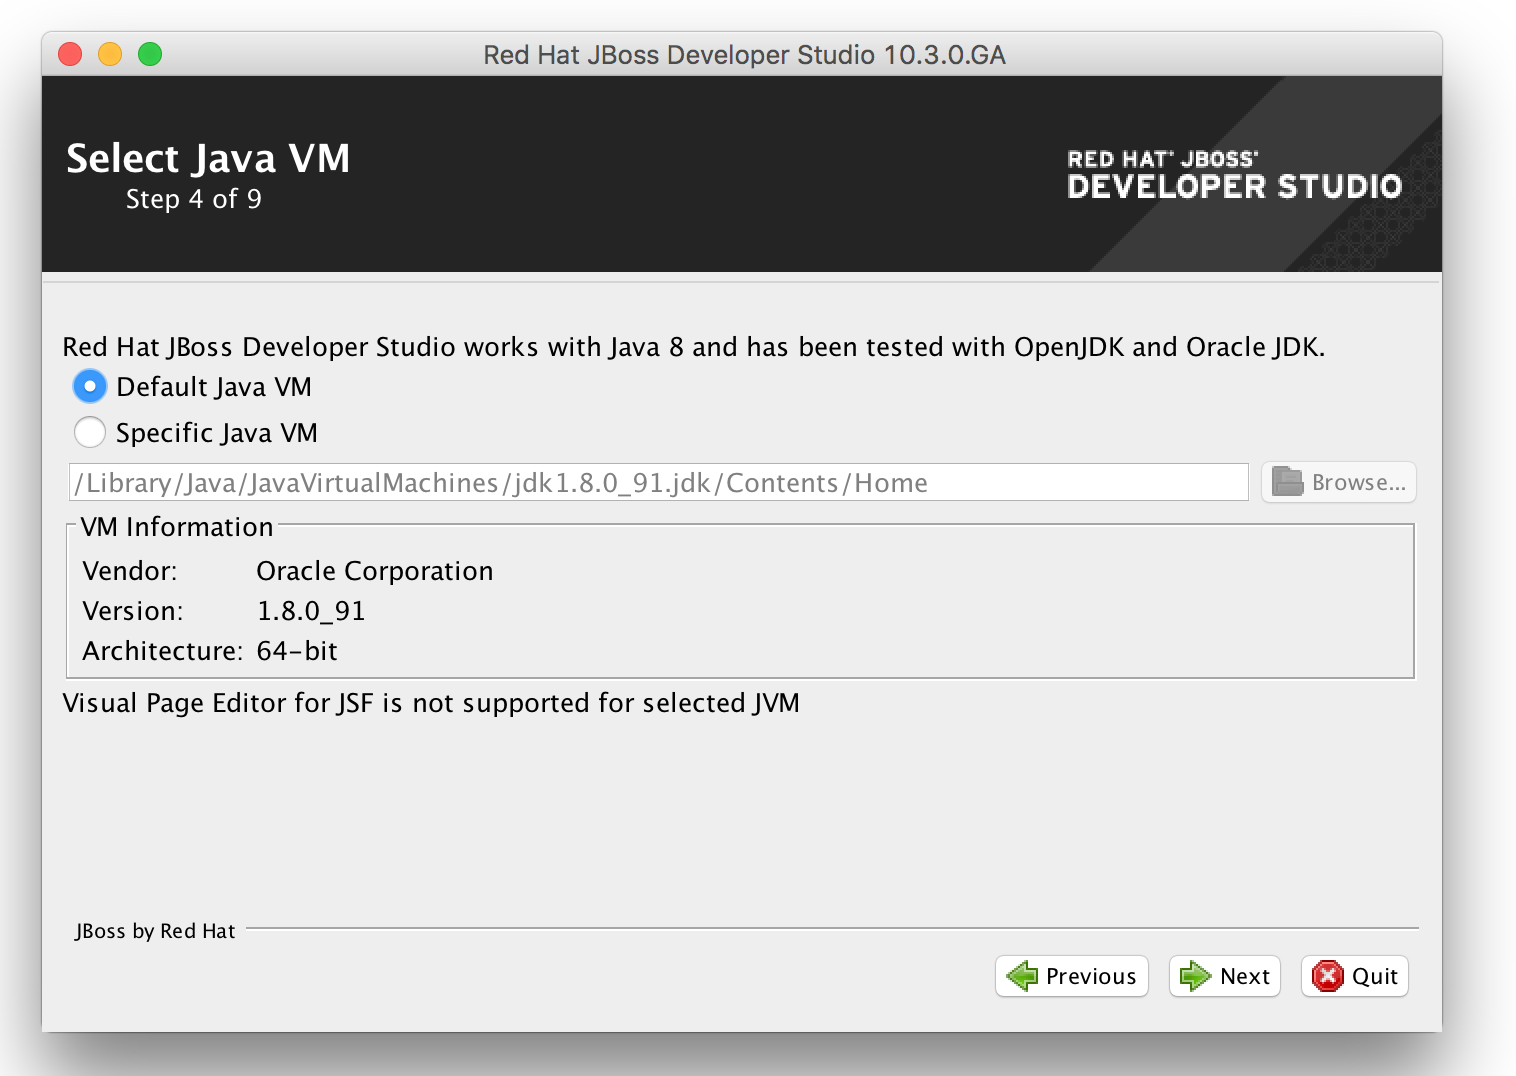
Select the default Java 8 Virtual machine and click on Next button:
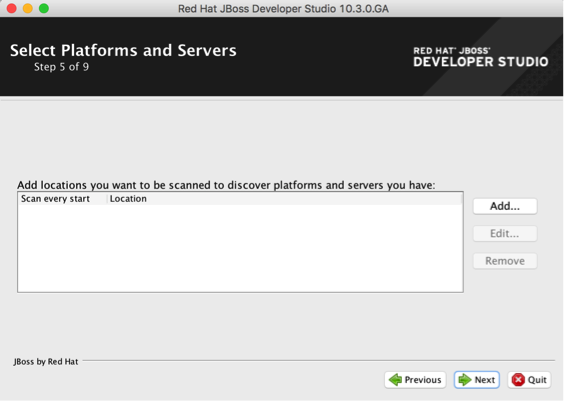
JBDS can scan specific directories to reference your existing JBoss servers.
We will not add a specific location for now; we will just move on to the next steps:
The installer displays the installation path, the component to be installed, as well as the available and required space on your computer. Click on the Next button to proceed with the installation:
In step 7/9 details of each installed component are printed on screen. Wait for the overall installation process to complete:
Click on Done to finish, with the Run Red Hat JBoss Developer after installation option checked. Select a fresh workspace to reach the welcome view.
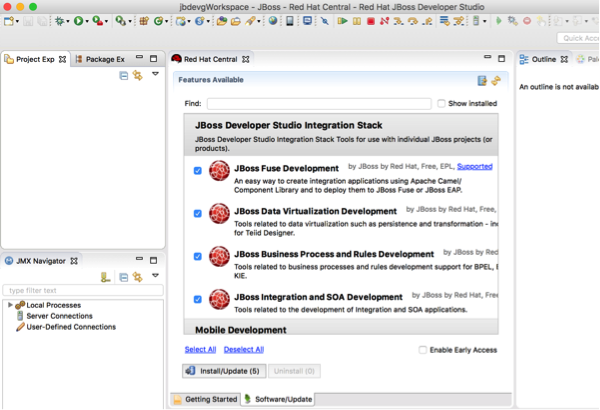
We will use the $HOME/jbdevgWorkspace folder for our installation throughout this book:
This completes the JBDS installation. Once the JBDS installation is complete, you need to ensure that all the development plugins are also installed. While working with JBoss, the integration stack provides a set of plugins and features to ease the development process; let's install the JBoss integration stack plugin.


