Reactor is an implementation completed by the Pivotal Open Source team, conforming to the Reactive Streams API. The framework enables us to build reactive applications, taking care of backpressure and request handling. The library offers the following features.
Reactor
Infinite data streams
Reactor offers implementations for generating infinite sequences of data. At the same time, it offers an API for publishing a single data entry. This is suited to the request-response model. Each API offers methods aimed at handling the specific data cardinality.
Rather than waiting for the entire data collection to arrive, subscribers to each data stream can process items as they arrive. This yields optimized data processing, in terms of space and time. The memory requirement is limited to a subset of items arriving at the same time, rather than the entire collection. In terms of time, results start to arrive as soon as the first element is received, rather than waiting for the entire dataset.
Push-pull model
Reactor is a push-pull system. A fast producer raises events and waits for the slower subscriber to pull them. In the case of a slow publisher and a fast subscriber, the subscriber waits for events to be pushed from the producer. The Reactive Streams API allows this data flow to be dynamic in nature. It only depends on the real-time rate of production and the rate of consumption.
Concurrency agnostic
The Reactor execution model is a concurrency agnostic. It does not cover how different streams should be processed. The library facilitates different execution models, which can be used at a developer's discretion. All transformations are thread safe. There are various operators that can influence the execution model by combining different synchronous streams.
Operator vocabulary
Reactor provides a wide range of operators. These operators allow us to select, filter, transform, and combine streams. The operations are performed as a workstation in a pipeline. They can be combined with each other to build high-level, easy-to-reason data pipelines.
Reactor has been adopted in Spring Framework 5.0 to provide reactive features. The complete project consists of the following sub-projects:
- Reactor-Core: This project provides the implementation for the Reactive Streams API. The project is also the foundation for Spring Framework 5.0 Reactive Extensions.
- Reactor-Extra: This project complements the Reactor-Core project. It provides the necessary operators to work on top of the Reactive Streams API.
- Reactor-Tests: This project contains utilities for test verification.
- Reactor-IPC: This project provides non-blocking, inter-process communication. It also provides backpressure-ready network engines for HTTP (including WebSockets), TCP, and UDP. The module can also be used to build microservices.
Project setup
This book follows a hands-on approach; you will learn Reactor by working with examples. This chapter will set up the project that we will use throughout this book. Before we can move on, we will have to do some setting up. Please install the following items on your machine:
-
Java 8: Reactor works with Java 8 or above. Please download the latest update of Java 8 from the official Oracle website at http://www.oracle.com/technetwork/java/javase/downloads/index.html. At the time of writing, the Java version was 1.8.0_101. You can check your Java version by running the following command:
$ java -version
java version "1.8.0_101"
Java(TM) SE Runtime Environment (build 1.8.0_101-b13)
Java HotSpot(TM) 64-Bit Server VM (build 25.101-b13, mixed mode)
-
IntelliJ IDEA 2018.1 or above: We will be using the latest community edition of IntelliJ. You can download the latest version from the JetBrains website at https://www.jetbrains.com/idea/download/. We will be using version 2018.1.1.
-
Gradle: Gradle is a one of the most popular build tools in the JVM ecosystem. It is used for dependency management and for running automated tasks. You don't have to install Gradle on your local machine; we will use a Gradle wrapper that downloads and installs Gradle for your project. To learn more about Gradle, you can refer to the Gradle documentation at https://docs.gradle.org/current/userguide/userguide.html.
Now that we have all the prerequisites, let's create a Gradle project by using IntelliJ IDEA itself:
- Launch IntelliJ IDEA and you will see the following screen, where you can begin to create a project:
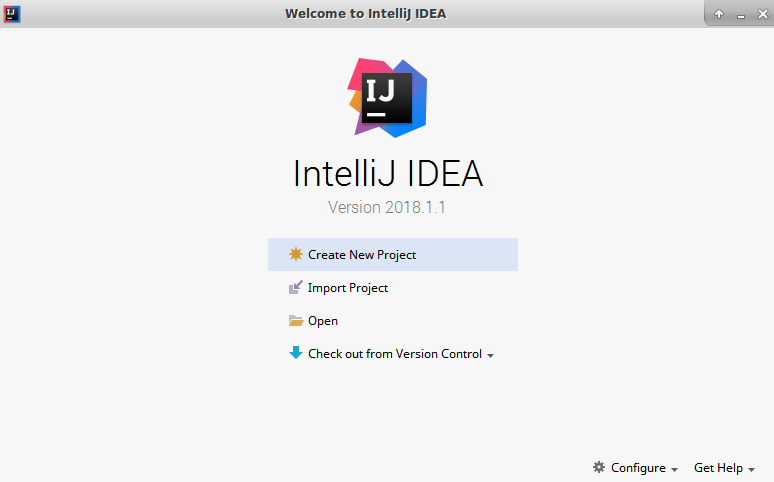
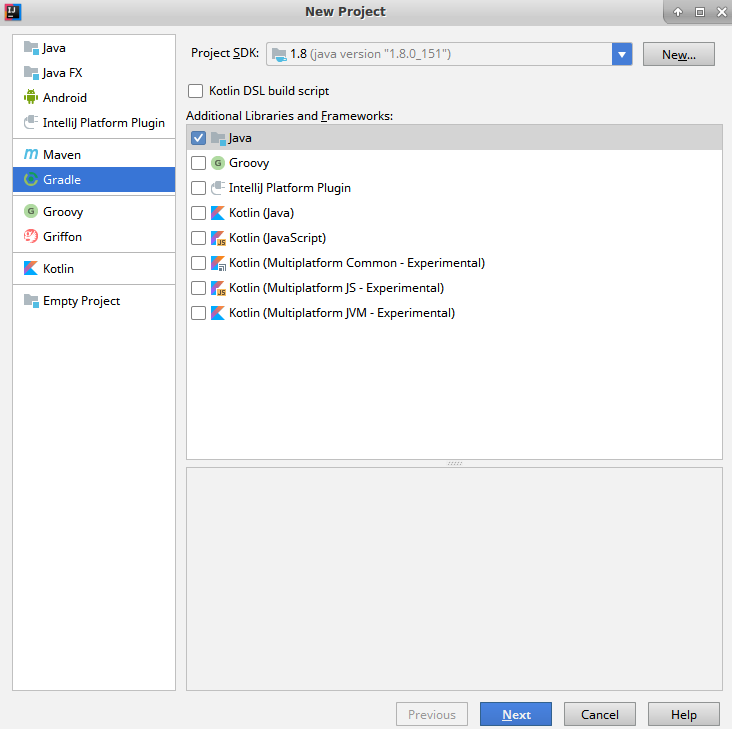
- Click on Create New Project to start the process of creating a Java Gradle project. You will see a screen for creating a new project. Here, select Gradle and Java, as shown in the following screenshot. You will also have to specify the Project SDK. Click on the New button to select JDK 8. Then, click on Next to move to the next screen:
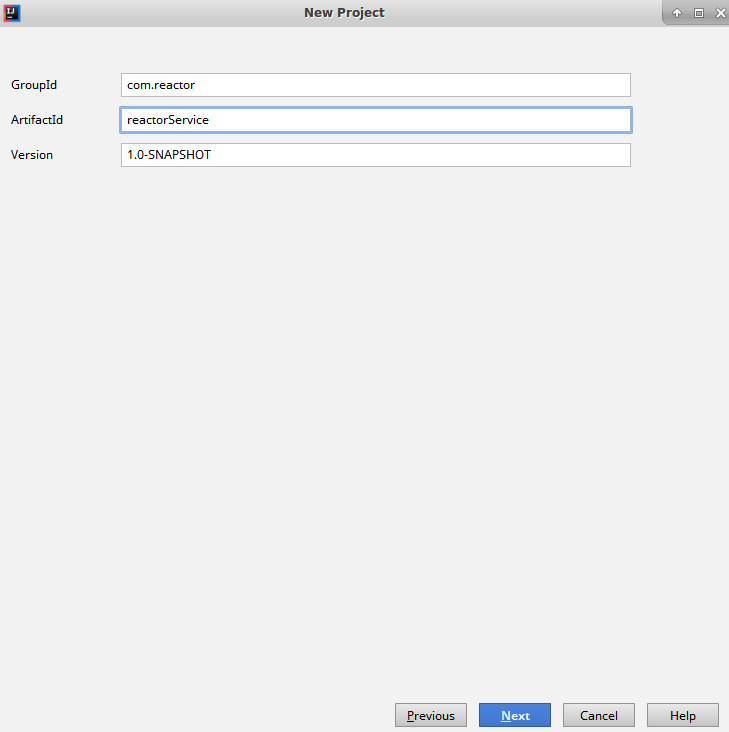
- Now you will be asked to enter the GroupId and ArtifactId. Click on Next to move to the next screen:
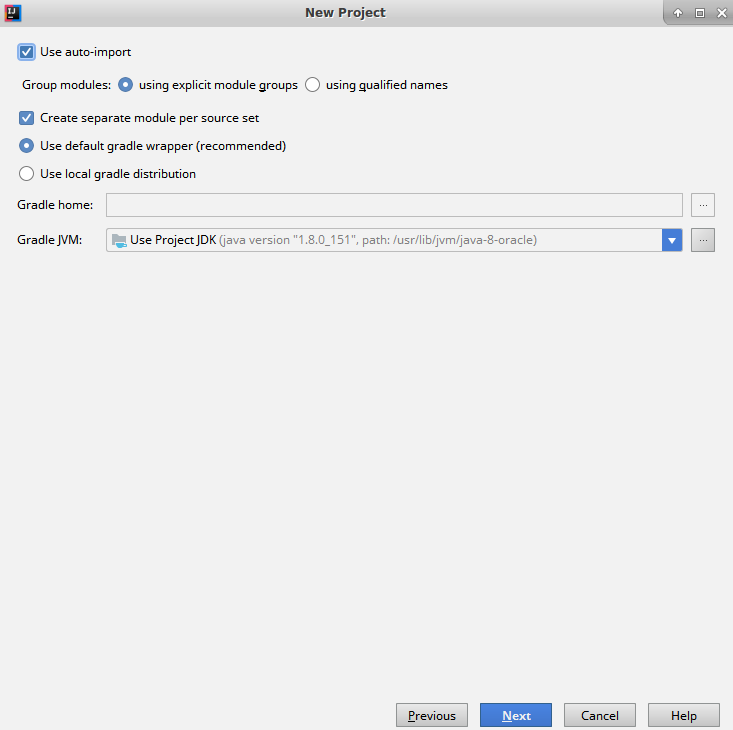
- The next screen will ask you to specify a few Gradle settings. We will select Use auto-import, so that Gradle will automatically add new dependencies when we add them to the build file. Click on Next to move to the final screen:
- On this screen, you will be asked for the location where you want to create the project. Select a convenient directory path for the application. Finally, click on Finish to complete the project creation process:
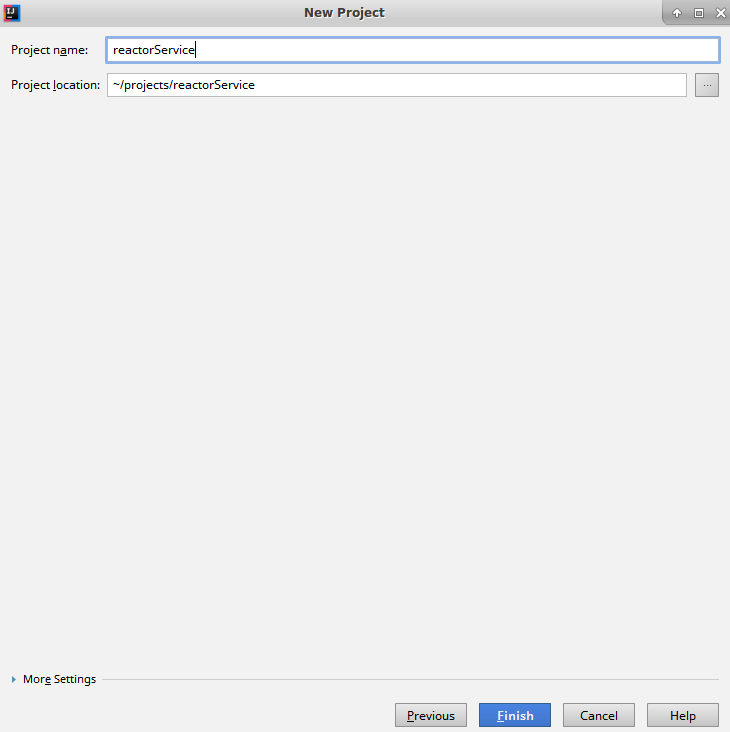
Now that the Java Gradle project has been created, we have to make a couple of changes in the Gradle build file, that is, build.gradle. Open the build.gradle file in IDE and change it to match the following contents:
plugins {
    id "io.spring.dependency-management" version "1.0.5.RELEASE"
}
group 'com.reactor'
version '1.0-SNAPSHOT'
apply plugin: 'java'
sourceCompatibility = 1.8
repositories {
    mavenCentral()
}
dependencyManagement {
    imports {
        mavenBom "io.projectreactor:reactor-bom:Bismuth-RELEASE"
    }
}
dependencies {
    compile 'io.projectreactor:reactor-core'
    testCompile group: 'junit', name: 'junit', version: '4.12'
}
In the preceding build.gradle file, we have done the following:
- Added the io.spring.dependency-management plugin. This plugin allows us to have a dependency-management section, for configuring dependency versions.
- Configured the dependency-management plugin to download the latest version of Reactor. We have used the maven BOM published by the Reactor project.
- Added the reactor-core dependency to the list of project dependencies.
That's all we need to do to start using Reactor.
Now, let's build a simple test case to see how we can work with the Reactor API. We will build a simple test case for generating Fibonacci numbers. Wikipedia defines Fibonacci numbers as follows:
0 , 1 , 1 , 2 , 3 , 5 , 8 , 13 , 21 , 34 , 55 , 89 , 144, ..."
Let's build our test for the Fibonacci generation. The test case will start to generate a series, from 0 and 1. It will generate the first 50 Fibonacci numbers, and will validate the 50th number as 7778742049:
@Test
public void testFibonacci() {
  Flux<Long> fibonacciGenerator = Flux.generate(
    () -> Tuples.<Long, Long>of(0L, 1L),
     (state, sink) -> {
       sink.next(state.getT1());
       return Tuples.of(state.getT2(), state.getT1() + state.getT2());
     });
     List<Long> fibonacciSeries = new LinkedList<>();
     int size = 50;
     fibonacciGenerator.take(size).subscribe(t -> {
       fibonacciSeries.add(t);
     });
     System.out.println(fibonacciSeries);
     assertEquals( 7778742049L, fibonacciSeries.get(size-1).longValue());
}
In the preceding test case, we are doing the following:
- We create Fibonacci as Flux<Long>, by using the Flux.generate() call. The API has a State and Sink. For now, we will leave the Flux API details for the next chapter.
- The API takes a seed as Tuple [0 , 1]. It then emits the first argument of the pair by using the Sink.next() call.
- The API also generates the next Fibonacci number by aggregating the pair.
- Next, we select the first 50 Fibonacci numbers by using the take() operator.
- We subscribe to the published numbers, and then append the received number to a List<Long>.
- Finally, we assert the published numbers.
In the preceding test case, we have used a number of Rector features. We will cover each of them in detail in our subsequent chapters. For now, let's execute the test case and check that our project is running fine.
Running our unit test should give us a green bar, as follows:


