
Using the snapshots we took previously, let's create our first story by going through the following steps:
- From the app overview, or sheet view, click the small Stories icon that lies at the top of the screen. This icon looks as follows:
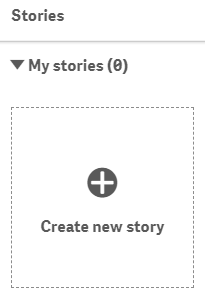
- Click on the Create new story button, as shown in the following screenshot:
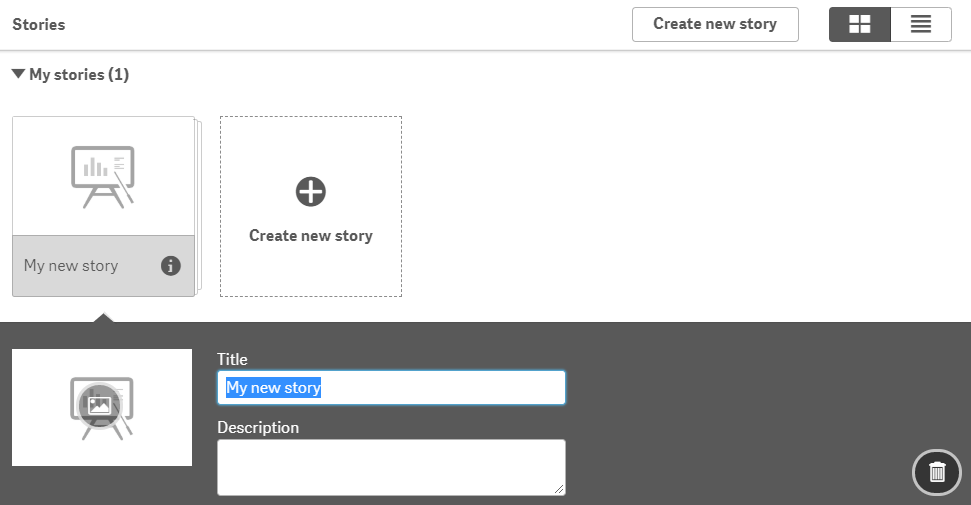
- A story named My new story is created. We can rename it, add a description and a thumbnail image, or even delete the story using the form shown in the following screenshot:
- This brings us to the following screen, which allows us to manage our story:
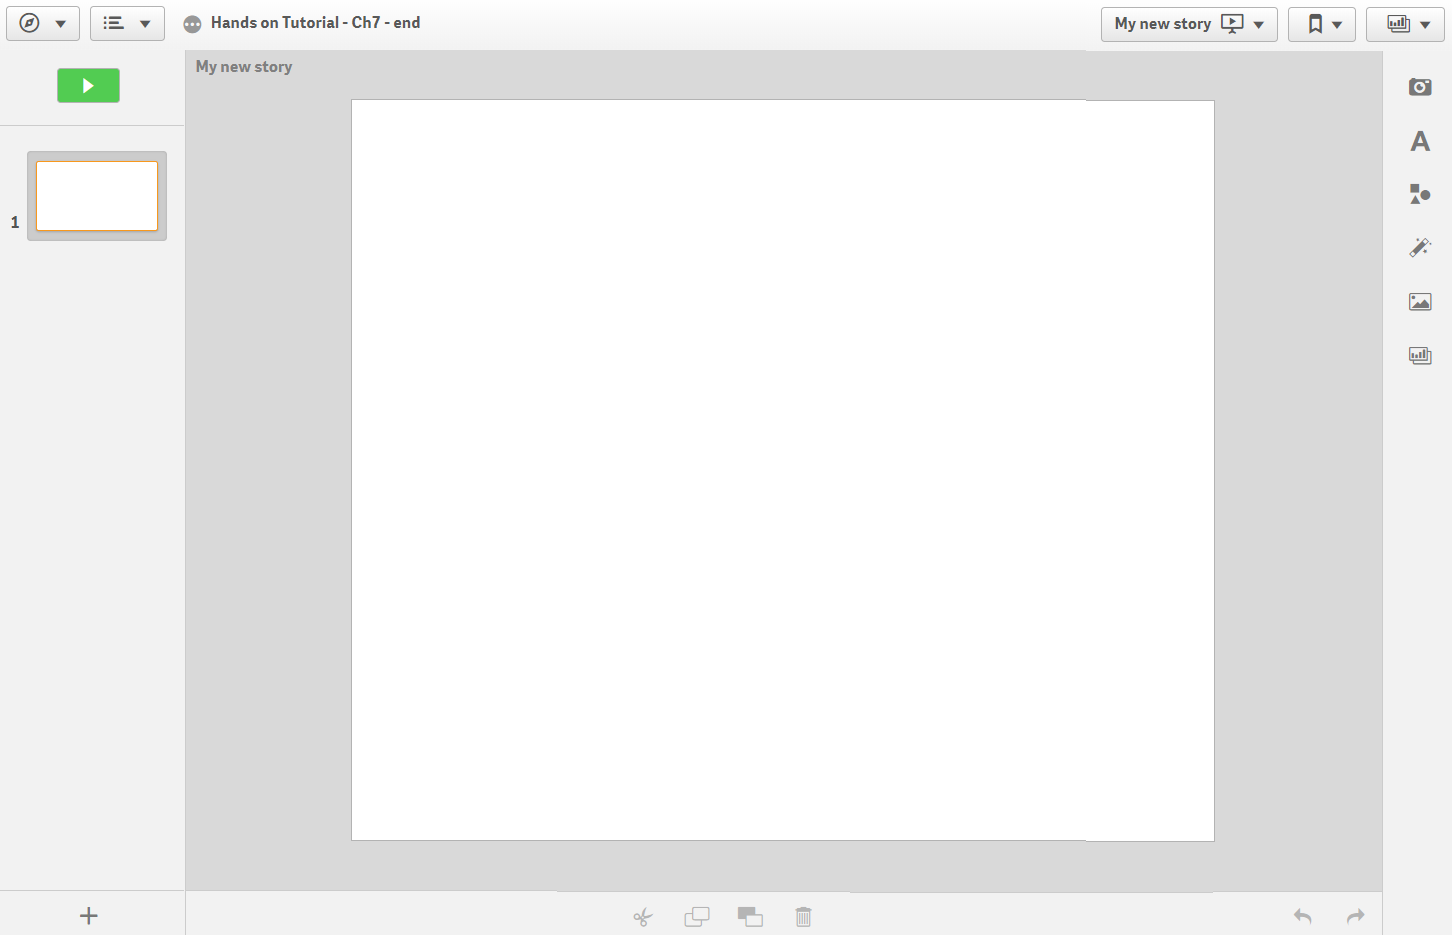
As you can see, we have four major areas:
- The left area: Here, we can see a preview of all our slides, as shown in the following screenshot. We can either rearrange the slides, add more slides, or delete the existing ones:

- The right area: Here, we can access the following:
- Snapshot library...