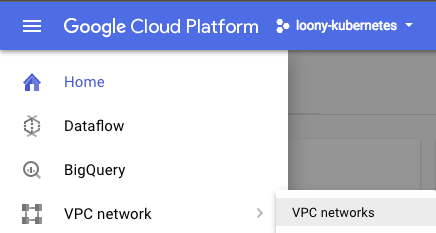
Working with GCP VPCs should be easy to adapt to if you have already gone through the previous chapters and are familiar with the GUI of web console:
- Click on the menu button in the top left corner of web console, navigate to the VPC network tab, and go to the VPC networks section:
- Click on Create VPC Network.
- Fill in the specification fields and choose automatic in the Subnets field. Make sure that the name of the VPC only contains lowercase letters and no space characters in it:

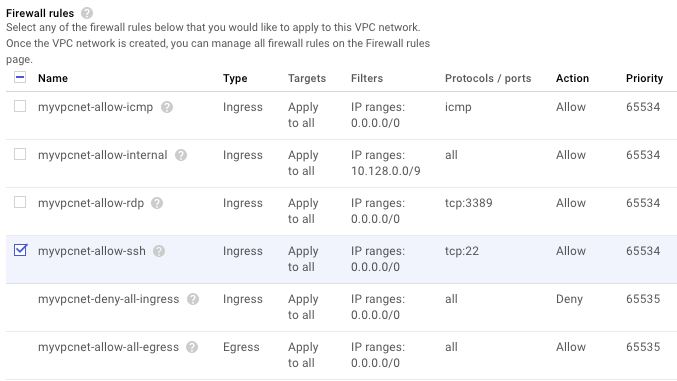
- We can choose the firewall rules from a set of predefined ones, but we will create them later:
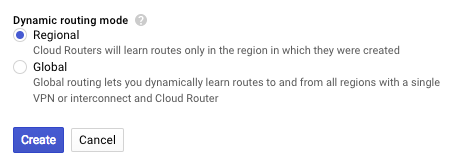
- After choosing Regional or Global routing, click on Create. We will choose Regional:
- You can edit it later by switching to custom mode from auto mode.
- Finally, you delete a VPC network by either going to the VPC Networks page and clicking on DeleteVPC network after selecting...