Labs
In this first chapter, we covered a lot of content, learning what containers are and how they fit into the modern microservices architecture.
In this lab, we will install a fully functional development environment for container-based applications. We will use Docker Desktop because it includes a container runtime, its client, and a minimal but fully functional Kubernetes orchestration solution.
We could use Docker Engine in Linux directly (the container runtime only, following the instructions at https://docs.docker.com/) for most labs but we will need to install a new tool for the Kubernetes labs, which requires a minimal Kubernetes cluster installation. Thus, even for just using the command line, we will use the Docker Desktop environment.
Important note
We will use a Kubernetes desktop environment to minimize CPU and memory requirements. There are even lighter Kubernetes cluster alternatives such as KinD or K3S, but these may require some customization. Of course, you can also use any cloud provider’s Kubernetes environment if you feel more comfortable doing so.
Installing Docker Desktop
This lab will guide you through the installation of Docker Desktop on your laptop or workstation and how to execute a test to verify that it works correctly.
Docker Desktop can be installed on Microsoft Windows 10, most of the common Linux flavors, and macOS (the arm64 and amd64 architectures are both supported). This lab will show you how to install this software on Windows 10, but I will use Windows and Linux interchangeably in other labs as they mostly work the same – we will review any differences between the platforms when required.
We will follow the simple steps documented at https://docs.docker.com/get-docker/. Docker Desktop can be deployed on Windows using Hyper-V or the newer Windows Subsystem for Linux 2 (WSL 2). This second option uses less compute and memory resources and is nicely integrated into Microsoft Windows, making it the preferred installation method, but note that WSL2 is required on your host before installing Docker Desktop. Please follow the instructions from Microsoft at https://learn.microsoft.com/en-us/windows/wsl/install before installing Docker Desktop. You can install any Linux distribution because the integration will be automatically included.
We will use the Ubuntu WSL distribution. It is available from the Microsoft Store and is simple to install:
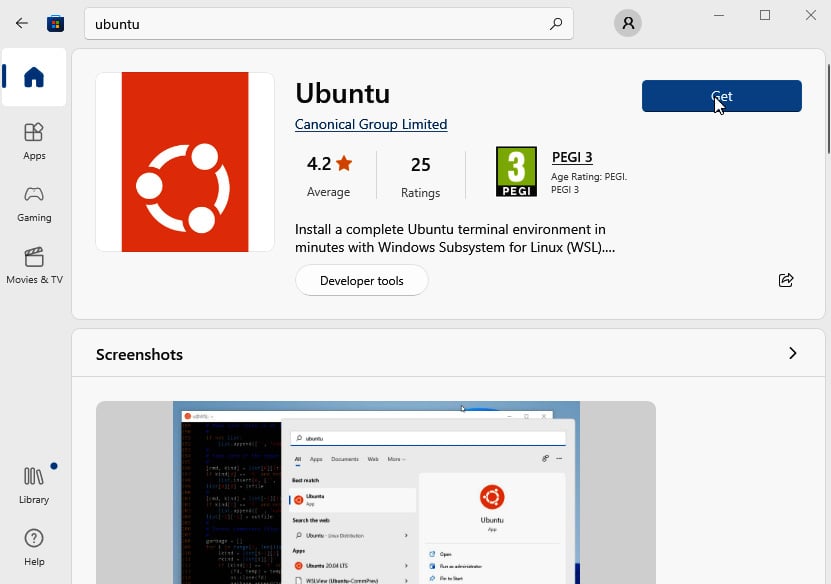
Figure 1.9 – Ubuntu in the Microsoft Store
During the installation, you will be prompted for username and password details for this Windows subsystem installation:

Figure 1.10 – After installing Ubuntu, you will have a fully functional Linux Terminal
You can close this Ubuntu Terminal as the Docker Desktop integration will require you to open a new one once it has been configured.
Important note
You may need to execute some additional steps at https://docs.microsoft.com/windows/wsl/wsl2-kernel to update WSL2 if your operating system hasn’t been updated.
Now, let’s continue with the Docker Desktop installation:
- Download the installer from https://docs.docker.com/get-docker/:
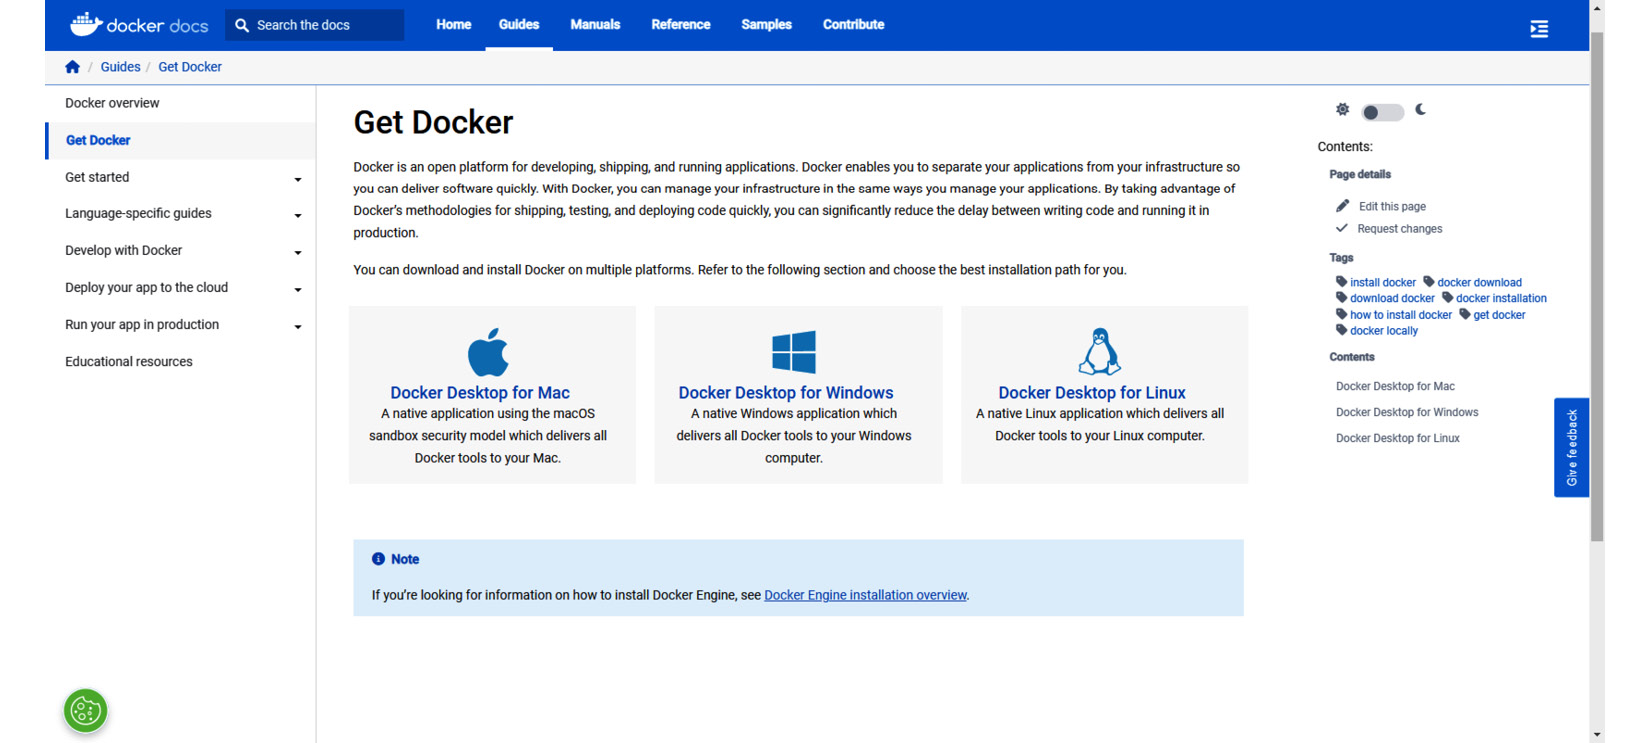
Figure 1.11 – Docker Desktop download section
- Once downloaded, execute the
Docker Desktop Installer.exebinary. You will be asked to choose between Hyper-V or WSL2 backend virtualization; we will choose WSL2:

Figure 1.12 – Choosing the WSL2 integration for better performance
- After clicking Ok, the installation process will begin decompressing the required files (libraries, binaries, default configurations, and so on). This could take some time (1 to 3 minutes), depending on your host’s disk speed and compute resources:
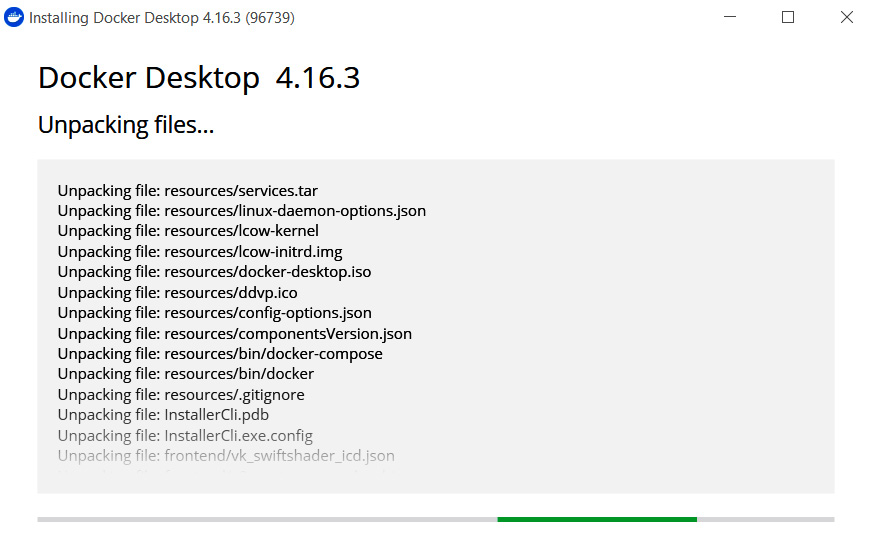
Figure 1.13 – The installation process will take a while as the application files are decompressed and installed on your system
- To finish the installation, we will be asked to log out and log in again because our user was added to new system groups (Docker) to enable access to the remote Docker daemon via operating system pipes (similar to Unix sockets):
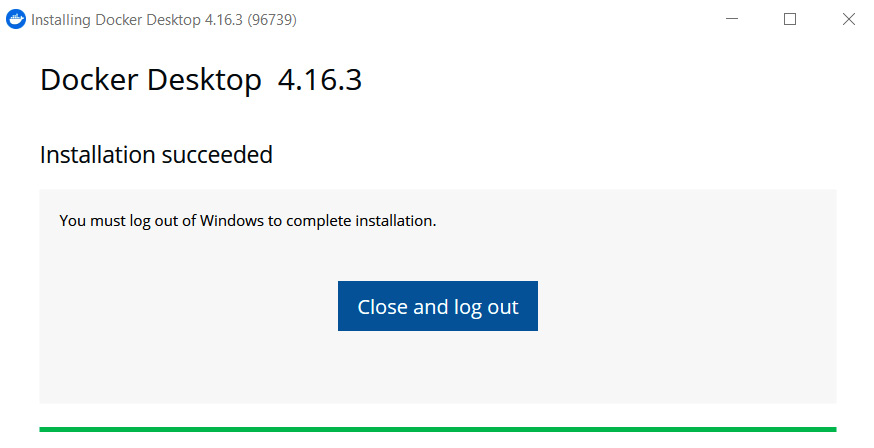
Figure 1.14 – Docker Desktop has been successfully installed and we must log out
- Once we log in, we can execute Docker Desktop using the newly added application icon. We can enable Docker Desktop execution on start, which could be very useful, but it may slow down your computer if you are short on resources. I recommend starting Docker Desktop only when you are going to use it.
Once we’ve accepted the Docker Subscription license terms, Docker Desktop will start. This may take a minute:
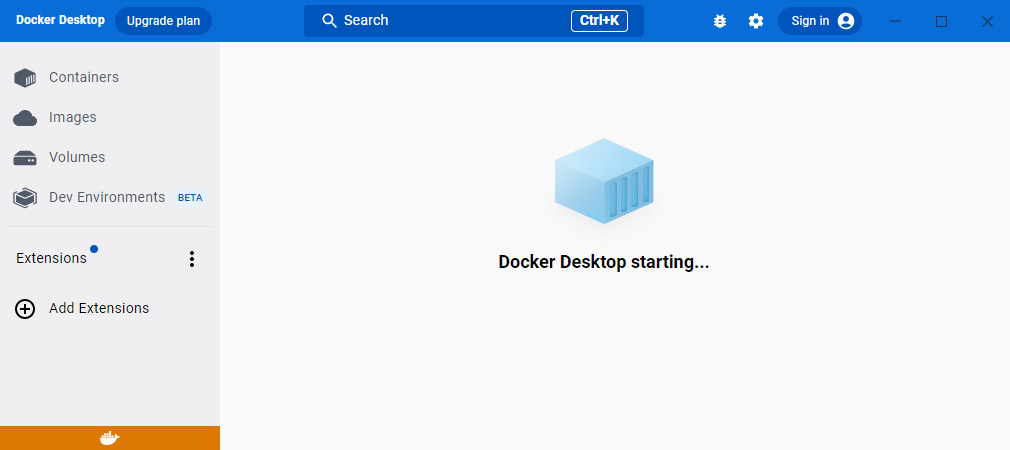
Figure 1.15 – Docker Desktop is starting
You can skip the quick guide that will appear when Docker Desktop is running because we will learn more about this in the following chapters as we deep dive into building container images and container execution.
- We will get the following screen, showing us that Docker Desktop is ready:
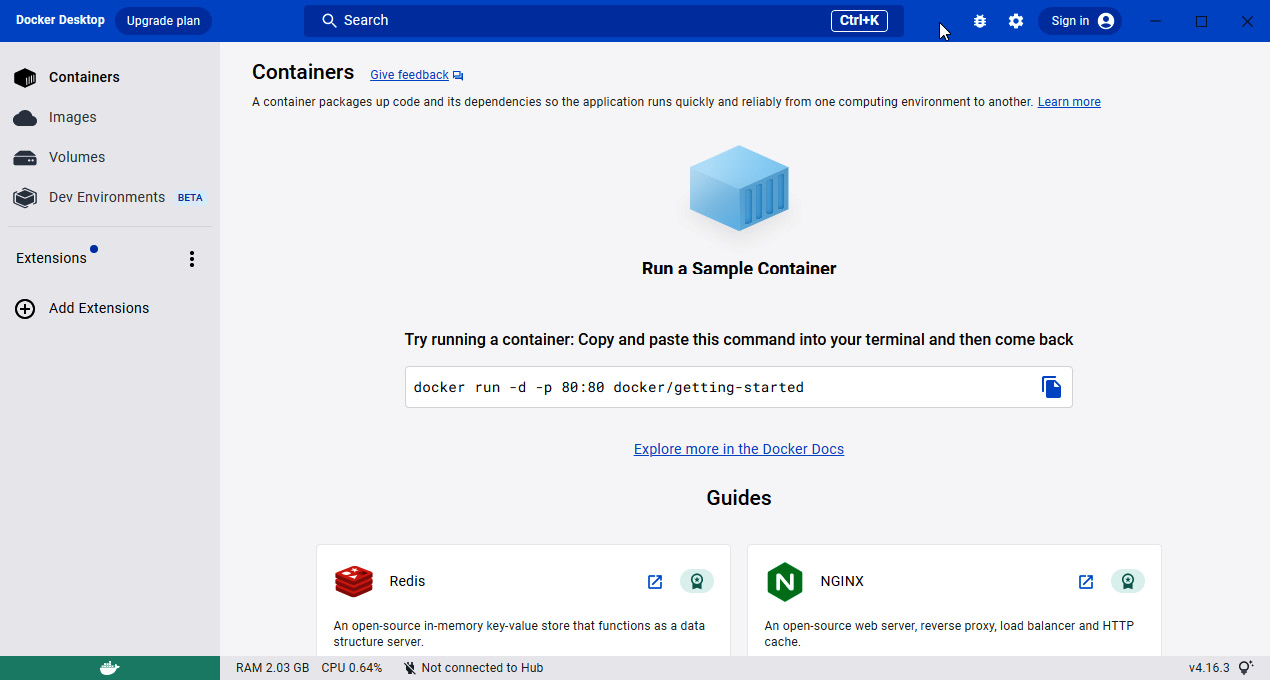
Figure 1.16 – Docker Desktop main screen
- We need to enable WSL2 integration with our favorite Linux distribution:
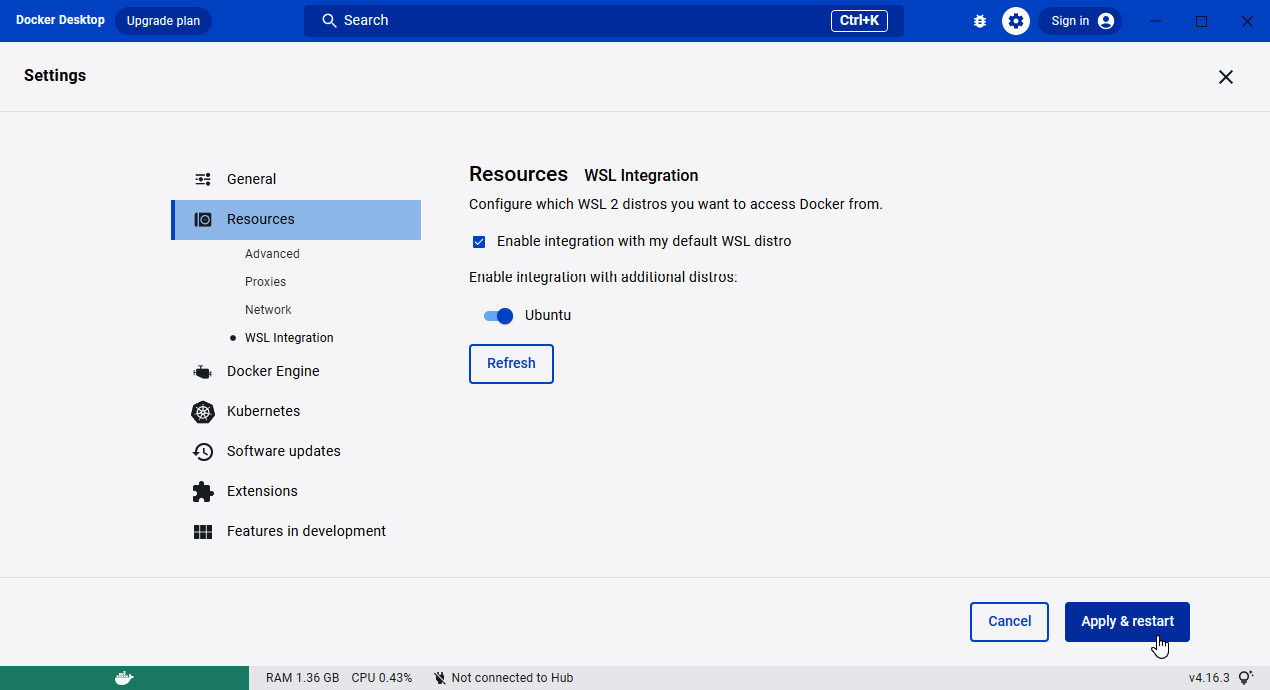
Figure 1.17 – Enabling our previously installed Ubuntu using WSL2
- After this step, we are finally ready to work with Docker Desktop. Let’s open a terminal using our Ubuntu distribution, execute
docker, and, after that,docker info:
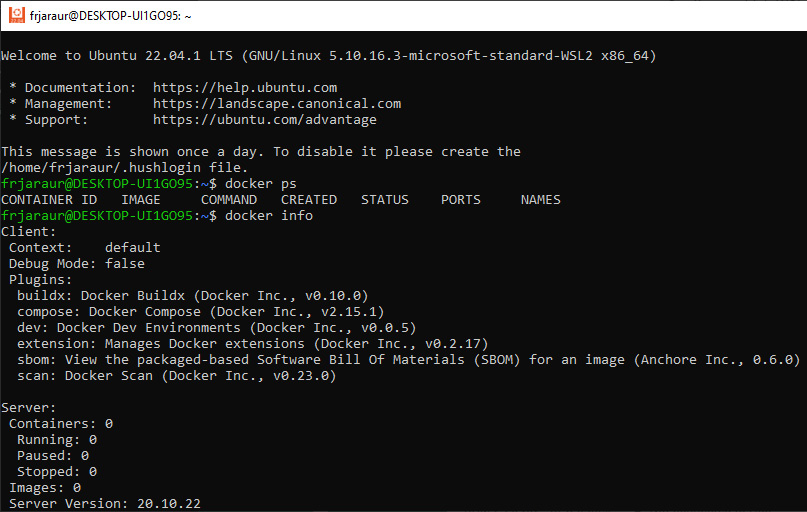
Figure 1.18 – Executing some Docker commands just to verify container runtime integration
As you can see, we have a fully functional Docker client command line associated with the Docker Desktop WSL2 server.
- We will end this lab by executing an Alpine container (a small Linux distribution), reviewing its process tree and the list of its root filesystem.
We can execute
docker run-ti alpineto download the Alpine image and execute a container using it:
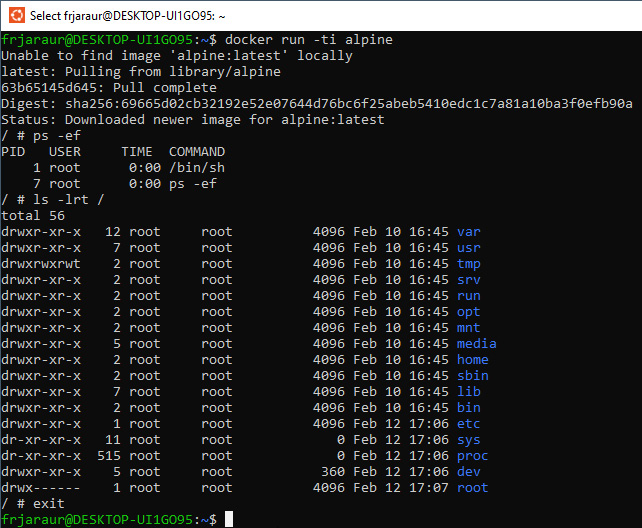
Figure 1.19 – Creating a container and executing some commands inside before exiting
- This container execution left changes in Docker Desktop; we can review the current images present in our container runtime:
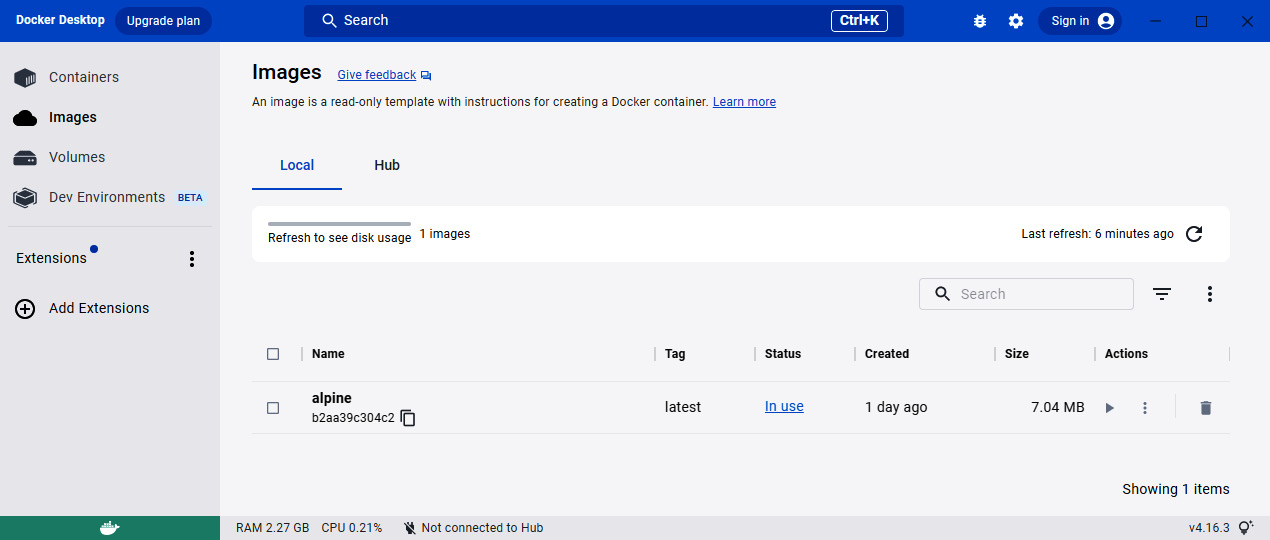
Figure 1.20 – Docker Desktop – the Images view
- We can also review the container, which is already dead because we exited by simply executing
exitinside its shell:
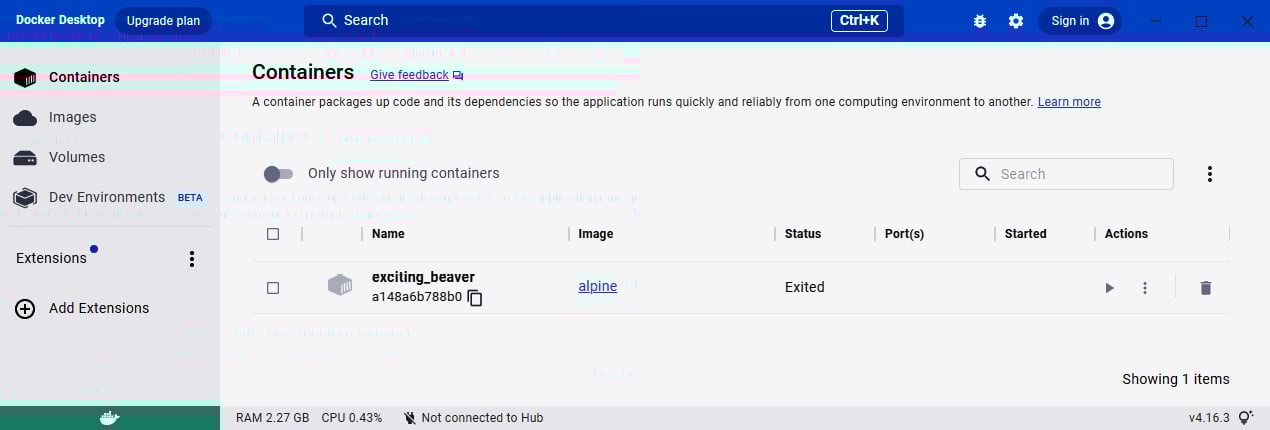
Figure 1.21 – Docker Desktop – the Containers view
Now, Docker Desktop works and we are ready to work through the following labs using our WSL2 Ubuntu Linux distribution.


