Building the project using Eclipse
Getting ready
You must finish the first recipe before you begin this step. If you have not finished it yet, you will need to install Eclipse.
How to do it...
- Setting up
NDK_ROOT:- Open the preference of Eclipse
- Open C++ | Build | Environment
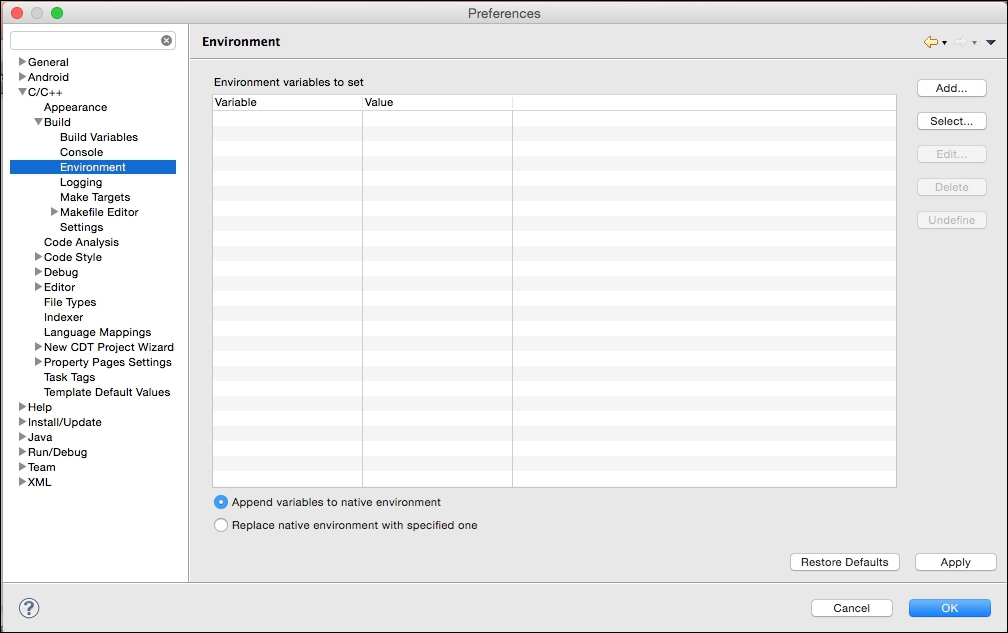
- Click on Add and set the new variable, the name is
NDK_ROOT, and the value isNDK_ROOTpath:
- Importing your project into Eclipse:
- Open the file and click on Import
- Go to Android | Existing Android Code into Workspace
- Click on Next
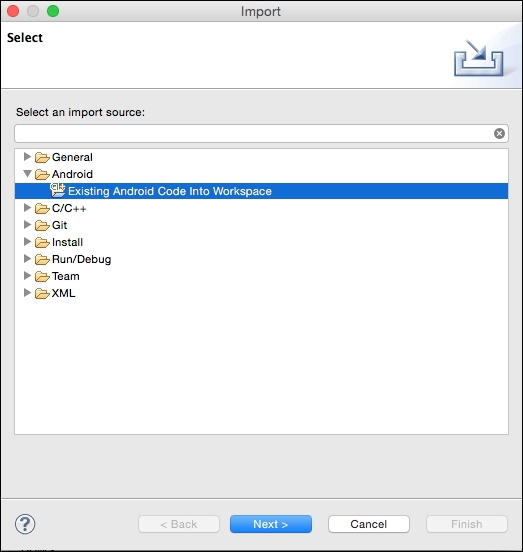
- Import the project into Eclipse at
~/Documents/MyGame/proj.android: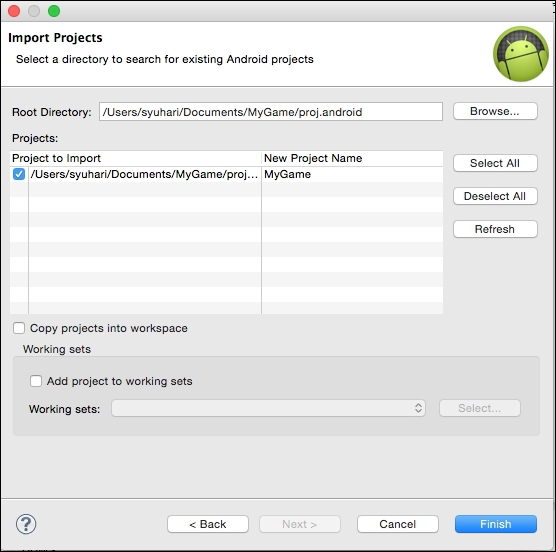
- Importing the Cocos2d-x library into Eclipse:
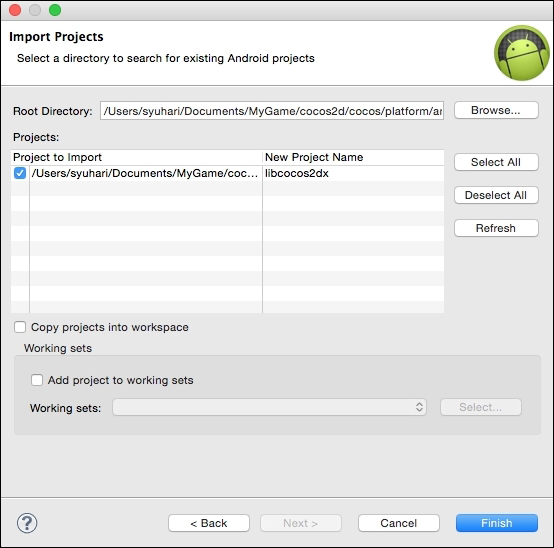
- Perform the same steps from Step 3 to Step 4.
- Import the project
cocos2d libat~/Documents/MyGame/cocos2d/cocos/platform/android/java, using the following command:importing cocos2d lib
- Build and Run:
- Click on the
Runicon - The first time, Eclipse will ask you to select a way to run your application. Select Android Application and click on OK, as shown in the following screenshot:

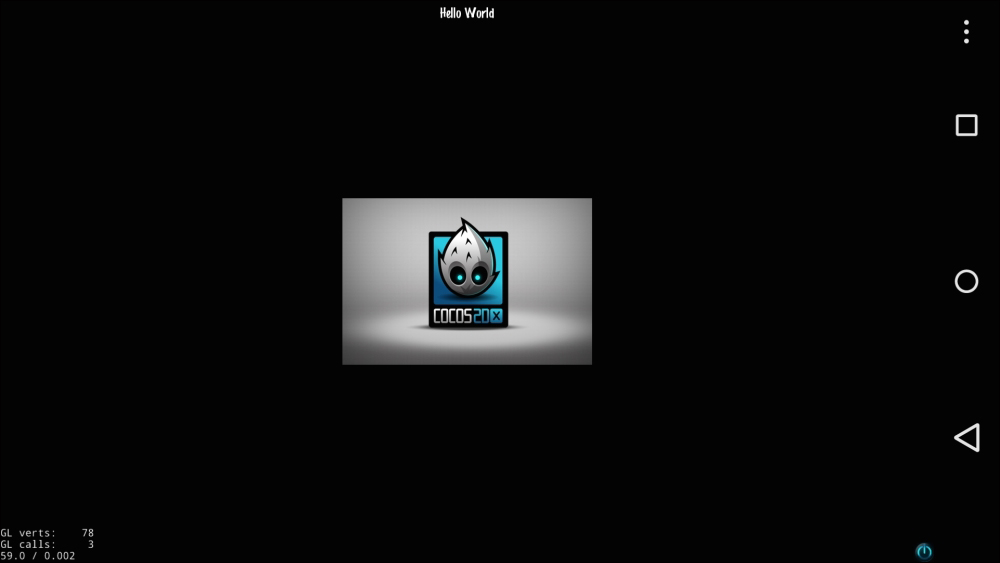
- If you connected to the Android device on your Mac, you can run your game on your real device or an emulator. The following screenshot shows that it is running on Nexus5:
- Click on the
- If you added
cppfiles into your project, you have to modify theAndroid.mkfile at~/Documents/MyGame/proj.android/jni/Android.mk. This file is needed to build the NDK. This fix is required to add files. - The original
Android.mkwould look as follows:LOCAL_SRC_FILES := hellocpp/main.cpp \ ../../Classes/AppDelegate.cpp \ ../../Classes/HelloWorldScene.cpp - If you added the
TitleScene.cppfile, you have to modify it as shown in the following code:LOCAL_SRC_FILES := hellocpp/main.cpp \ ../../Classes/AppDelegate.cpp \ ../../Classes/HelloWorldScene.cpp \ ../../Classes/TitleScene.cpp
The preceding example shows an instance of when you add the TitleScene.cpp file. However, if you are also adding other files, you need to add all the added files.
How it works...
You get lots of errors when importing your project into Eclipse, but don't panic. After importing the Cocos2d-x library, errors soon disappear. This allows us to set the path of the NDK, Eclipse could compile C++. After you have modified the C++ codes, run your project in Eclipse. Eclipse automatically compiles C++ codes, Java codes, and then runs.
It is a tedious task to fix Android.mk again to add the C++ files. The following code is the original Android.mk:
LOCAL_SRC_FILES := hellocpp/main.cpp \
                   ../../Classes/AppDelegate.cpp \
                   ../../Classes/HelloWorldScene.cpp
LOCAL_C_INCLUDES := $(LOCAL_PATH)/../../ClassesThe following code is the customized Android.mk that adds C++ files automatically:
CPP_FILES := $(shell find $(LOCAL_PATH)/../../Classes -name *.cpp)
LOCAL_SRC_FILES := hellocpp/main.cpp
LOCAL_SRC_FILES += $(CPP_FILES:$(LOCAL_PATH)/%=%)

LOCAL_C_INCLUDES := $(shell find $(LOCAL_PATH)/../../Classes -type d)
The first line of the code gets C++ files to the Classes directory into the CPP_FILES variable. The second and third lines add C++ files into the LOCAL_C_INCLUDES variable. By doing so, C++ files will be automatically compiled in the NDK. If you need to compile a file other than the extension .cpp file, you will need to add it manually.
There's more...
If you want to manually build C++ in NDK, you can use the following command:
$ ./build_native.py
This script is located in ~/Documents/MyGame/proj.android . It uses ANDROID_SDK_ROOT and NDK_ROOT in it. If you want to see its options, run ./build_native.py –help.


