How to do it...
We can go about creating our logo by carrying out the following steps:
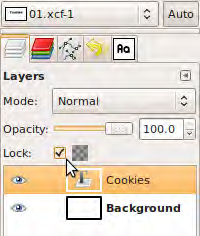
- In a new file, using the Text Tool, write the name of the company. Pick a font, its size, and place it a little above the middle of the canvas. Lock the layer by selecting it and clicking in the Lock checkbox to avoid accidentally making changes to it:

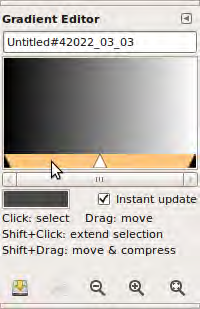
- Create a new gradient by clicking on the + button at the bottom of the Gradients dialog. If it is not enabled, call it by using Ctrl + G, or go to Windows | Dockable Dialogs | Gradients:

- To pick the colors for the gradient, position the mouse over the the orange bar (blue in Windows) and right-click:

Select the Left Endpoint's Color:

And/or the Right Endpoint's Color:

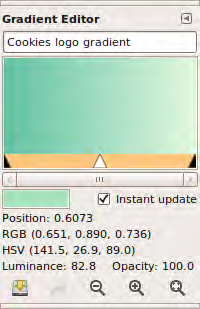
Here are the colors I have chosen:

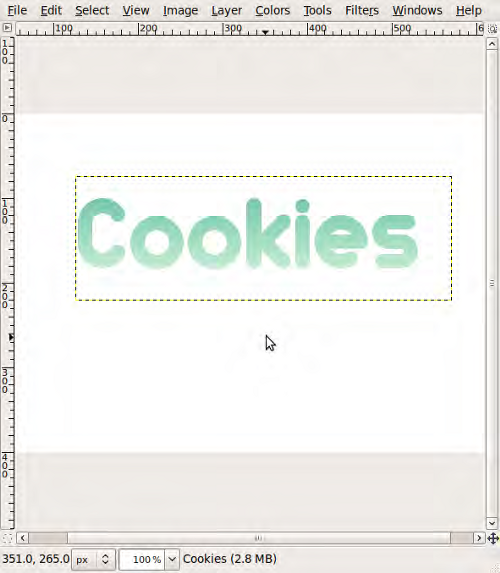
- Using the Blend Tool, apply the gradient:

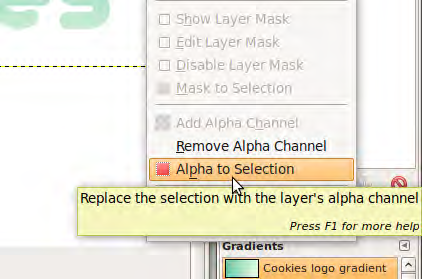
- Right-click inside the text layer name in the Layers dialog, and select the Alpha to Selection option:

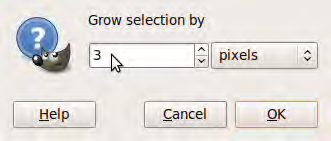
- Then, go to Select | Grow, and make it bigger by 3 pixels:

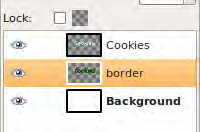
- Create a new layer and name it border. Fill it using the Bucket Fill Tool (I used a dark color), and place it underneath the text layer (drag and drop the border layer):

- Duplicate the border layer by clicking on the Duplicate button at the bottom of the layers dialog, or going to Layer | Duplicate Layer.
- Repeat this operation with the text layer. Move this last duplicated layer on top of the border copy layer.
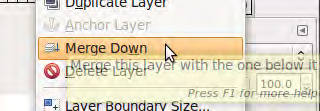
- Merge these duplicated layers by going to Layer | Merge Down, and change its name to reflection:

Choose Select | none from the menu to be sure there's no selection present.
Unlock access to the largest independent learning library in Tech for FREE!
Get unlimited access to 7500+ expert-authored eBooks and video courses covering every tech area you can think of.
Renews at $19.99/month. Cancel anytime
- Using the Move Tool, place the reflection layer below the "text" layer and flip it with the Flip Tool.

Use the Move Tool to adjust the position of the flipped text, and separate them vertically by just a few pixels.
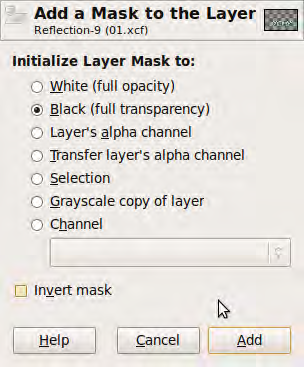
- Right-click in the reflection layer inside the Layers dialog, and select the Add Layer Mask option. Choose the Black (Full Transparency) and click Add.

- Using the Blend Tool, pick the FG to BG gradient from the Gradients Dialog, and apply it from bottom to the top to create a semitransparent reflection of the text:

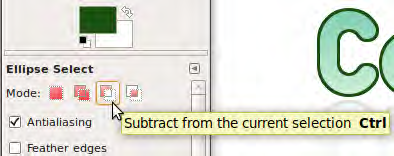
- Select the original text layer. Right-click on it in the Layers dialog, and choose Alpha to Selection. Then with the Ellipse Select Tool in subtract mode (check the following image):

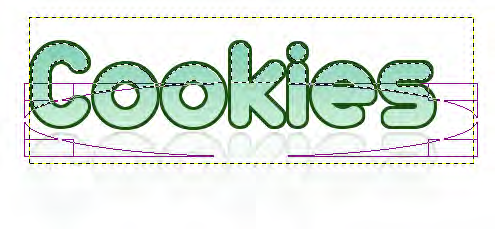
Draw an ellipse, as in the following image:

- Create a new layer and name it glass. Then, fill it with a white color using the Bucket Fill Tool:

- Change its opacity to something around 30 and you are done! Here's the final logo:

How it works...
Just by using a font you like and a few tools you quickly created a logo. See how we only used default paint/blend tools and masks to create it? GIMP has powerful extensions but you can also create professional pieces without using complex filters or even using much time.
Summary
This article showed us how to use a few filters to create a company logo.
Further resources on this subject:
 United States
 Great Britain
 India
India
 Germany
 France
 Canada
 Russia
 Spain
Spain
 Brazil
 Australia
 Singapore
 Hungary
 Ukraine
 Luxembourg
 Estonia
 Lithuania
 South Korea
 Turkey
 Switzerland
 Colombia
 Taiwan
 Chile
Chile
 Norway
 Ecuador
 Indonesia
 New Zealand
 Cyprus
 Denmark
 Finland
 Poland
 Malta
Malta
 Czechia
 Austria
 Sweden
 Italy
Italy
 Egypt
Egypt
 Belgium
 Portugal
 Slovenia
 Ireland
 Romania
 Greece
 Argentina
 Netherlands
 Bulgaria
 Latvia
 South Africa
 Malaysia
 Japan
Japan
 Slovakia
 Philippines
 Mexico
 Thailand

