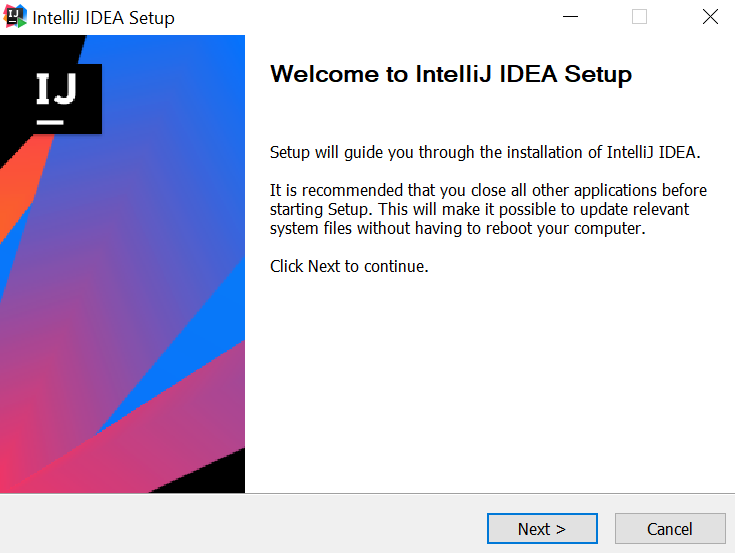
The following steps and screenshots will demonstrate the IntelliJ IDEA Community Edition installation on Windows, though the installation is not much different for Linux or macOS.
Installing and configuring IntelliJ IDEA
Downloading and installing
You can download the IntelliJ IDEA Community Edition installer from https://www.jetbrains.com/idea/download. After the installer has downloaded, launch it by double-clicking on it or right-clicking and selecting the Open option from the menu. Then, walk through the following screens, accepting all of the default settings by clicking the Next> button, unless you need to do something different. Here is the first screen:

You can use the Browse... button and select any location...


