One of the setup steps available with an Office 365 instance is the ability to configure a domain name associated with your instance. While you can continue working with Dynamics 365 for Sales without setting up a domain, it is a good idea to do it now. With the domain setup, you have one less configuration step to take before turning your trial into a production instance. In order to provide a better user experience, you should always configure your domain before going to production.
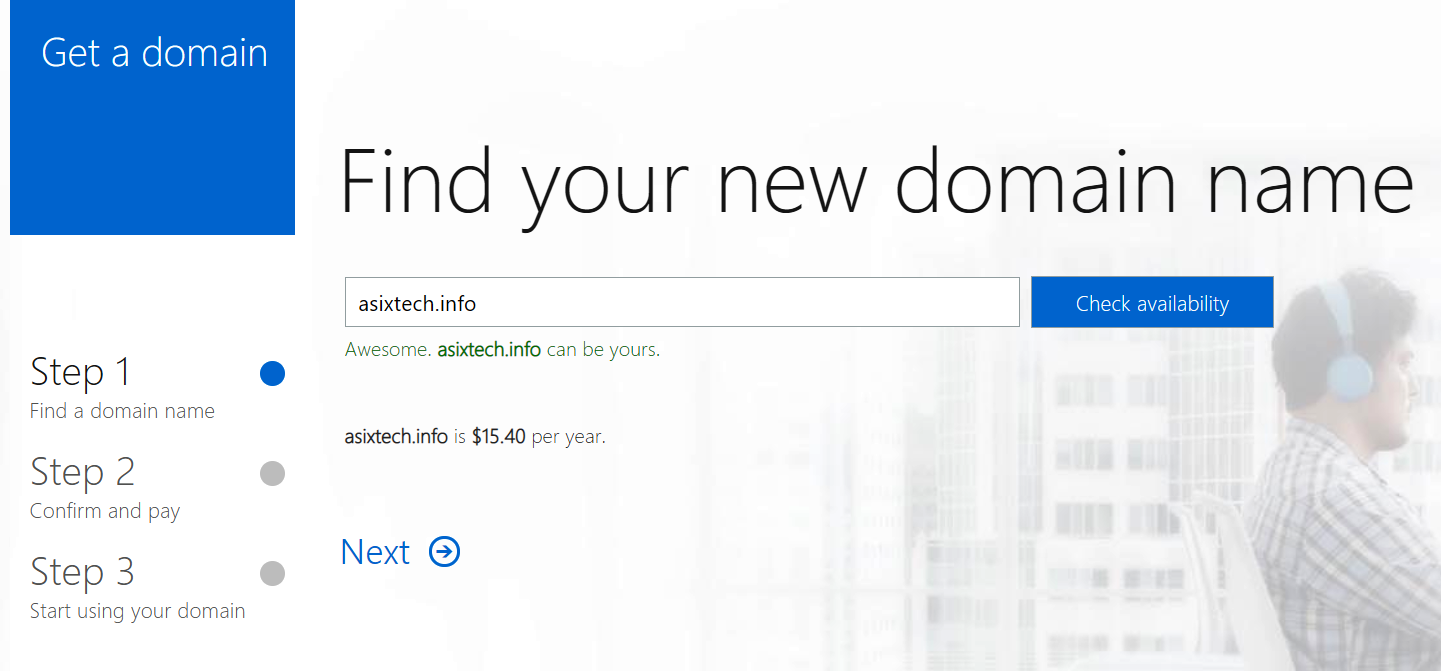
If you want to proceed with setting up a domain, you can either use an existing domain that you own or, for a few dollars, you can purchase a domain from various registrars. For the purpose of this book, I have purchased a .info domain from GoDaddy at https://godaddy.com/.
Let's look at the steps to configure a domain, as follows:
- Access the Office 365 admin center by navigating to https://portal.office.com/.
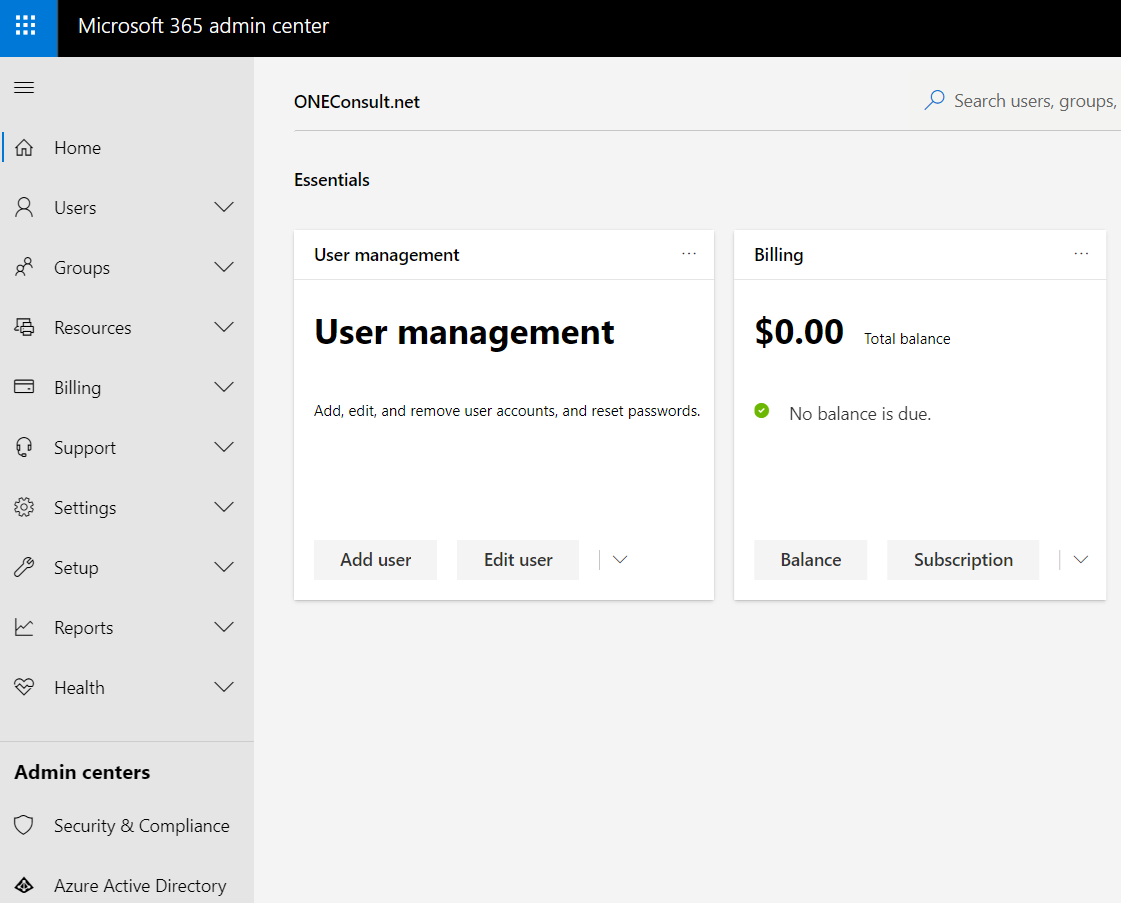
- You will be prompted to log in. Use the previously created account; this will get you to the main admin center console:

- Next, expand Setup and select Domains. Here, you have the option to purchase a domain (if you haven't already done so) or just add a new domain:

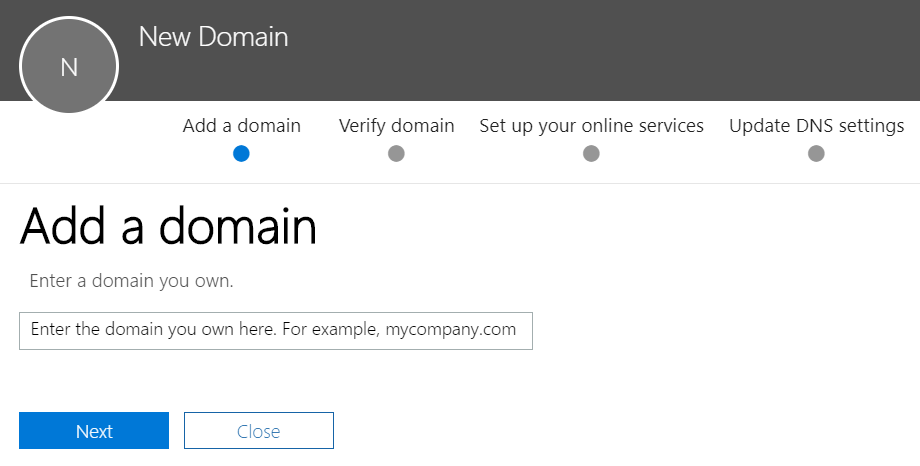
- Go to Add domain. This will take you to the first page of the domain configuration wizard. This first page displays a nice process flow at the top, showing the stages that you have to pass through to configure your new domain and collecting the domain details that you intend to use with your instance:

- Follow the wizard to complete the domain configuration. When it is done, in the administration console you will have the ability to grant your users the ability to use the added domain instead of the default @[orgName].onmicrosoft.com account names. Now it all looks much more professional, and you have one less step to configure when you decide to turn this into a production instance.
Let's have a look at the Office 365 services that are available to be configured and integrated with our platform.


