Example of creating a simple scheduled trigger
Consider a simple example where we have to display a "good morning" message on screen every day in the morning at 8 AM. This situation is related to time so we need to use a schedule trigger. This is the type of trigger we will look at later in this chapter. Let's start creating a function with the schedule trigger first:
- Log in to the Azure Portal.
- Click on the top left
+icon |Compute|Function App:
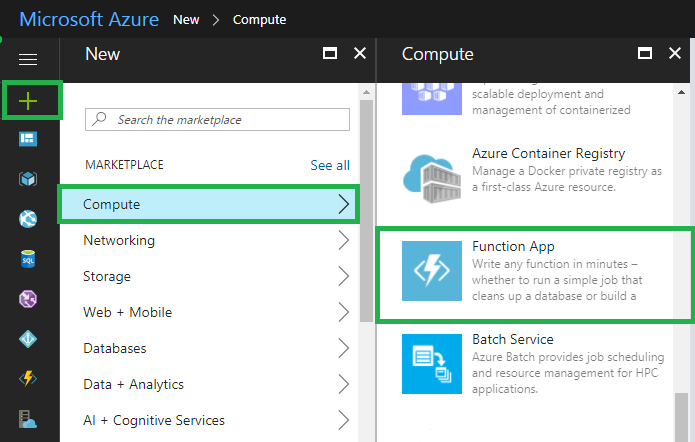
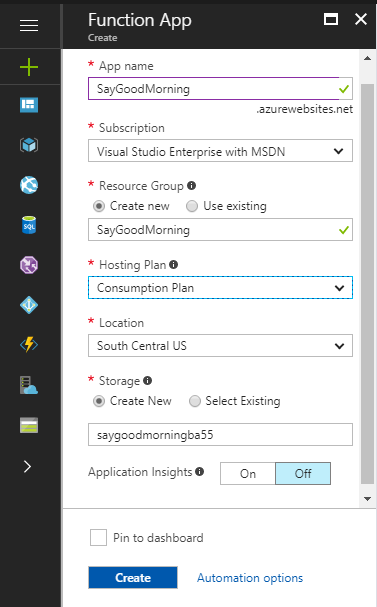
- Once we click on
Function App,the next screen will appear, where we have to provide a unique functionApp name,Subscription,Resource Group,Hosting Plan,Location,Storage, and then click on theCreatebutton:
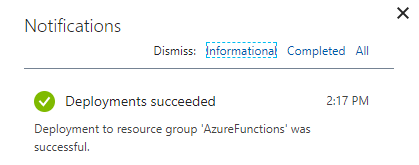
- Once we click on the
Createbutton, Azure will start to deploy this function. Once this function is deployed, it will be seen inNotifications,as shown in the following screenshot:
- Click on
Notificationsand check theFunctionsdetails and add the trigger:
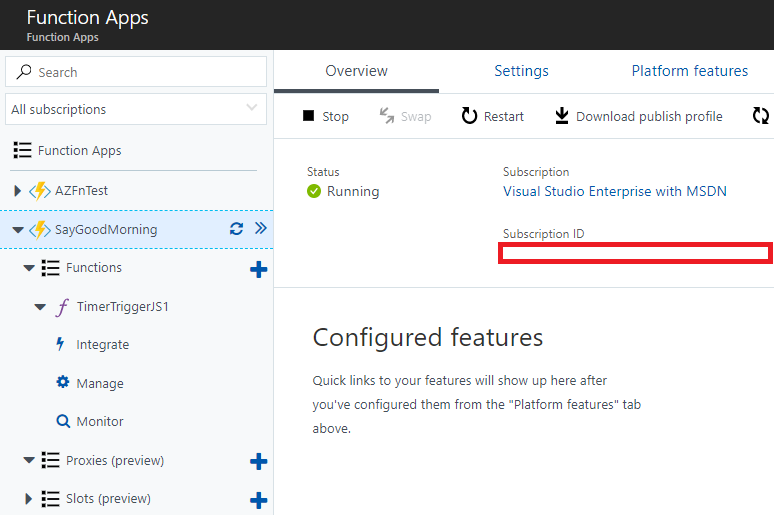
- To add a trigger in this function, click on the
+icon next toFunctionsand then...