Search icon CANCEL
Subscription
0
Cart icon
Your Cart (0 item)
Close icon
You have no products in your basket yet
Arrow left icon
Explore Products
Best Sellers
New Releases
Books
Videos
Audiobooks
Learning Hub
Free Learning
Arrow right icon
Arrow up icon
GO TO TOP
Learn Three.js

You're reading from   Learn Three.js Program 3D animations and visualizations for the web with JavaScript and WebGL

Arrow left icon
Product type Paperback
Published in Feb 2023
Publisher Packt
ISBN-13 9781803233871
Length 554 pages
Edition 4th Edition
Languages
Arrow right icon
Author (1):
Arrow left icon
Jos Dirksen Jos Dirksen
Author Profile Icon Jos Dirksen
Jos Dirksen
Arrow right icon
View More author details
Toc

Table of Contents (21) Chapters Close

Preface 1. Part 1: Getting Up and Running
2. Chapter 1: Creating Your First 3D Scene with Three.js FREE CHAPTER 3. Chapter 2: The Basic Components that Make up a Three.js Application 4. Chapter 3: Working with Light Sources in Three.js 5. Part 2: Working with the Three.js Core Components
6. Chapter 4: Working with Three.js Materials 7. Chapter 5: Learning to Work with Geometries 8. Chapter 6: Exploring Advanced Geometries 9. Chapter 7: Points and Sprites 10. Part 3: Particle Clouds, Loading and Animating Models
11. Chapter 8: Creating and Loading Advanced Meshes and Geometries 12. Chapter 9: Animation and Moving the Camera 13. Chapter 10: Loading and Working with Textures 14. Part 4: Post-Processing, Physics, and Sounds
15. Chapter 11: Render Postprocessing 16. Chapter 12: Adding Physics and Sounds to Your Scene 17. Chapter 13: Working with Blender and Three.js 18. Chapter 14: Three.js Together with React, TypeScript, and Web-XR 19. Index 20. Other Books You May Enjoy

Setting up Three.js for postprocessing

To set up Three.js for postprocessing, we have to make a couple of changes to our current setup, as follows:

  1. Create EffectComposer, which can be used to add postprocessing passes.
  2. Configure EffectComposer so that it can render our scene and apply any additional postprocessing steps.
  3. In the render loop, use EffectComposer to render the scene, apply the configured postprocessing steps, and show the output.

As always, we will show an example that you can use to experiment with and adapt for your own purposes. The first example in this chapter can be accessed from basic-setup.html. You can use the menu in the top-right corner to modify the properties of the postprocessing step used in this example. In this example, we will render the mushroom man from Chapter 9, Animation and Moving the Camera, and add an RGB shift effect to it, as follows:
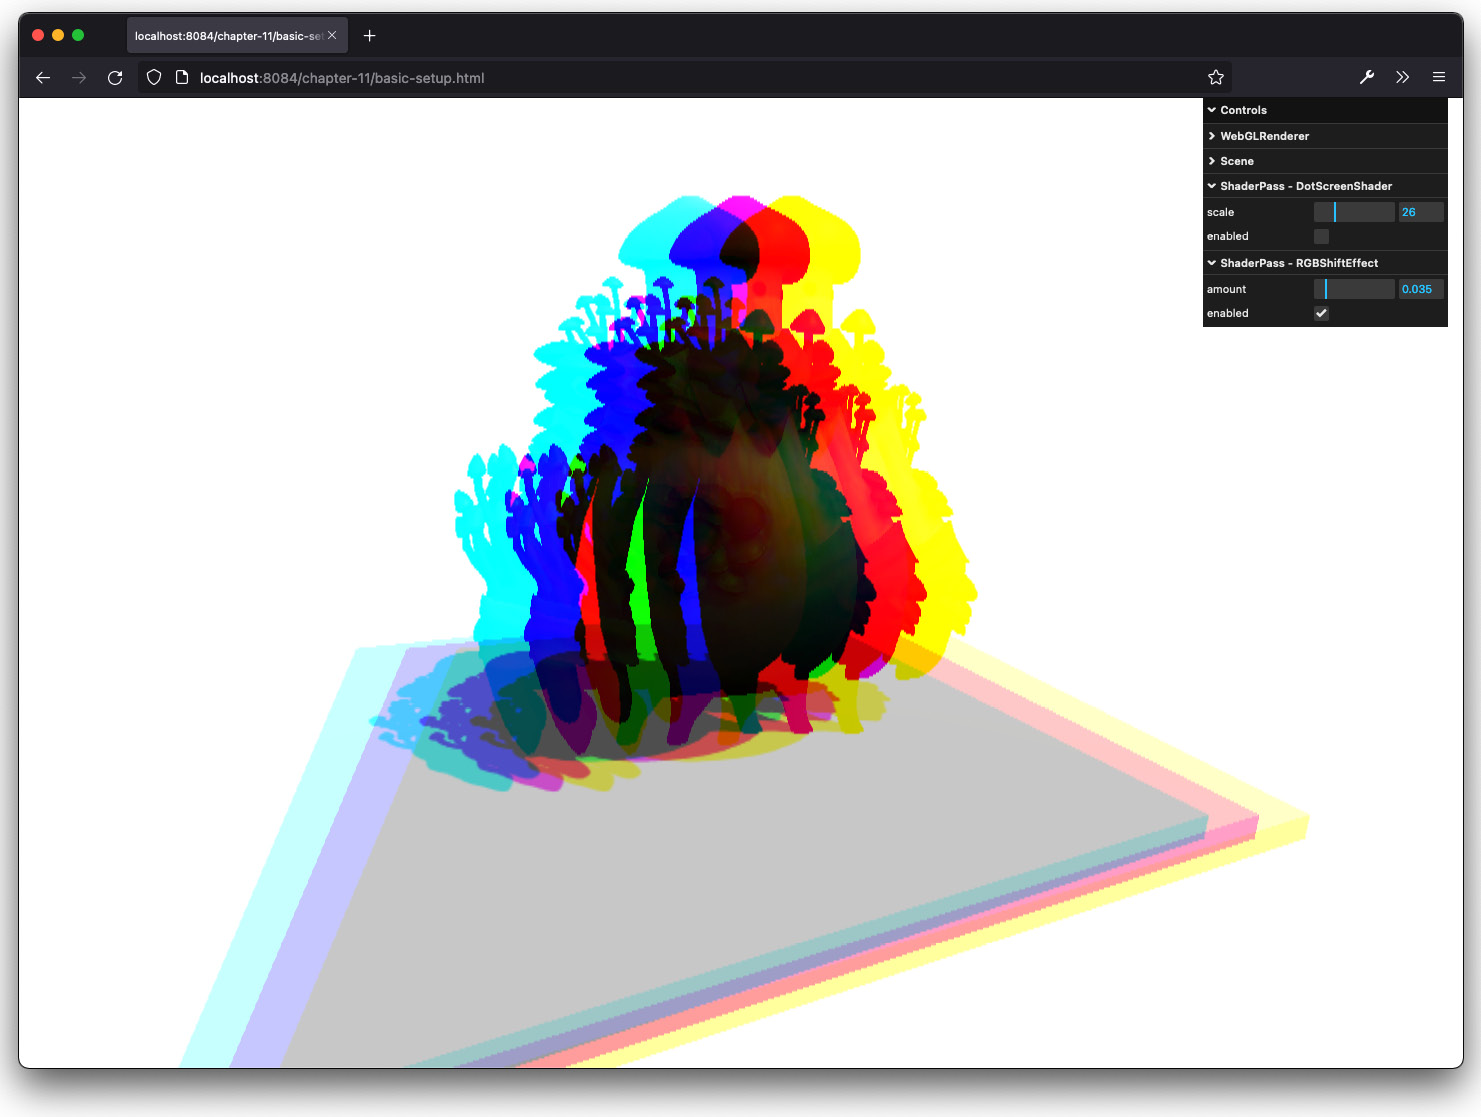
Figure 11.1 – Rendered using a postprocessing pass

Figure 11.1 – Rendered using a postprocessing pass

...
lock icon The rest of the chapter is locked
Register for a free Packt account to unlock a world of extra content!
A free Packt account unlocks extra newsletters, articles, discounted offers, and much more. Start advancing your knowledge today.
Unlock this book and the full library FREE for 7 days
Get unlimited access to 7000+ expert-authored eBooks and videos courses covering every tech area you can think of
Renews at $19.99/month. Cancel anytime
Banner background image