
Let's create a Jira Service Desk project in our instance. We've already enabled a Jira Service Desk subscription in our instance.
Perform the following steps to create a Jira Service Desk project:
- Go to Jira settings | Projects and then click on the Create project button in the top-right corner, as shown here:

Figure 1
- Click on Classic project | Change template and select IT service desk, as shown here:
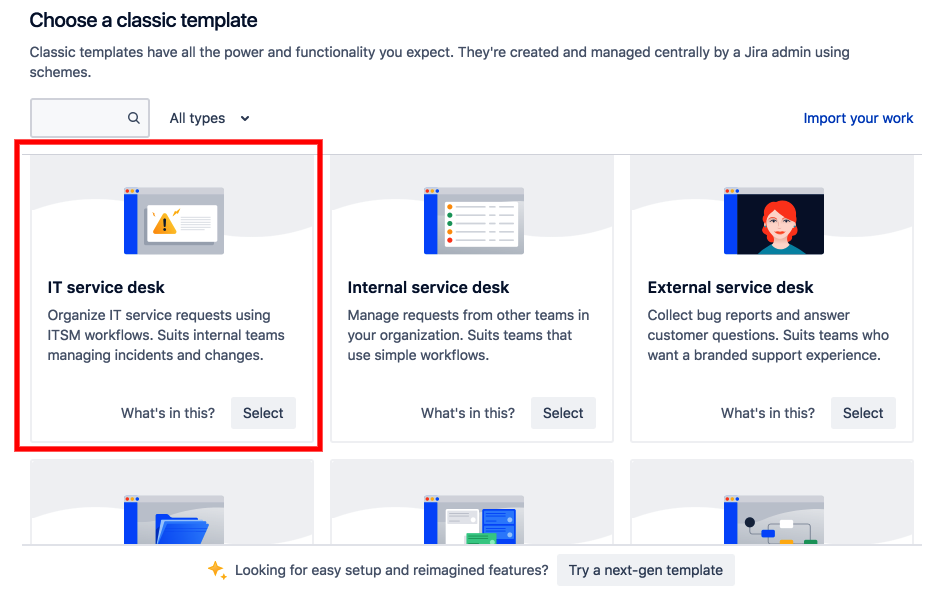
Figure 2
- In the Create project screen, enter the Name of the project and click on the Create button, as shown here:
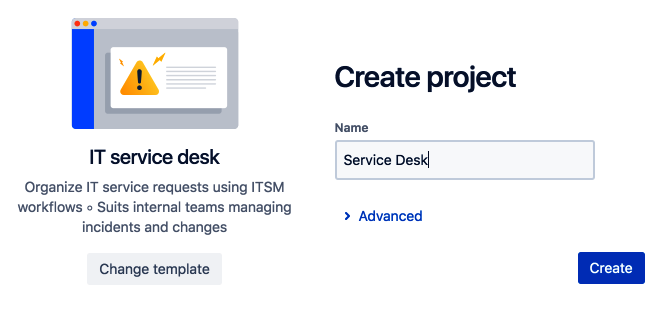
Figure 3
- Your new Jira Service Desk project is ready. The screen will be similar to the following:
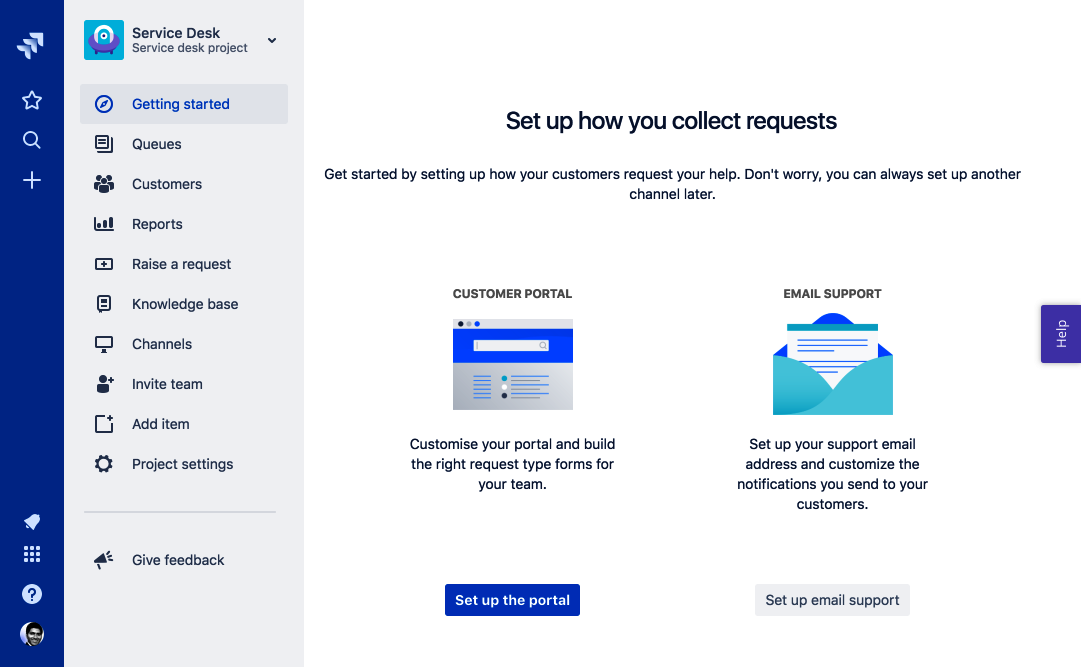
Figure 4
You can start using this project straightaway as the IT service desk template comes with out-of-the-box configurations; however, we'll go through various aspects of the project to understand how...