Installation
In the following five easy steps we will install Nokogiri, along with all required dependencies and verify everything is working.
Development environments are very idiosyncratic and developers are notorious for spending excess time tweaking every aspect. The boss regularly proclaims, "I don't want you spending all day crafting some bash script that saves you 10 minutes". But it's in our nature; we make things and then we make them better.
The following are the tools we use everyday to craft software. If you know enough to use something else, go right ahead. If you want to skip something, feel a different version is better, or doubt the need for a requirement, do it. But if you're just getting started, follow along as closely as possible for the best experience.
Step 1 – what do I need?
The requirements are as follows:
Ruby version 1.9.2 or greater
RubyGems
Nokogiri Gem
Bundler Gem
Text editor or Ruby IDE
Terminal
Google Chrome
Ruby, RubyGems, and the specific gems are hard requirements. The text editor or IDE, terminal, and browser are more personal preference. Here are a few good ones:
Ruby Mine (http://www.jetbrains.com/ruby/) is the premier cross-platform IDE for Ruby development. It is a commercial product and well admired in the Ruby community. However, most Ruby developers prefer a raw text editor over a full IDE experience.
Sublime Text 2 (http://www.sublimetext.com/) is an excellent cross-platform text editor that is well suited for a variety of languages, including Ruby. While it is also a commercial product, you can try it out via a full feature never expiring demo.
In OS X, the native terminal Terminal.app is fine. (Go to Applications | Utilities | Terminal.app.) For some additional power, split pane, and tab support, download the free iTerm2 from http://www.iterm2.com/. On Linux, the default terminal is fine. Windows users, see the end of the section, Step 3 – RubyGems, for a quick run through of your options.
Step 2 – Ruby
Nokogiri requires Ruby version 1.9.2 or greater. To check your version of Ruby, enter on the command line:
$ ruby -v
ruby 1.8.7 (2012-02-08 patchlevel 358) [universal-darwin12.0
If the number after Ruby in the response is 1.9.2 or greater then skip to Step 3 – RubyGems.
In this example, a stock install of Mac OS X 10.8.4, we are running 1.8.7 and will need to upgrade.
In order to compile the necessary dependencies in OS X, you will need to install the developer tools. If you are running a Linux variant, you may omit this dependency. We will cover Windows in a short while.
If you are unsure whether you have previously installed developer tools, you can run gcc from the command line:
$ gcc
-bash: gcc: command not found
If you receive command not found, you can be certain that developer tools are not present.
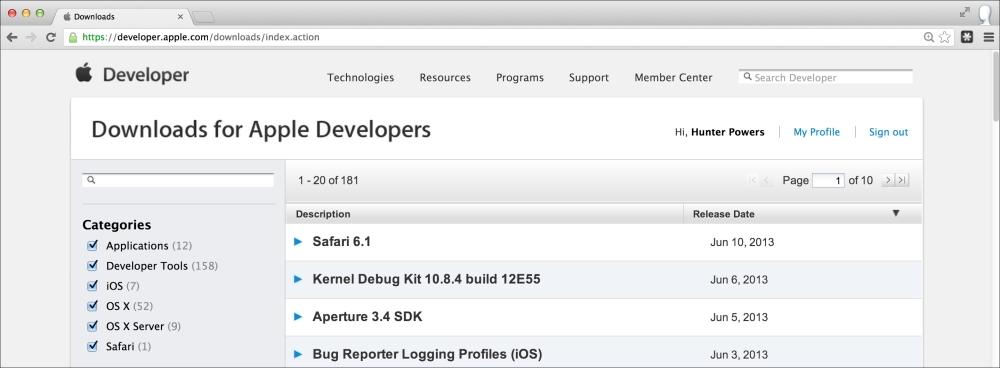
Apple's free download page for developer utilities is shown in the following screenshot:

There are two options for OS X developer tools: XCode and command-line tools. XCode (https://developer.apple.com/xcode/) comes with a complete IDE and several OS X and iOS SDKs. None of these extras will assist you with your Ruby development and this install will run you a couple of gigs.
The recommended alternative is command-line tools (https://developer.apple.com/downloads/), which stays well under a gig. You will need a free Apple developer account to complete the download. When you are done, you can re-run the gcc command and receive a better response:
$ gcc
i686-apple-darwin11-llvm-gcc-4.2: no input files
Rather than directly installing the required Ruby version, we are going to install an interdependency: Ruby Version Manager (RVM) to manage our Ruby installation. RVM is an easy way to install and manage multiple versions of Ruby. As a Ruby developer, you will often find it necessary to keep multiple versions of Ruby on your system to fulfill various requirements.
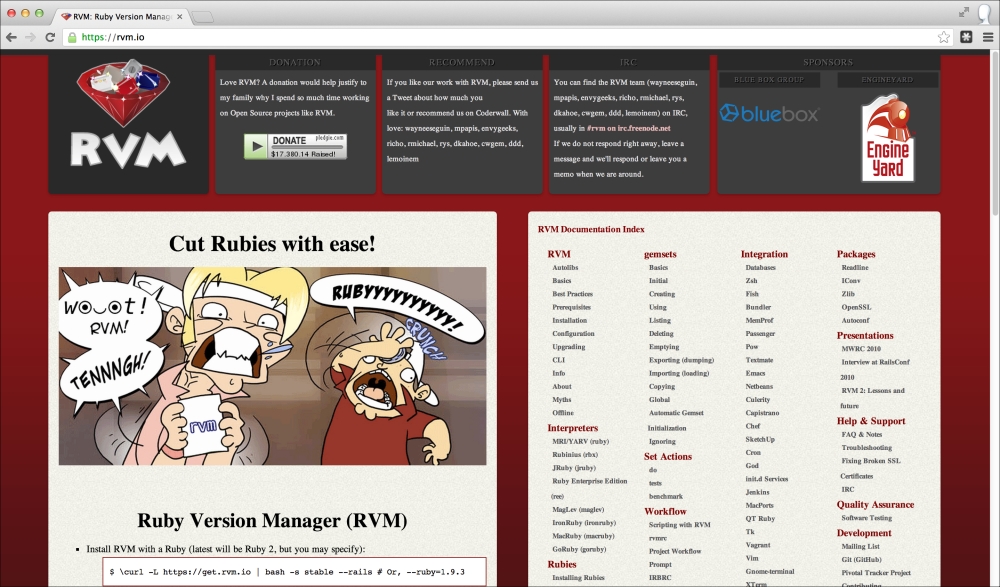
The RVM homepage is shown in the following screenshot:

To install RVM run the following command:
$ curl -L https://get.rvm.io | bash -s stable --ruby=2.0.0
This will install Ruby, RubyGems, and take care of all dependencies. You may be prompted to enter your password during the installation. Once complete, restart your terminal, and you should be running Ruby 2.0.0. You can verify this from the command line by running:
$ ruby –v
ruby 2.0.0p195 (2013-05-14 revision 40734) [x86_64-darwin12.4.0]
You should now see Ruby 2.0.0 installed.
If you run into any issues installing RVM, you can run:
$ rvm requirements
to see what additional software is needed. If you already have RVM installed and only need to update Ruby you can run:
$ rvm install 2.0.0
Once installed, run:
$ rvm –-use 2.0.0
to make use of the new version.
Step 3 – RubyGems
RubyGems solves two main problems in the Ruby ecosystem. First, it enables Ruby libraries to be bundled in a self-contained updatable format known as gems. Second it provides a server to manage the distribution and installation of these gems. RubyGems were likely installed as part of your Ruby installation, if you installed Ruby with RVM, and you can skip to the next step.
To check if RubyGems is installed, from the command line run:
$ gem
-bash: gem: command not found
If it is installed correctly, it should come back with a message. RubyGems is a sophisticated package manager for Ruby along with some help information. If you instead receive command not found, you will need to install RubyGems manually.
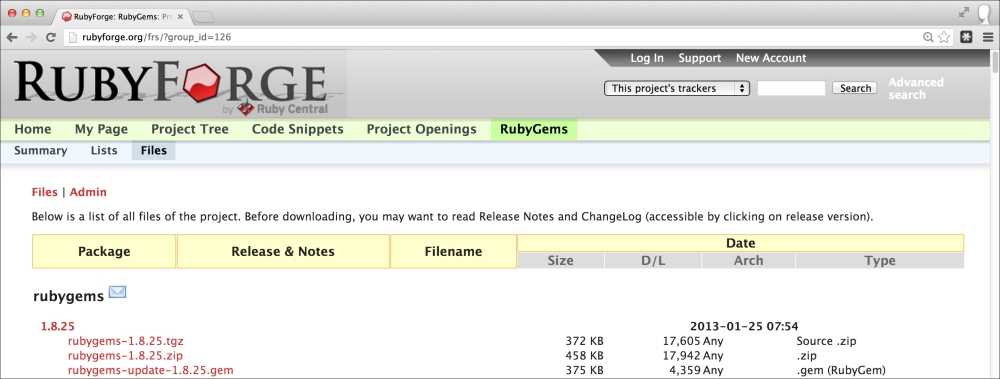
The RubyGems homepage on RubyForge is shown in the following screenshot:

Download the latest version of RubyGems from RubyForge (http://rubyforge.org/frs/?group_id=126), for example rubygems-1.8.25.zip. Decompress the archive, navigate to the folder in your terminal, and execute:
$ ruby setup.rb
You should now have RubyGems installed. Restart your terminal session and try running the gem command again, you should no longer see command not found:
$ gem
RubyGems is a sophisticated package manager for Ruby. This is a basic help message containing pointers to more information.
Windows users, you have not been forgotten. Most Ruby developers on Windows develop in a VM (Virtual Machine). Windows lacks a good build system and has general compatibility issues with Ruby dependencies.
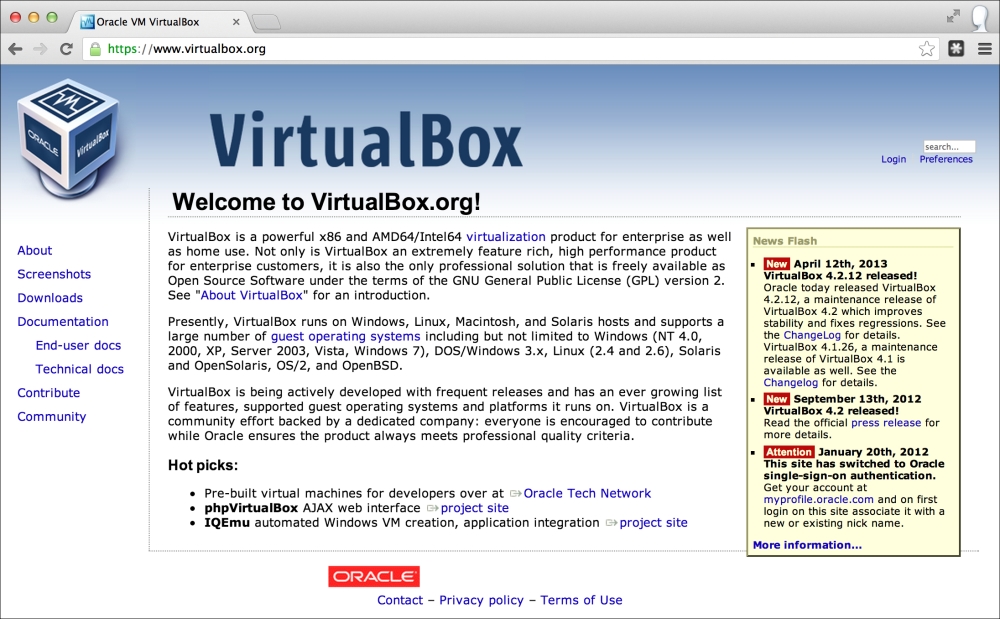
The free VirtualBox Windows-compatible VM homepage is shown in the following screenshot:

Installation and configuration of a virtual machine is outside the scope of this book. A good free virtualization system is VirtualBox (https://www.virtualbox.org/). A good free Linux OS to run on your virtualization system is Ubuntu (http://www.ubuntu.com/download/desktop). Packt Publishing has the excellent VirtualBox: Beginner's Guide (http://www.packtpub.com/virtualbox-3-1-beginners-guide), and Google is your friend.
If you're not quite ready to install a VM and wish to try and stay in a native Windows environment, download and install RailsInstaller (http://railsinstaller.org/ ) with Ruby 1.9.2 or greater. This will set up your system with Ruby, RubyGems, a command prompt, and a few other development dependencies. Once installed, skip to Step 4 – Nokogiri and Bundler.
Step 4 – Nokogiri and Bundler
Nokogiri and Bundler are Ruby gems. Bundler is the standard system for managing dependencies in Ruby projects. With the correct dependencies installed, their installation should be the easiest of them all. From the command line run:
$ gem install nokogiri
Successfully installed nokogiri-1.6.0
$ sudo gem install nokogiri
Successfully installed nokogiri-1.6.0
If you receive an error about permissions, you can prepend sudo to the commands and try again.
Note
Nokogori used to require a separate native install of Libxml2. With the 1.6.0 release, lead developer Mike Dalessio adopted a "Fat Gem" policy and started embedding the native libraries for different platforms within the gem.
Everything is installed and configured. Time to make sure everything is working.
Step 5 – verify
We are going to make sure everything is set up correctly and working with a quick code snippet. Open your preferred text editor and try out this sample, which should return the top Google results for Packt Publishing – the finest tech book publisher in the world!
# import nokogiri to parse and open-uri to scrape
require 'nokogiri'
require 'open-uri'

# set the URL to scape
url = 'http://www.google.com/search?q=packt'

# create a new Nokogiri HTML object from the scraped URL
doc = Nokogiri::HTML(open(url))

# loop through an array of objects matching a CSS selector
doc.css('h3.r').each do |link|
  # print the link text
  puts link.content
end
Tip
Downloading the example code
You can download the example code files for all Packt books you have purchased from your account at http://www.packtpub.com. If you purchased this book elsewhere, you can visit http://www.packtpub.com/support and register to have the files e-mailed directly to you.
Now execute the Ruby script and you should see the titles for the top results:
$ ruby google_results.rb
Packt Publishing: Home
Books
Latest Books
Login/register
PacktLib
Support
Contact
Packt - Wikipedia, the free encyclopedia
Packt Open Source (PacktOpenSource) on Twitter
Packt Publishing (packtpub) on Twitter
Packt Publishing | LinkedIn
Packt Publishing | Facebook
And that's it
Before proceeding, take a moment and look at the Ruby script. You may not understand everything that's going on, but you should be able to see the power we can pull from such a few lines of code. In the next section, we will break it all down and expose the thoughts behind each line as we craft our first Nokogiri-enabled application.


