Let's dive a little deeper into GCP by creating an account and getting familiar with the console and command-line interface. There are three ways to access GCP—via console, via a command-line interface using the gcloud command-line tool, and Google Cloud SDK client libraries. But before that, we need to understand the concept of projects.
In GCP, all resources must belong to a project. If you work for a large organization, don't be surprised to see tens of hundreds of projects. Projects can be tied down to a business unit or an internal or external organization.
In GCP, any cloud resources that you create must belong to a project. A project is basically an organizing entity for any cloud resource that you wish to deploy. All resources deployed within a single project can communicate easily with each other, for example two compute engine virtual machines can easily communicate with each other within a project without having to go through a gateway. This, however, is subject to region and zone limitations. It is important to note that resources in one project can talk to resources in another project only through an external network connection.
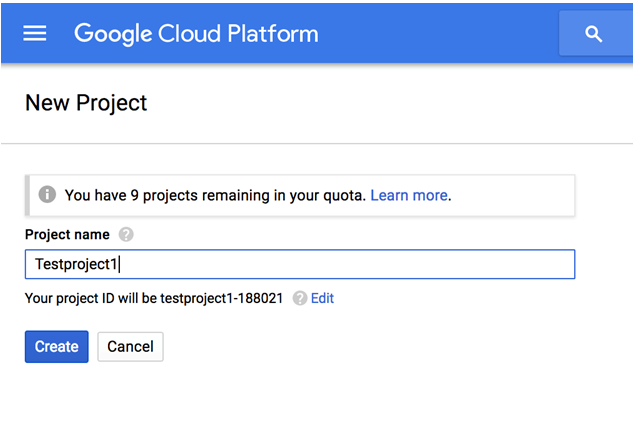
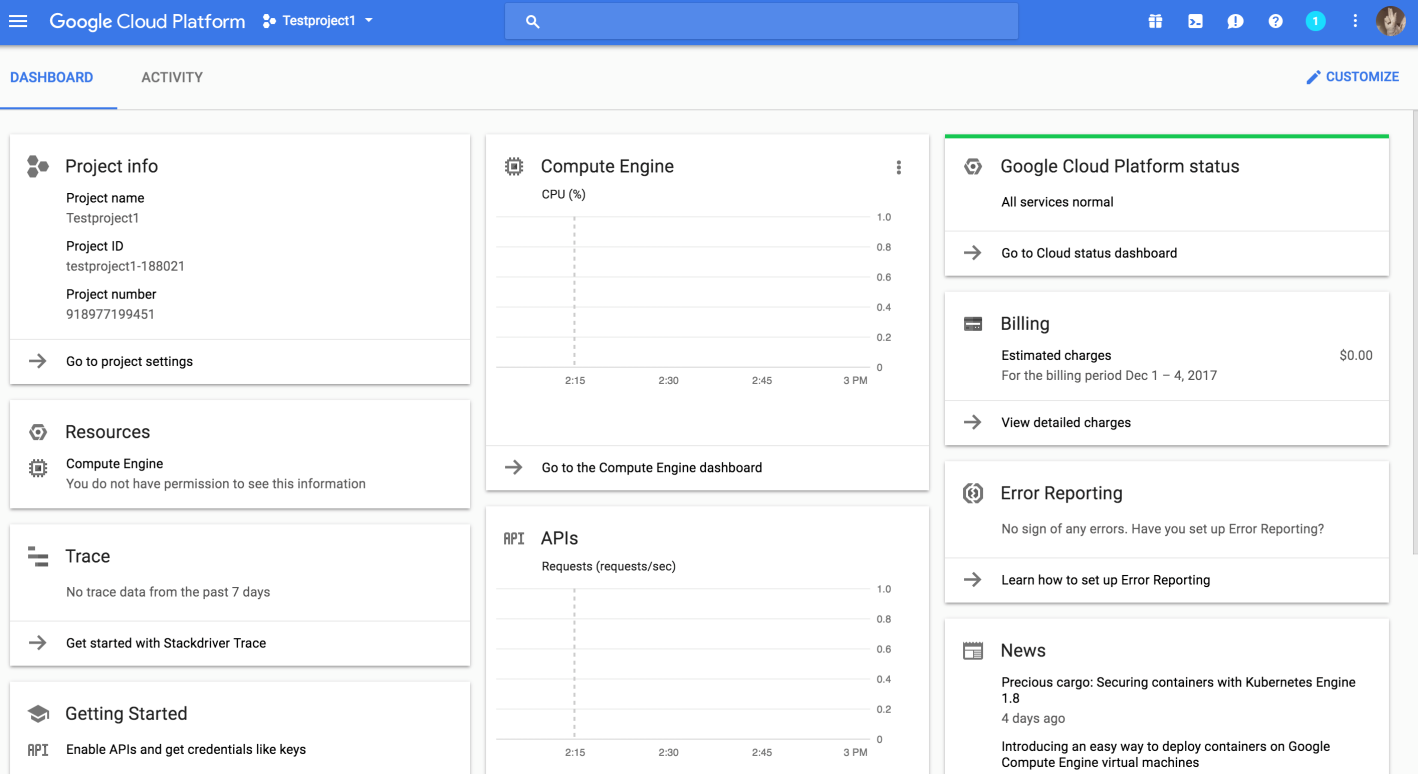
Each project has a project name, a project ID, and a project number. The project ID has to be a unique name across the cloud platform (or Google can generate an ID for you). Remember that even if the project has been deleted, its ID cannot be reused again:
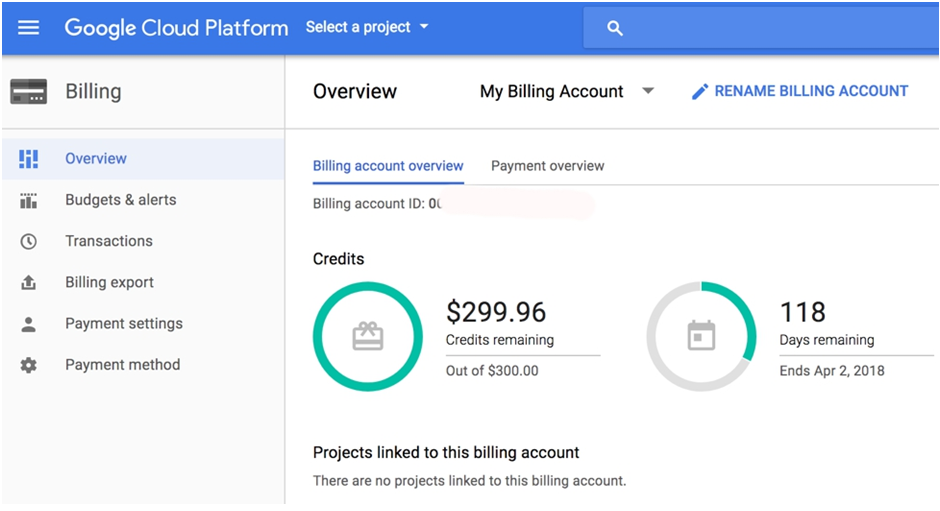
GCP allows you a free trail that provides you with $300 of credit towards any Google product. Your trial lasts for 12 months and expires automatically after that. If you exceed your free $300 credit, your services will be turned off but you will not be charged or billed, making this a safe way to explore and learn more about GCP.
To get started:
- Go to https://cloud.google.com and click on TRY IT FREE:
Remember that you will need to have a Google registered ID to be able to register to use GCP services. We will discuss accounts and access in greater detail in cloud identity and access management.
- Once you create an account and log in, agree to the terms and conditions and fill out your details along with a valid credit card number.
- Once logged in you will see a Billing Overview:
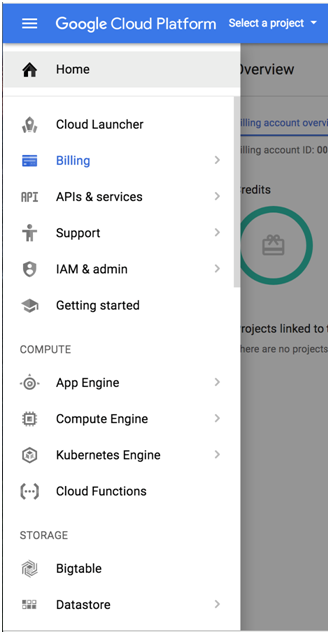
Let's look at how to access different GCP services using the console:
- Click on the menu on the left to drop down the list of services. Feel free to scroll down this list to explore:
- On the right, let's look at another way of accessing your GCP instance using the cloud shell tool that allows you to manage your resources from the command line in any browser. The
 on the top right activates your Google cloud shell. This opens a new frame at the bottom of the browser and displays a prompt. It may take a few seconds for the shell session to be established:


 on the top right activates your Google cloud shell. This opens a new frame at the bottom of the browser and displays a prompt. It may take a few seconds for the shell session to be established:
