In this recipe, we discuss how to use JFreeChart to add a graphic chart to your Spark 2.0.0 program.
How to add graphics to your Spark program
How to do it...
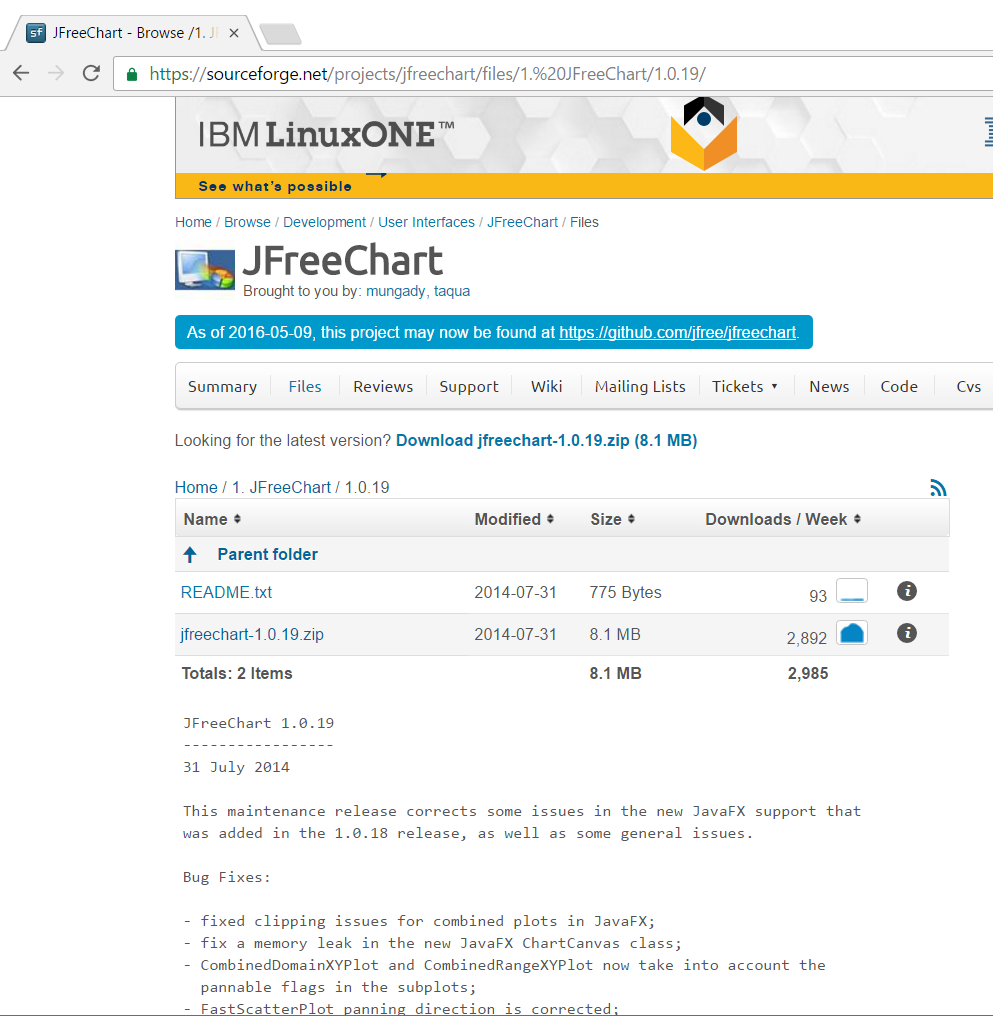
- Set up the JFreeChart library. JFreeChart JARs can be downloaded from the https://sourceforge.net/projects/jfreechart/files/ site.
- The JFreeChart version we have covered in this book is JFreeChart 1.0.19, as can be seen in the following screenshot. It can be downloaded from the https://sourceforge.net/projects/jfreechart/files/1.%20JFreeChart/1.0.19/jfreechart-1.0.19.zip/download site:

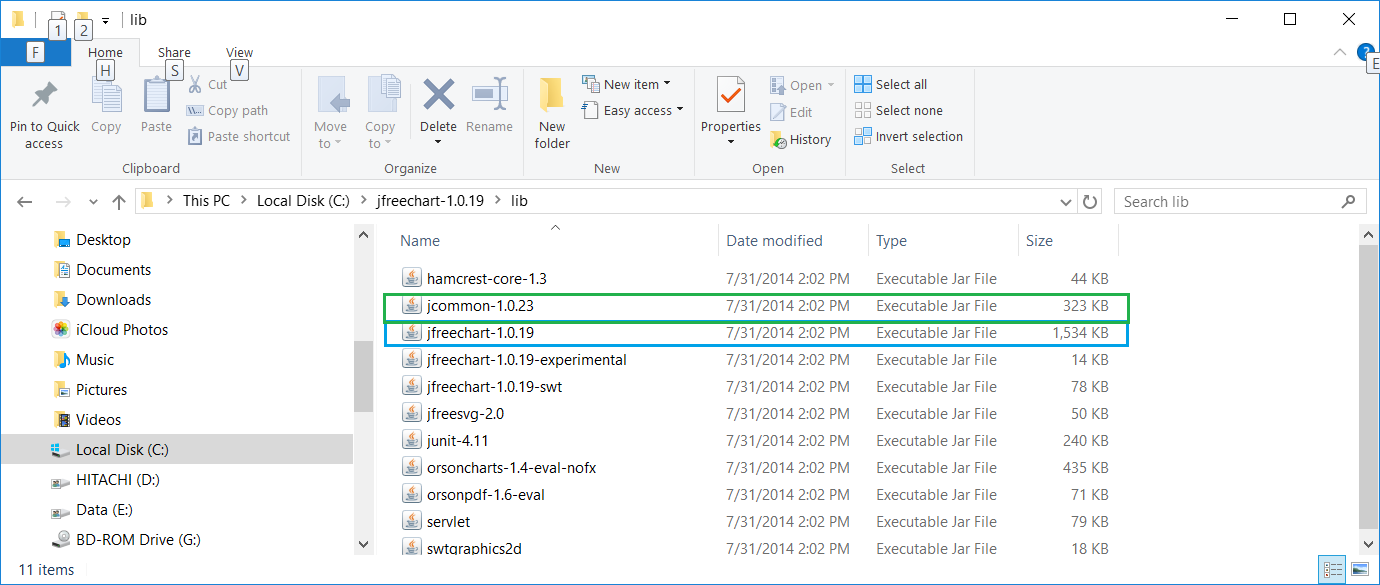
- Once the ZIP file is downloaded, extract it. We extracted the ZIP file under C:\ for a Windows machine, then proceed to find the lib directory under the extracted destination directory.
- We then find the two libraries we need (JFreeChart requires JCommon), JFreeChart-1.0.19.jar and JCommon-1.0.23:

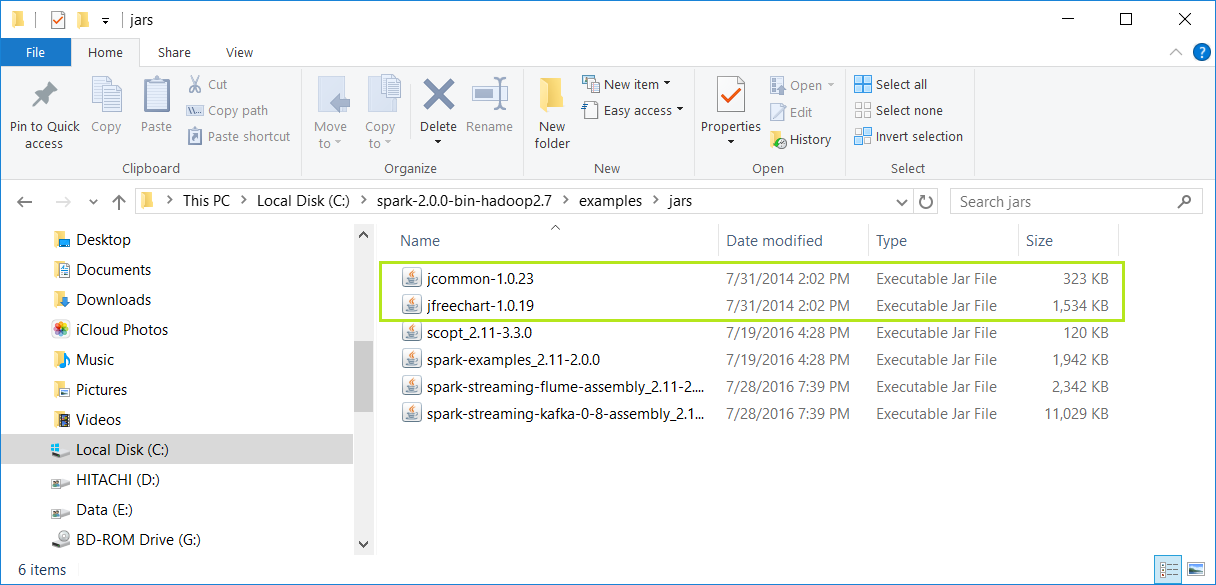
- Now we copy the two previously mentioned JARs into the C:\spark-2.0.0-bin-hadoop2.7\examples\jars\ directory.
- This directory, as mentioned in the previous setup section, is in the classpath for the IntelliJ IDE project setting:

- Start a new project in IntelliJ or in an IDE of your choice. Make sure that the necessary JAR files are included.
- Download the sample code for the book, find MyChart.scala, and place the code in the following directory.
- We installed Spark 2.0 in the C:\spark-2.0.0-bin-hadoop2.7\ directory in Windows. Place MyChart.scala in the C:\spark-2.0.0-bin-hadoop2.7\examples\src\main\scala\spark\ml\cookbook\chapter1 directory.
- Set up the package location where the program will reside:
package spark.ml.cookbook.chapter1
- Import the necessary packages for the Spark session to gain access to the cluster and log4j.Logger to reduce the amount of output produced by Spark.
- Import necessary JFreeChart packages for the graphics:
import java.awt.Color
import org.apache.log4j.{Level, Logger}
import org.apache.spark.sql.SparkSession
import org.jfree.chart.plot.{PlotOrientation, XYPlot}
import org.jfree.chart.{ChartFactory, ChartFrame, JFreeChart}
import org.jfree.data.xy.{XYSeries, XYSeriesCollection}
import scala.util.Random
- Set the output level to ERROR to reduce Spark's logging output:
Logger.getLogger("org").setLevel(Level.ERROR)
- Initialize a Spark session specifying configurations with the builder pattern, thus making an entry point available for the Spark cluster:
val spark = SparkSession
  .builder
  .master("local[*]")
  .appName("myChart")
  .config("spark.sql.warehouse.dir", ".")
  .getOrCreate()
- The myChart object will run in local mode. The previous code block is a typical start to creating a SparkSession object.
- We then create an RDD using a random number and ZIP the number with its index:
val data = spark.sparkContext.parallelize(Random.shuffle(1 to 15).zipWithIndex)
- We print out the RDD in the console:
data.foreach(println)
Here is the console output:
- We then create a data series for JFreeChart to display:
val xy = new XYSeries("")
data.collect().foreach{ case (y: Int, x: Int) => xy.add(x,y) }
val dataset = new XYSeriesCollection(xy)
- Next, we create a chart object from JFreeChart's ChartFactory and set up the basic configurations:
val chart = ChartFactory.createXYLineChart(
  "MyChart",  // chart title
  "x",               // x axis label
  "y",                   // y axis label
  dataset,                   // data
  PlotOrientation.VERTICAL,
  false,                    // include legend
  true,                     // tooltips
  false                     // urls
)
- We get the plot object from the chart and prepare it to display graphics:
val plot = chart.getXYPlot()
- We configure the plot first:
configurePlot(plot)
- The configurePlot function is defined as follows; it sets up some basic color schema for the graphical part:
def configurePlot(plot: XYPlot): Unit = {
  plot.setBackgroundPaint(Color.WHITE)
  plot.setDomainGridlinePaint(Color.BLACK)
  plot.setRangeGridlinePaint(Color.BLACK)
  plot.setOutlineVisible(false)
}
- We now show the chart:
show(chart)
- The show() function is defined as follows. It is a very standard frame-based graphic-displaying function:
def show(chart: JFreeChart) {
  val frame = new ChartFrame("plot", chart)
  frame.pack()
  frame.setVisible(true)
}
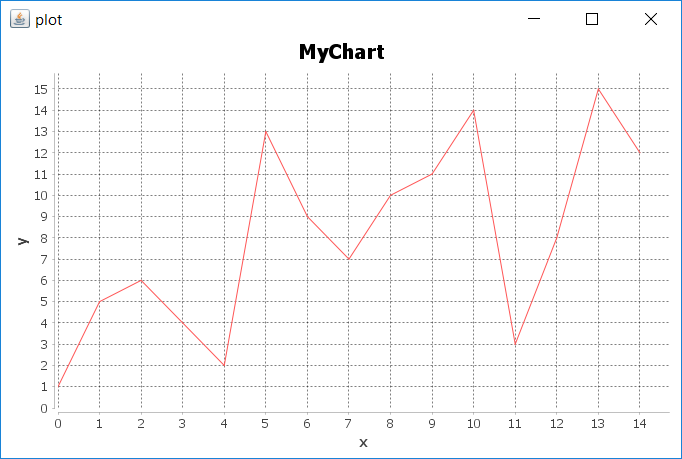
- Once show(chart) is executed successfully, the following frame will pop up:

- We close the program by stopping the Spark session:
spark.stop()
How it works...
In this example, we wrote MyChart.scala and saw the steps for executing the program in IntelliJ. We placed code in the path described in the steps for both Windows and Mac.
In the code, we saw a typical way to create the SparkSession object and how to use the master() function. We created an RDD out of an array of random integers in the range of 1 to 15 and zipped it with the Index.
We then used JFreeChart to compose a basic chart that contains a simple x and y axis, and supplied the chart with the dataset we generated from the original RDD in the previous steps.
We set up the schema for the chart and called the show() function in JFreeChart to show a Frame with the x and y axes displayed as a linear graphical chart.
Finally, we exited and released the resource by calling spark.stop().
There's more...
More about JFreeChart can be found here:
See also
Additional examples about the features and capabilities of JFreeChart can be found at the following website:


