Exploring the InDesign workspace
InDesign has a rich interface that can appear intimidating to new users. If you are new to InDesign, this chapter will get you up and running in a jiffy. You will have an opportunity to explore it by yourself shortly. A workspace is how the interface elements are arranged. InDesign sports a number of workspaces for different applications, ranging from book design to digital publishing. We’ll work primarily with the Essentials workspace in this book. To select this workspace, choose Window | Workspace | [Essentials]. We can now explore the InDesign workspace. The numbered screenshot in Figure 1.2 highlights each component of the interface and is followed by brief descriptions.
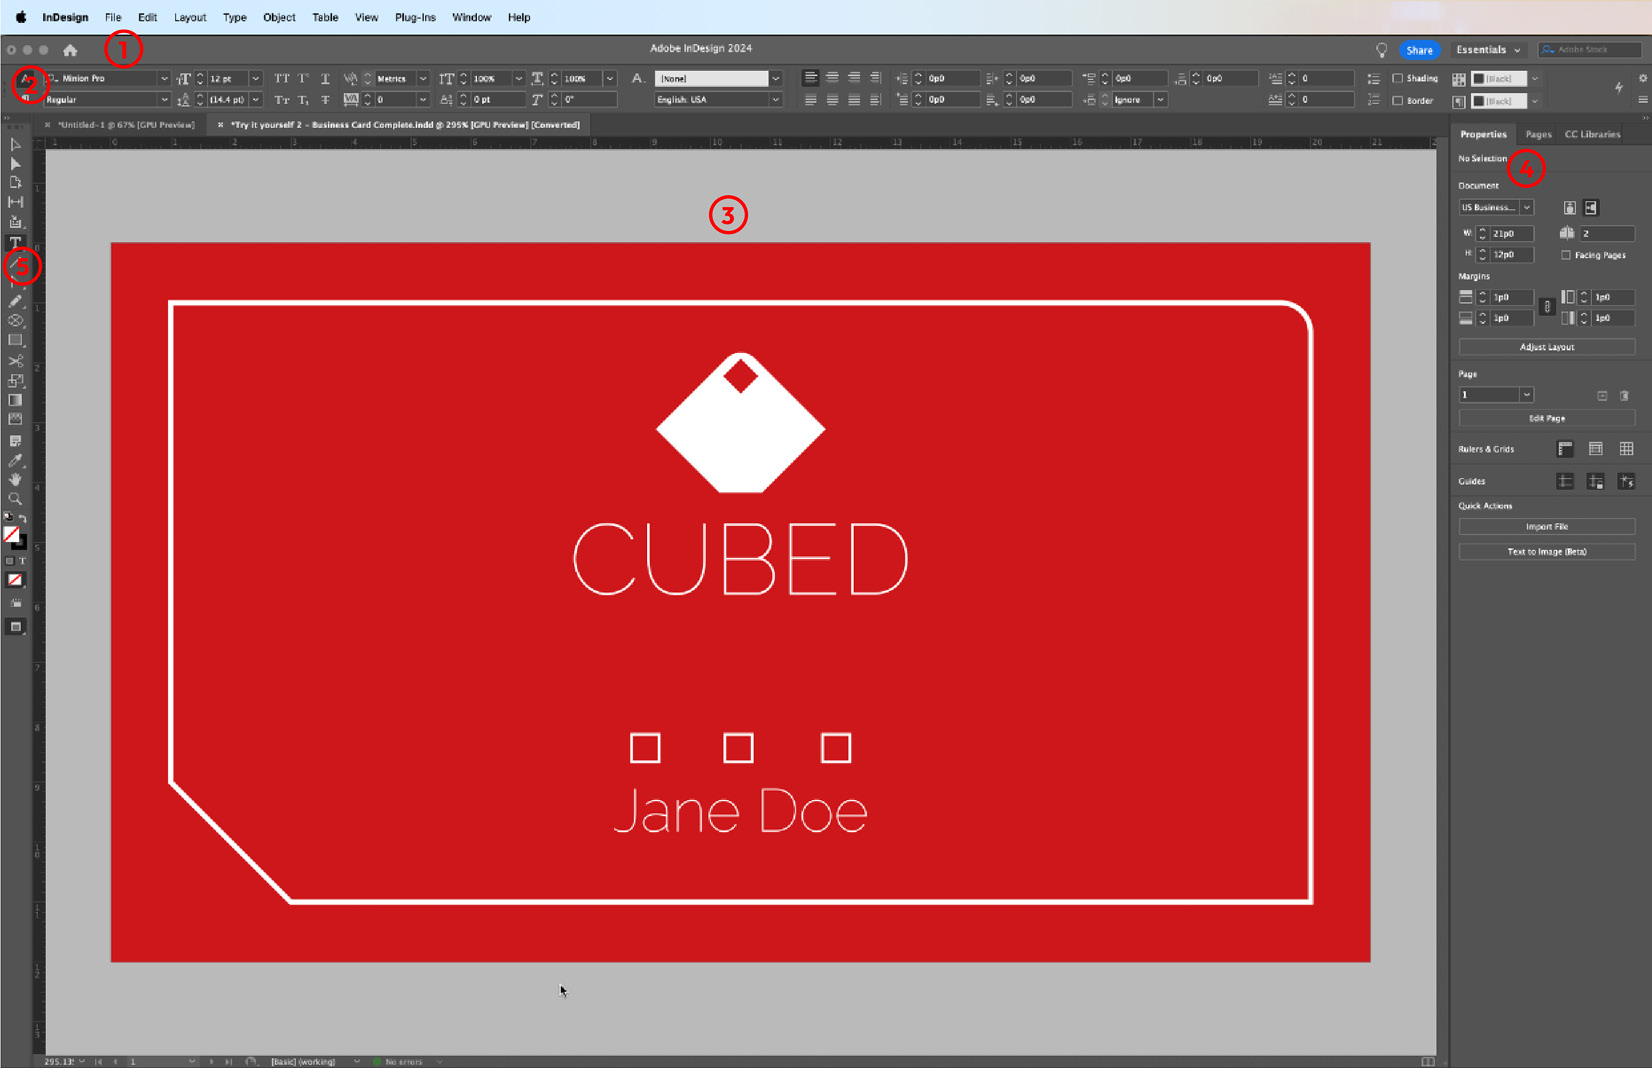
Figure 1.2: The default InDesign interface (The image is intended as a visual reference; the textual information is not essential.)
- Menu Bar: Found at the very top of the interface, the menu bar includes drop-down options for a wide range of functions, similar to other applications you may be familiar with. Menus include commands for saving files, editing objects, pagination, typographic controls, working with tables, accessing panels, and interface management options.
- Control Bar: This is the context-sensitive horizontal panel found just below the menu bar. The panel presents options and commands depending on the tool or element selected. In other words, panel options are presented relative to the context. For example, text controls will be naturally different from image controls. The control bar offers options that allow for greater control of design elements such as shapes, text, and images.
- Document Window: This is your main work area in InDesign. This is where document composition and layout take place. This area typically hosts document pages and is surrounded by a gray boundary area known as the pasteboard. It is a metaphorical reference to the real-world experience of a page on a desk.
- Panels: Panels provide easy access to important tools and settings for specific tasks. All panels, including the toolbox, are accessible from the Window menu. Some have similar functions to the control bar and offer additional controls. Panels are, by default, nested to the right of the InDesign interface.
- Toolbox: The toolbox contains a selection of tools used to add and modify elements in an active document. Many tools have a small white triangle in the bottom-right corner. This indicates that there are more tools nested within that tool group, hidden beneath the tool that is currently visible. To access these additional tools, click and hold your mouse on the triangle icon
 for the active tool. A popup will appear showing additional tools available within that tool group.
Try it yourself – Exploring the InDesign workspace
Note
The files referred to in the practical activities can be downloaded from https://packt.link/a19oQ
- On opening InDesign, you are presented with the Start screen. Should you encounter any pop-up messages such as What’s new, click the close icon to return to the main Start screen. Be sure to click on the X symbol in the white circle to the right of the pop-up message.
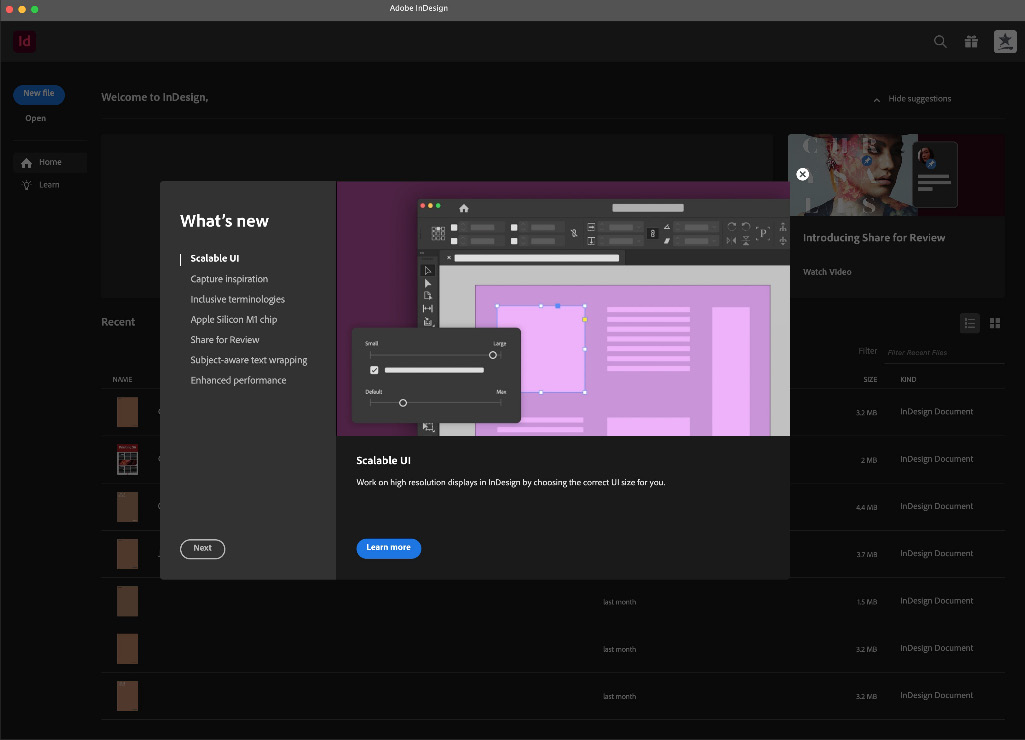
Figure 1.3: The InDesign Start screen (The image is intended as a visual reference; the textual information is not essential.)
- To open a file, choose Open. Then browse to locate the accompanying downloaded files for this book and choose the file called
01 Exploring the InDesign Workspace.inddfrom the exercise files. - The menu bar is found at the top of your screen, as is the case with the majority of software applications. An important menu is the Window menu. This is where you access panels and manage your workspace. Browse through the menus and window options to get a general sense of what is available in the different menus. We will discuss these drop-down menus in detail further on in this book.
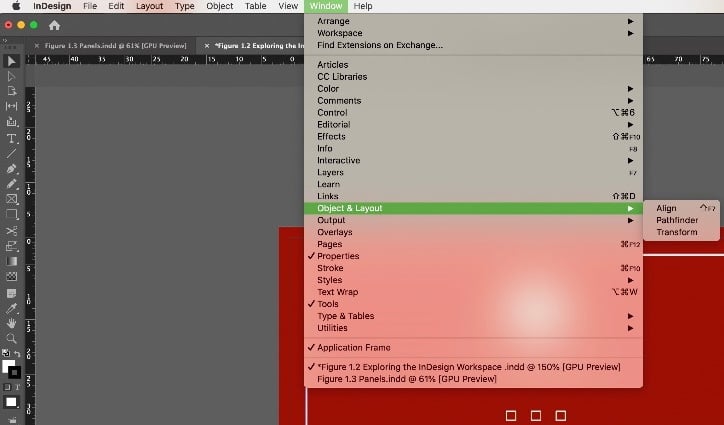
Figure 1.4: The InDesign interface
- The control bar is found at the top of the interface. If it is not visible, as is the case in Figure 1.4 above, choose Window | Control to make it visible. Let's Explore!. Click on different elements of the artwork, and click on the various tools in the toolbox. Observe the Control bar and Properties panel as you do this. Options relevant to the object or tool that you have selected are contextually presented in both panels.
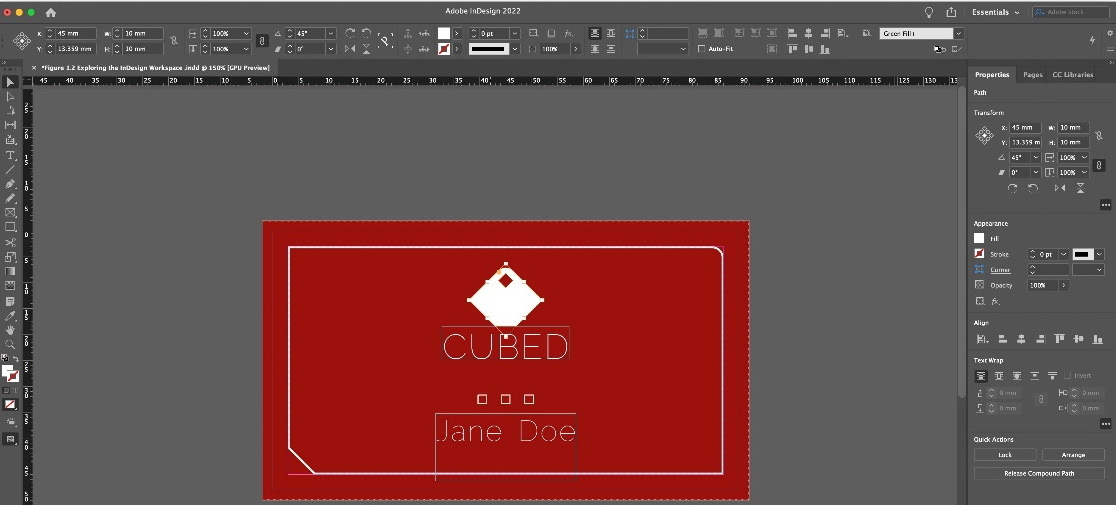
Figure 1.5: The Control bar and Properties panel with a graphic element selected (The image is intended as a visual reference; the textual information is not essential.)
- Choose the Type tool
 from the Toolbox. The shortcut is the letter T on your keyboard. Triple-click the word CUBED in the design on the page. The word is highlighted. Note that the options on the Control bar and Properties panel have changed to reflect the properties of the selected word while simultaneously offering typographic controls such as font, type size, and so on.
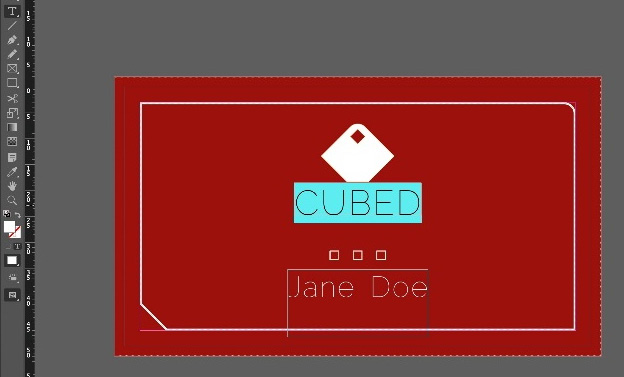
Figure 1.6: The text selected with the Type tool
- Choose the Selection tool
 from the Toolbox. This is the very first tool found at the very top of the Toolbox on the left side of the workspace. The Selection tool shortcut is the letter V.
Tip
If you have the Type tool selected, or are typing text in a document, press Escape to return to the Selection tool.
With the Selection tool active, click on the diamond icon (logo) above the word CUBED. It will indicate visually that it is selected by way of a series of nodes that appear along the edge of the logo shape. See Figure 1.7 for a visual of the selected element. Note that the Control bar is displaying a set of controls relevant to the object that is selected.
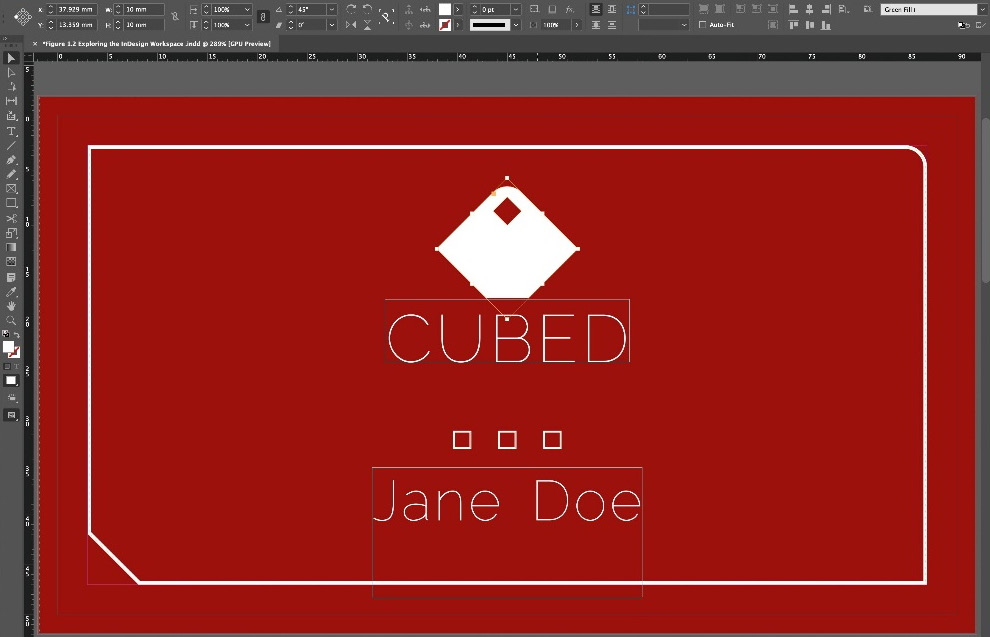
Figure 1.7: The logo selected with Control bar options
- Let’s change the color of the logo by using a panel. Remember that panels are found to the right of the interface. Click on the Properties panel to bring it to the fore. Should you not see the Properties panel, choose Window | Properties. Under the Appearance subset in the Properties panel, click on the white swatch alongside the word Fill. Then choose Yellow CMYK from the flyout menu. The flyout menu is accessed by clicking on the swatch. The logo color should change to yellow.
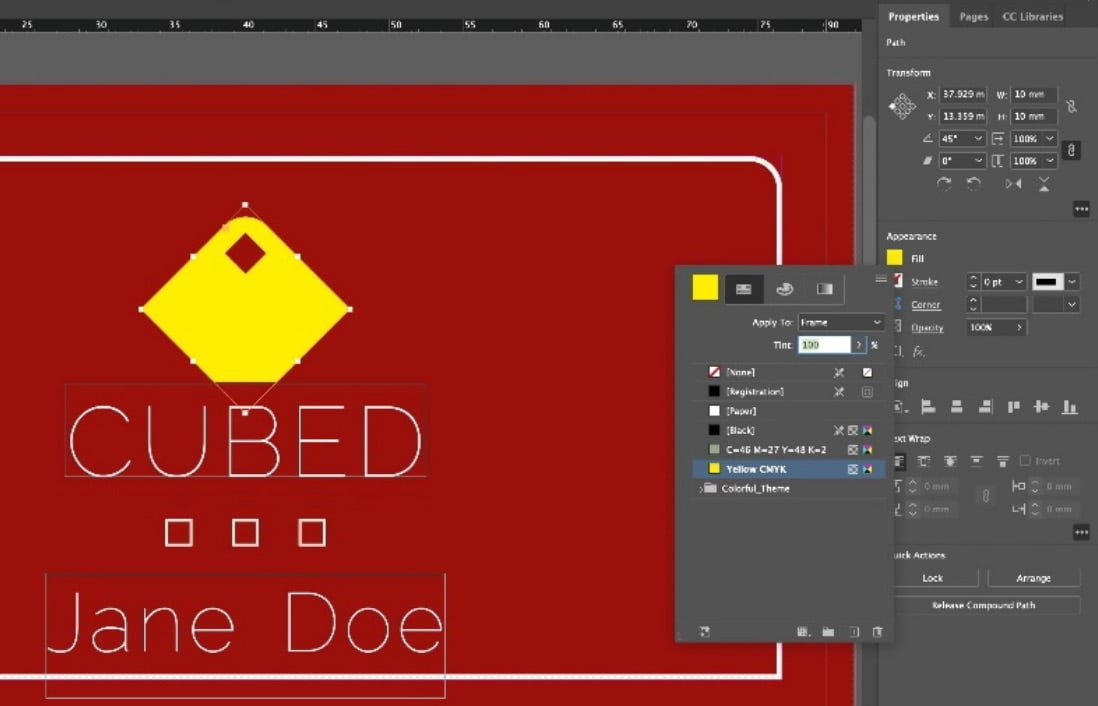
Figure 1.8: The logo with Yellow CMYK applied
- Let’s make the document view slightly smaller, so we have a better overall sense of our change. Making the view smaller or larger is called zooming. Right-click on the artwork, then choose Zoom Out. You can also choose View menu | Zoom Out to make the content smaller.
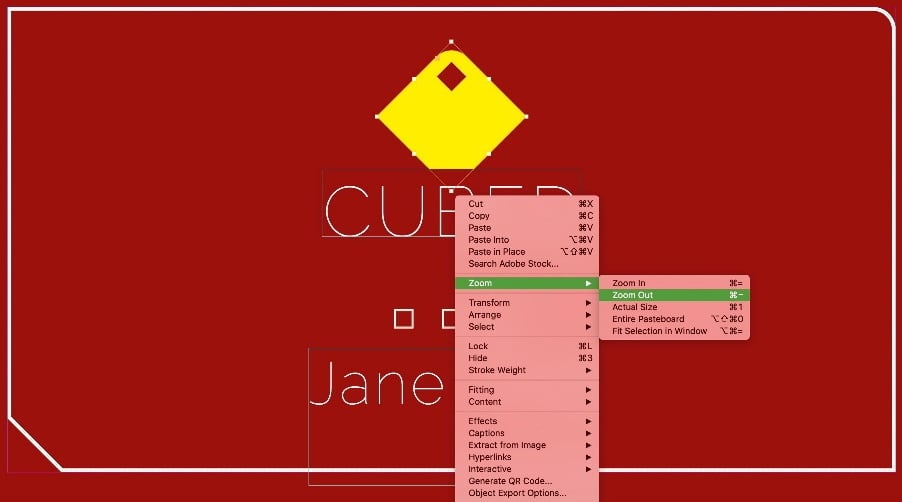
Figure 1.9: Zooming out of the artwork
- Now choose the Pages panel on the right-hand side of the workspace. The panel has two segments. The top section houses Parent Pages. We will explore these in a later chapter. The lower segment stores the document pages. You can see, in the following figure, we have two pages in this document numbered 1 and 2. Let’s navigate to Page 2. Double-click on the icon with the number 2 below it. This will take us to Page 2. Let’s return to Page 1, by double-clicking on the page shown in the panel.

Figure 1.10: The rear of the business card design
- Well done. You’ve explored the fundamental tenets of a multi-page design. You should feel a little more comfortable with the InDesign workspace at this stage. Let’s close the file. Choose File | Close. Choose Don’t Save in the pop-up box that appears.
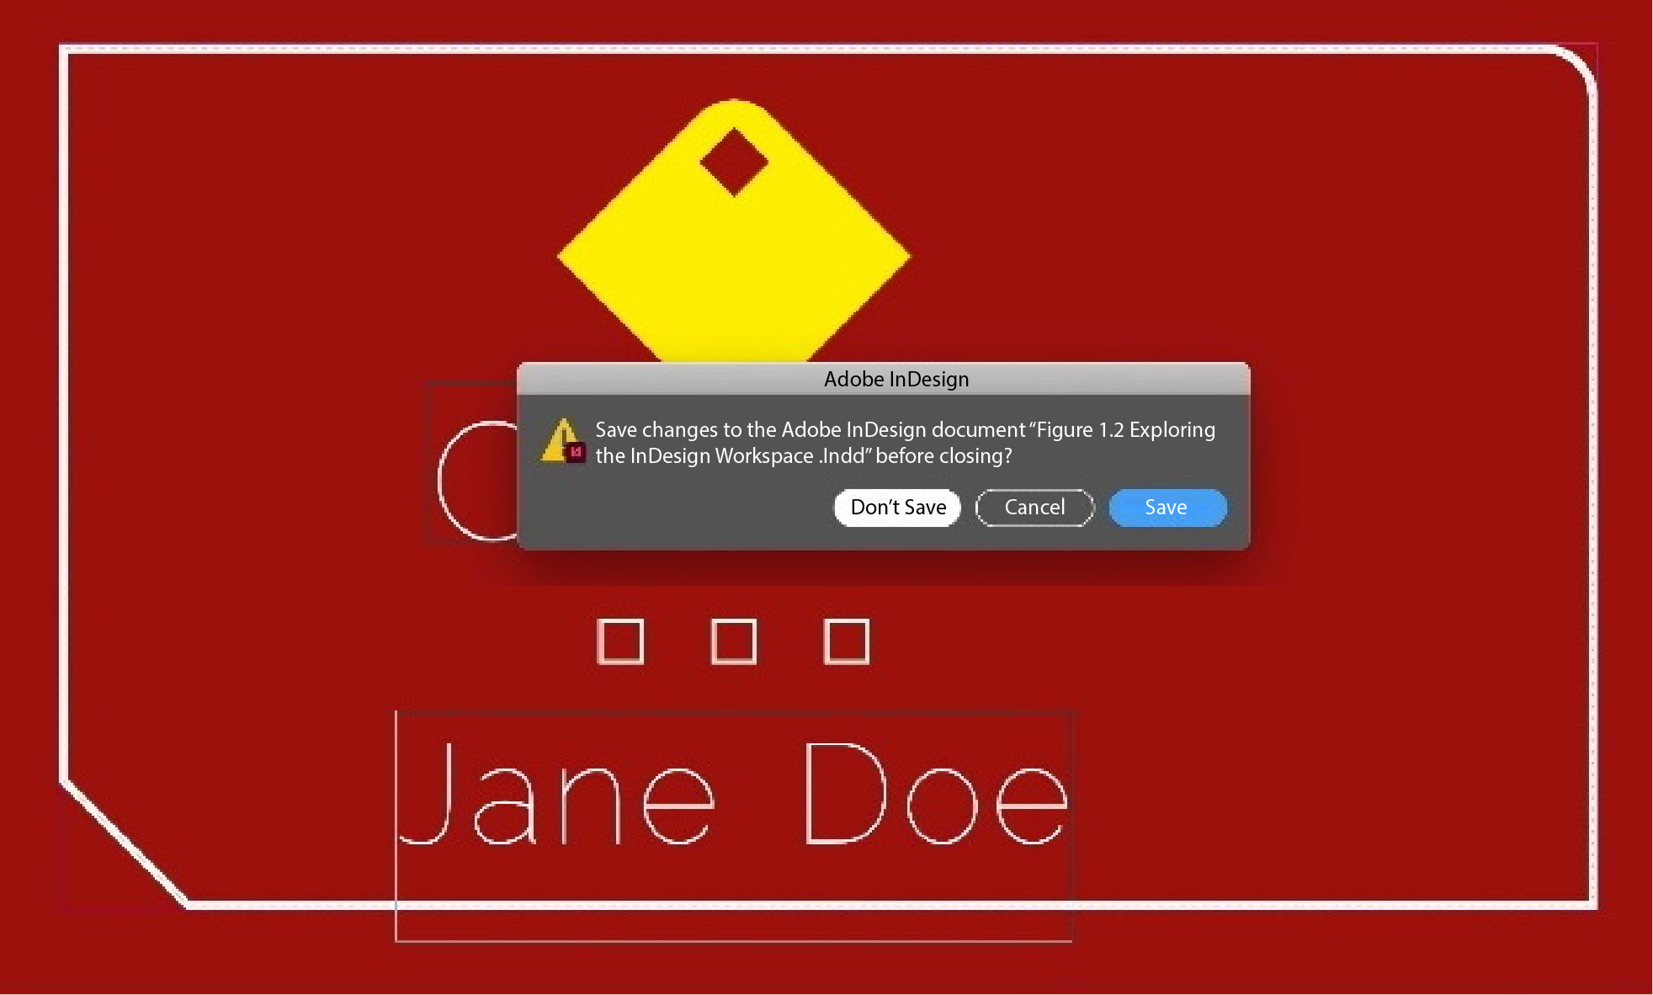
Figure 1.11: Closing the document without saving changes
We now have an understanding of the InDesign interface. In the next section, we’ll explore an important panel – the toolbox. We’ll look at the individual tools and the options they provide.


