In this section, we will take a deep dive into how to install Kali onto VMware Workstation Player and Oracle VirtualBox.
Installing Kali into a virtual machine
VMware Workstation Player
Formerly known as VMware Player, VMware Workstation Player is free for personal use, and it is available as a commercial product for business use from VMware as a desktop application that allows us to run a virtual machine inside our host operating system. This application can be downloaded from the following URL:http://www.vmware.com/products/player/playerpro-evaluation.html
Next, we will see the step-by-step installation of Kali onto VMware Workstation Player.
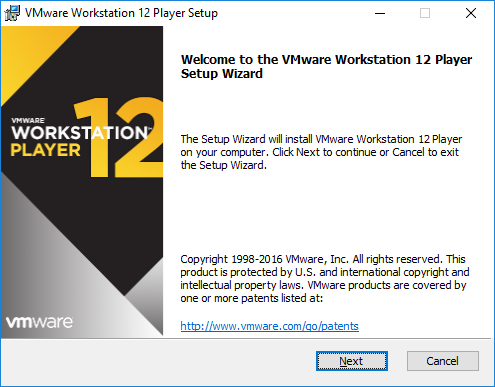
Once the file is downloaded to your host operating system, you just click on Open the executable and you should be able to see the following:

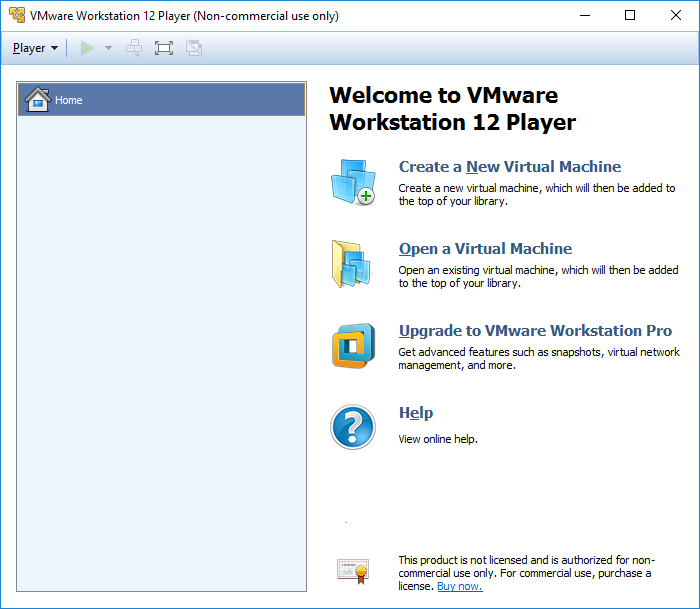
The next step is to Accept the end user license agreement and click on Next until you get the following screen, which depicts the successful installation of VMware on your host operating system:

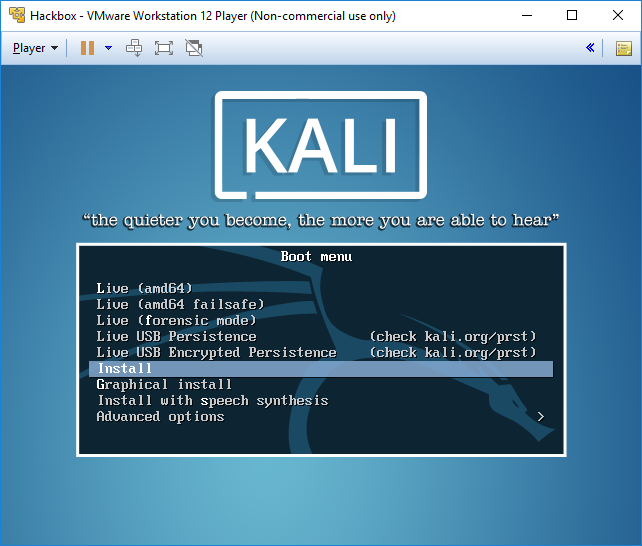
The next step to install Kali to VMware, now that we have downloaded the file from the official Kali downloads, is to click on Create a New Virtual machine and select Installer disc image file (iso). Browse to the ISO file that was downloaded and then click on Next; you can now enter the name of your choice (for example, HackBox) and select the custom location where you would like to store your VMware image. Click on Next and then specify the disk capacity at the minimum for running Kali (recommended is 10 GB) and click on Next until you finish. You should be able to see the following screen once all the settings are complete:

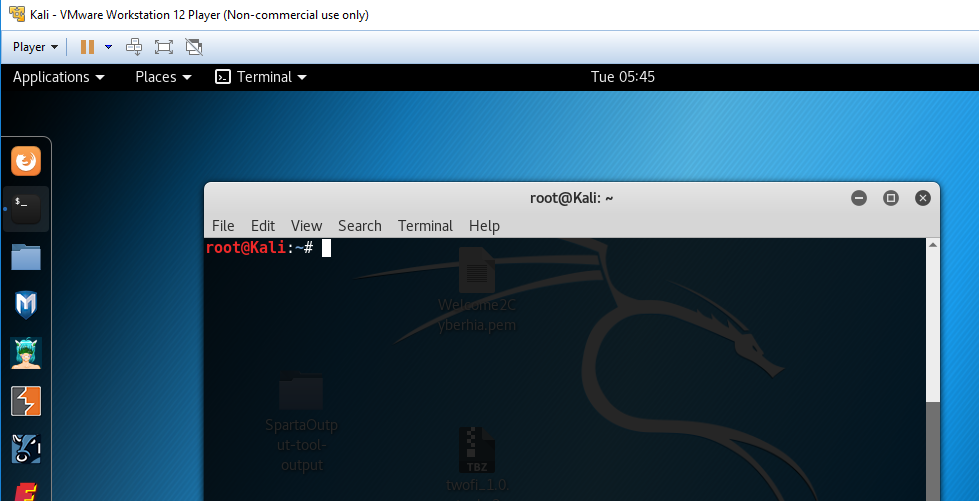
You can choose to install Kali to the host operating system or run it as a live image. Once all the steps of installation are complete, you are ready to launch Kali from VMware without any problem, as shown in the following screenshot:


