Content Editor features
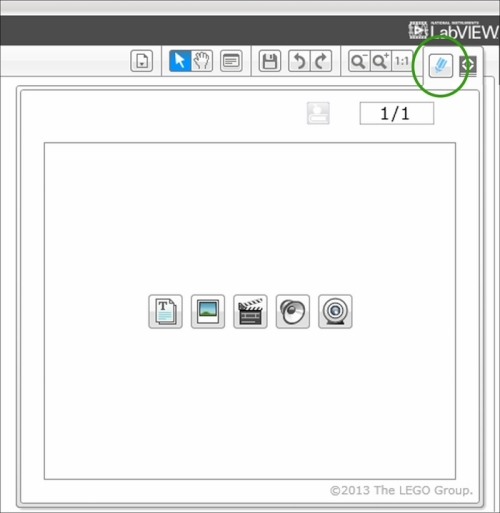
When you start a new project in the EV3 software, the Content Editor will automatically open up on the upper right-hand side of the Programming Canvas.

The Content Editor will automatically open up in View mode, as shown in the preceding screenshot. If you click on the Pencil icon (encircled in the preceding screenshot), you can switch from View mode to Edit mode; this allows you to enter information.

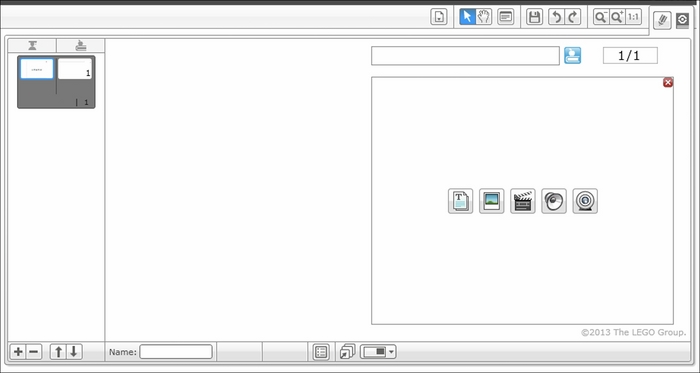
When entering Edit mode, the EV3 software limits the icons displayed to five basic functions such as Text and Image. You can access the full range of the Content Editor functions by clicking on the red cross sign in the upper right-hand corner:

The basic features of the Content Editor, shown in the preceding screenshot, include (going clockwise from the top) Text, Image, Building Instructions, Video, Table, Webcam, Document, and Sound. If you want to return to the abbreviated version of this menu, you can click on the Document icon. By themselves, many of these entries might seem limited. However, using the selections in Page Setup, you can combine these features into a powerful record of your work.
When you create a new page in the Content Editor (by clicking on the plus sign), it will open up the templates shown in the following screenshot:

I particularly like to have text on the bottom panel to describe to the reader what they are looking at in any videos and images, or building instructions on the top panel. If you click on the icon I have circled in red in the previous screenshot, you will see two panels appear as shown in the following screenshot:

Next, let's insert an image into the top window in the Content Editor. Click on the Image icon. When working with the image, you will find that you can only upload JPG and PNG images. Then try typing some text into the bottom window after clicking on the Text icon, as shown in the following screenshot:

You will see that the Text Toolbar allows you to set the fonts and the formatting. When working with text, I like to add text actions. If you click on Add Action, encircled in the following screenshot, several options are presented:

A drop-down menu will appear with these options as shown in the following screenshot. The actions are similar to a hyperlink. They allow you to open programs or a website with the page or move to a different page. This is particularly useful if you have numerous pages in the Content Editor for your program. For example, you could create a table of contents at the beginning.

After you have created several pages, you should try to use the function Go To Named Page. A good use for naming your pages is to create dates so that you know when you did your work. You might choose to name your pages with the date you created it on. I also like the Go To Program option. At this point, the EV3 software Version 1.1 doesn't allow you to choose programs that are part of a different project. You can also use a Text Button to emphasize the text action, as shown in the following screenshot:


