In this section, you will modify the Blynk app, LED Controller, by configuring a virtual pin:
- Go to edit mode by tapping the stop icon if you're already in play mode.
- Tap the Button widget.
- On the Button Settings page, tap GP 18 under OUTPUT. Scroll down and choose Virtual from the left-hand part of the list. Then, scroll down and choose V1 from the right-hand part of the list under PIN. Blynk provides 128 virtual pins for working with Raspberry Pi. Finally, tap OK.
- Now, your Button Settings page should look like this:
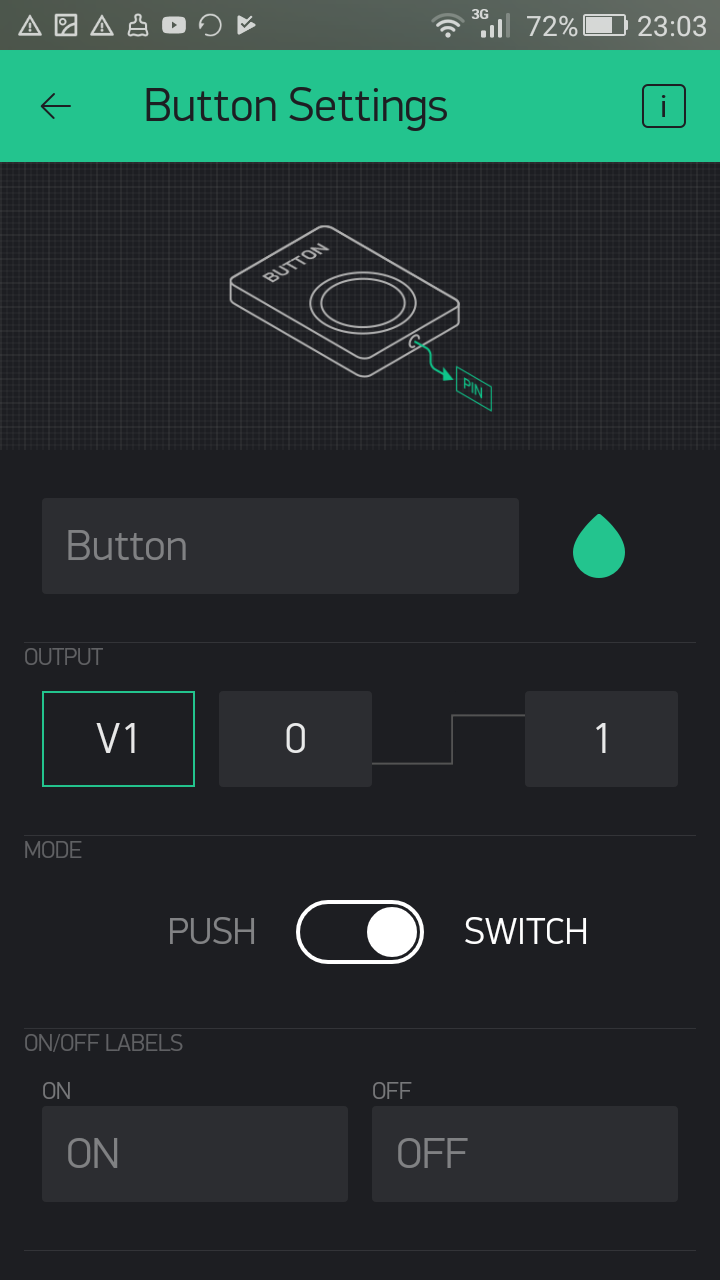
Button settings for virtual pin
- Tap the LEFT arrow on the toolbar. You will see the new button configured with the virtual pin V1:
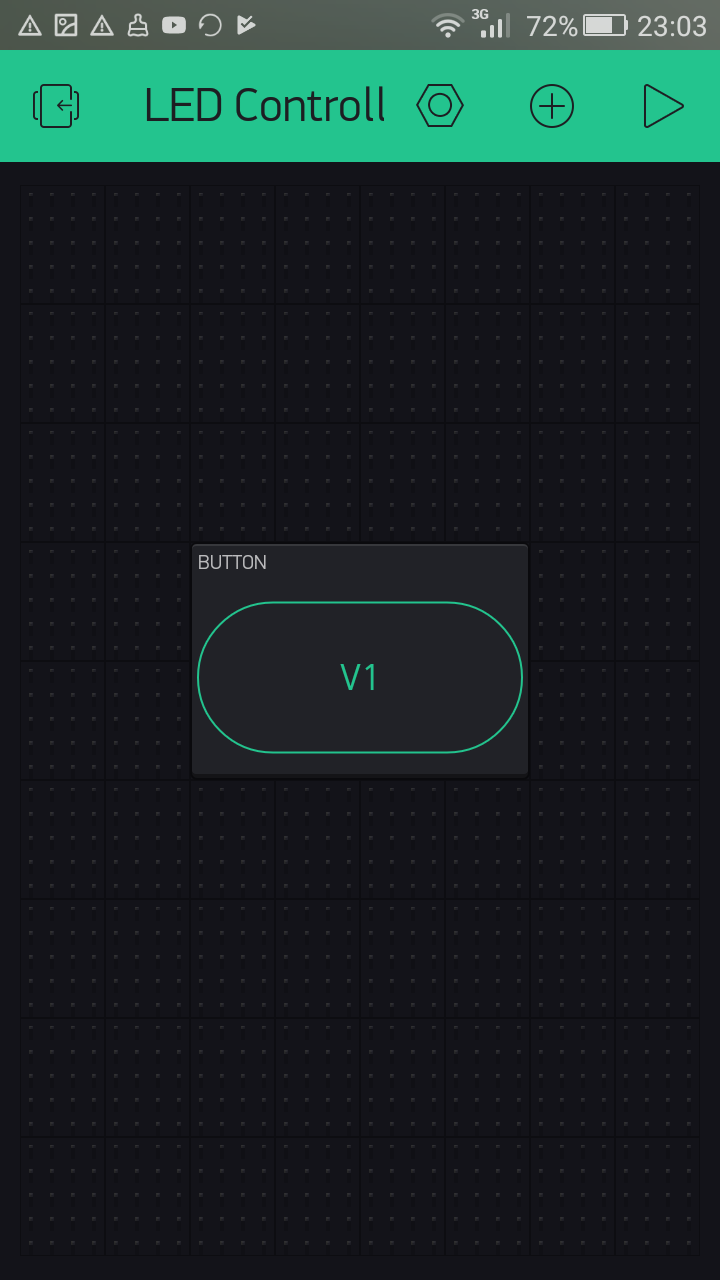
Button configured with virtual pin V1
Now, you've successfully modified the Button widget, so it can write values to the virtual pin V1.