Search icon CANCEL
Subscription
0
Cart icon
Your Cart (0 item)
Close icon
You have no products in your basket yet
Arrow left icon
Explore Products
Best Sellers
New Releases
Books
Videos
Audiobooks
Learning Hub
Newsletter Hub
Free Learning
Arrow right icon
timer SALE ENDS IN
0 Days
:
00 Hours
:
00 Minutes
:
00 Seconds
Get Set Procreate 5
Get Set Procreate 5

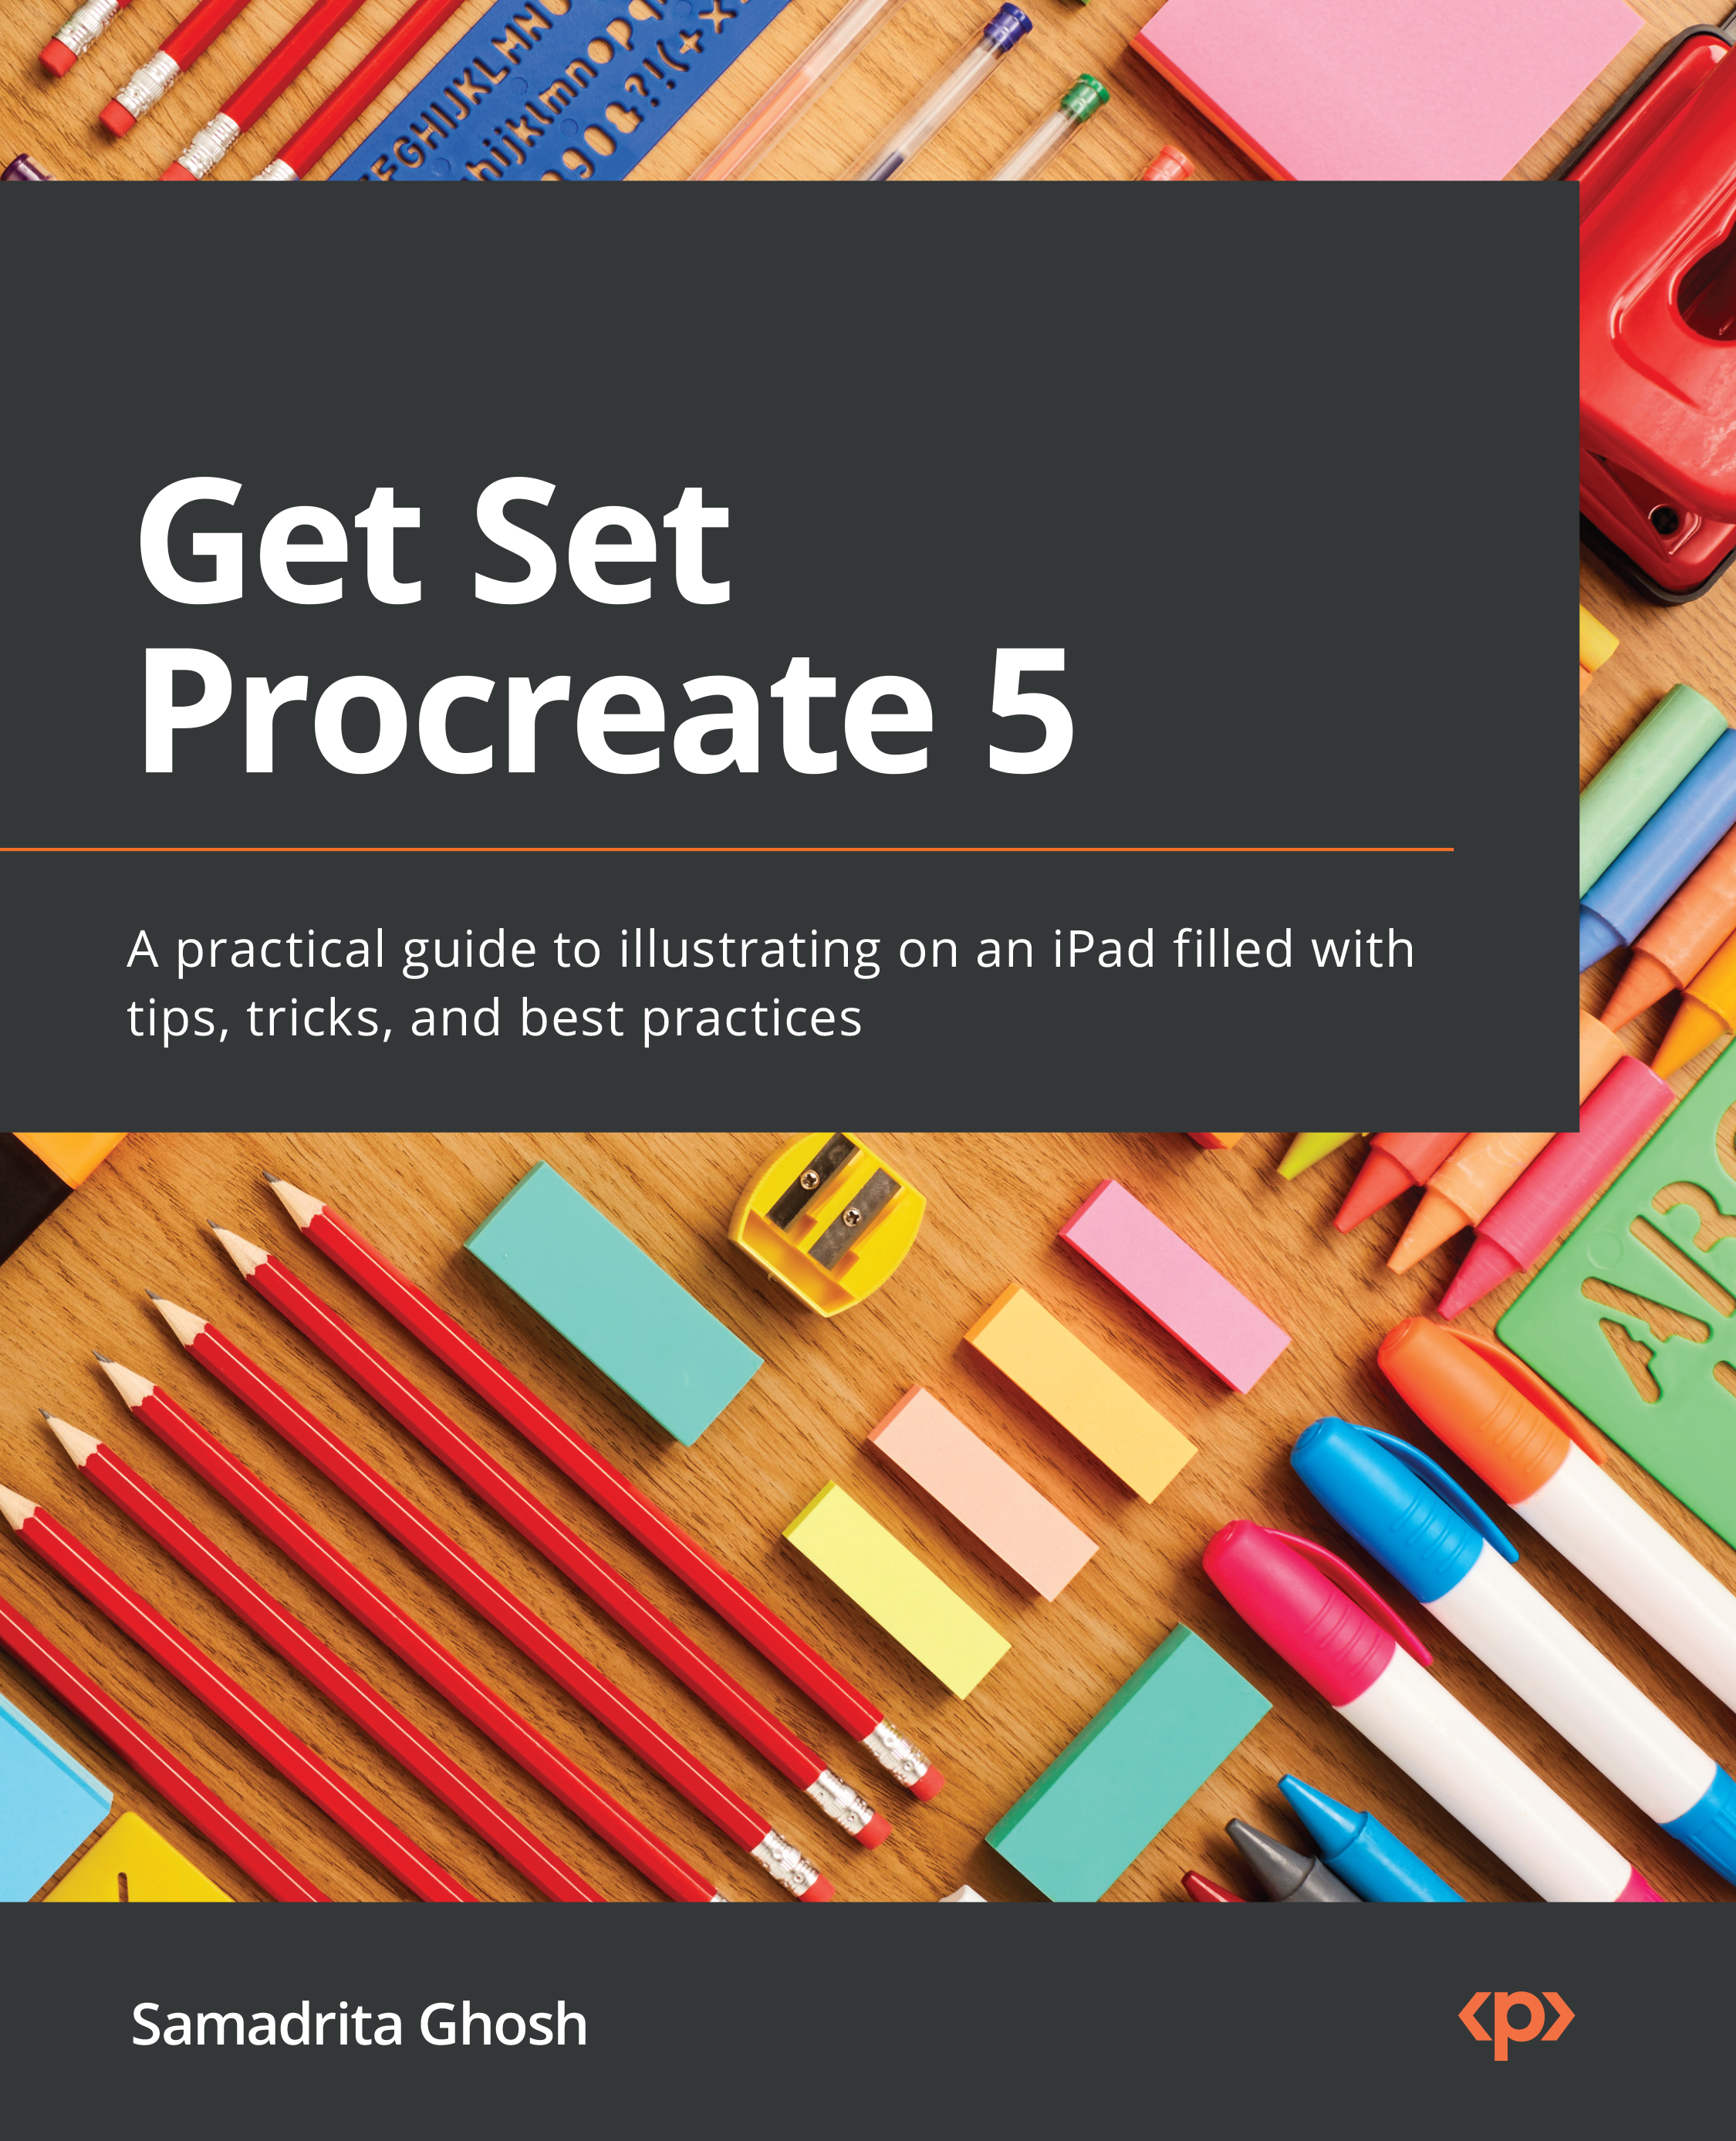
Get Set Procreate 5: A practical guide to illustrating on an iPad filled with tips, tricks, and best practices

eBook
€30.99 €44.99
Paperback
€56.99
Subscription
Free Trial
Renews at €18.99p/m

What do you get with eBook?

Product feature icon Instant access to your Digital eBook purchase
Product feature icon Download this book in EPUB and PDF formats
Product feature icon Access this title in our online reader with advanced features
Product feature icon DRM FREE - Read whenever, wherever and however you want
Product feature icon AI Assistant (beta) to help accelerate your learning
OR
Modal Close icon
Payment Processing...
tick Completed

Billing Address

Table of content icon View table of contents Preview book icon Preview Book

Get Set Procreate 5

The Gallery – Organizing Your Files

The very first page you will see upon opening Procreate for the first time is what is called the Gallery. This is where all your files exist and where you can create, organize, and view your artworks. This feature sets Procreate apart from most other drawing software, in which the landing page takes you directly to a new canvas.

To begin, the gallery should already have some sample artworks included to give you an idea of the full extent of what the software is capable of. The gallery is where the application automatically saves all your work, much like cloud-based types of software such as Google Docs. This relieves you from having to continually save your progress while working.

In this chapter, let’s look into the gallery and its functionality. By the end of the chapter, you will have learned how to navigate the gallery, make a new canvas, share and arrange your existing canvases, and edit your canvas information.

In this chapter, we’re going to cover the following main topics:

  • Creating a canvas
  • Sharing a canvas
  • Ordering, renaming, and stacking
  • Selecting, duplicating, and deleting

Creating a canvas

There are several ways of creating a new canvas on Procreate. In the upper-right corner of the gallery, you will see four buttons. Out of those buttons, Import, Photo, and + are the options that let you create a canvas from different sources of your choice. There is some overlap between how those three work, but let’s look at them one by one.

Creating a canvas using Import

Import allows you to create a new canvas directly from an image, video, PSD, or Procreate file saved in the Files app on your iPad. This is ideal for when you have downloaded a file from somewhere else (such as an email or a cloud drive) and want to open it in Procreate.

Tapping on Import will take you directly to Files, as shown here:

Figure 1.1: Importing from Files

Figure 1.1: Importing from Files

From here, you simply have to go to the location of the file you want and tap on it. Once you have chosen a compatible file to open, Procreate will automatically create a canvas using it for you to work on.

Procreate supports the following file types:

  • .procreate
  • PSD
  • JPEG
  • PNG
  • TIFF
  • .PDF
  • GIF
  • .MP4
  • HEVC

Another way to quickly import a file into Procreate is by dragging and dropping it from Files. We’ll go into more detail about that in the Sharing by dragging and dropping section. With that, you now know how to import images from Files to create a new canvas. Now, let’s look at the other options we have.

Creating a canvas using Photo

Another avenue the application offers is to import an image from the Photos app. Tapping on Photo will take you to your iPad’s gallery, from where you can pick an image of your choice. It will look like this:

Figure 1.2: Importing from Photos

Figure 1.2: Importing from Photos

Here, you have an option to choose either from the entire gallery of photos or your albums. Similar to Import, Procreate will automatically create a fresh canvas with the original image.

Important Note

A canvas created from an imported file from either Files (using Import) or Photos (using Photo) will have the same properties as the source, including dimensions, resolution, and color profile. For time-based files such as GIFs and videos, the canvas will automatically turn on Animation Assist at the same frame rate as the source.

Of course, in this case, dragging and dropping an image from the Photo Library also does the trick. You now know how to create a canvas using Photo.

Creating a custom canvas

Tap on the + icon in the upper-right corner to create a fresh blank canvas from the available presets. If you find that none of them fit your needs, you could always make one from scratch! In the next chapter, we will cover, in detail, the process of setting up a custom canvas.

Next, we will look at the different ways in which we can share a canvas on Procreate.

Sharing a canvas

Procreate lets you export a canvas directly from the gallery to several supported apps such as Google Drive, Twitter, and Instagram. There are two ways to do it: you can choose to either share a single canvas or share multiple canvases together.

Sharing a single canvas

To begin, perform the following steps:

  1. Open the gallery and find the canvas you want to export.
  2. Swipe left on it to reveal three buttons, Share, Duplicate, and Delete, as shown here:
Figure 1.3: The canvas menu

Figure 1.3: The canvas menu

  1. Tap on Share to reveal this menu, which has all the possible formats your file can be exported as:
Figure 1.4: The export formats menu

Figure 1.4: The export formats menu

  1. Once you have chosen your desired format, a dialog box will open. From here, you can choose the destination of your exported file, as shown here:
Figure 1.5: The Share menu

Figure 1.5: The Share menu

You can easily save the file to your device or send it to an app of your choice. It’s worth noting that sharing to an app does not mean that the image is saved to your device. You have to do that separately.

Sharing multiple canvases

Procreate also lets you export multiple canvases at once:

  1. From the gallery, tap on the Select option. A small circle will appear under each canvas.
  2. Tap on a canvas to check the circle and select it.
  3. Once you have selected all the canvases you want to export, you will notice that the upper-right menu has now changed, as shown here:
Figure 1.6: The canvas

Figure 1.6: The canvas

  1. Out of those options, select Share.

Similar to the previous process, choose a format and destination for your files to complete the process and bulk export the selected canvases.

Sharing by dragging and dropping

A quicker and easier way to export files is by dragging and dropping a canvas into the intended destination. For this, you will need to use the Split View feature of your iPad. To activate Split View, follow these steps:

  1. Open Procreate.
  2. Gently push up the horizontal white bar at the bottom of your screen to reveal the Tab bar. From there, press and hold the Photos/Files app icon (or wherever you want to export to).
  3. Drag the icon to the left or right edge of the screen.
  4. Your screen will automatically split, with the two apps on either side of the app divider line. You can adjust the position of this line to decide how much screen space to allot to each app:
Figure 1.7: Activating the split view

Figure 1.7: Activating the split view

  1. Next, simply select the canvases you’d like to export using the Select button from the previous section, and drag them into your destination app to export them automatically.

Important Note

The format of a file exported using drag and drop depends on the destination app. You can edit this via Open Procreate | Actions | Help | Advanced Settings | Drag and Drop Export. By default, the file type is set to .jpeg when exporting to Photos and .procreate when exporting to Files.

Now that we know how to create and export canvases, it’s useful to learn how to organize the gallery.

Ordering, renaming, and stacking

For artists working on several projects at once, it’s important to be able to easily sort out their gallery to navigate it smoothly. There are many convenient ways to organize your canvases within the Procreate gallery.

Ordering your canvases

The gallery has no constraints about sorting canvases in chronological, alphabetical, or any other order. By default, every new canvas you create gets added to the left-hand side of the top row. Even so, you are pretty much free to arrange your files in whatever order you want them to appear. This is done by long pressing on a canvas thumbnail and dragging it to the desired position:

Figure 1.8: Reordering canvases by dragging

Figure 1.8: Reordering canvases by dragging

Renaming a canvas

The default name of a new canvas is Untitled Artwork. To edit this, simply tap on the canvas name and it will pop out as a text editor bar, where you can type in the name you want. Tapping on the x mark (the cancel icon) on the right-hand side of the text editor will reset it to the default setting. This is how it will look:

Figure 1.9: Renaming a canvas

Figure 1.9: Renaming a canvas

Right off the bat, you will notice, that Procreate allows you to have multiple canvases with the same name without marking them, such as painting and painting(1). You are also free to use special characters in any order. Note that it’s a slightly different feeling from, perhaps, naming files on your computer:

Figure 1.10: No naming conventions

Figure 1.10: No naming conventions

Stacking canvases

Stacking is the feature you can use when you want to group together similar canvases. It’s like creating a “folder” on your computer. Each one of these groups is called a stack.

To stack two canvases, drag one canvas thumbnail over the other and wait for a blue box to appear over the one on the bottom. Then release it to create a stack:

Figure 1.11: Creating a stack

Figure 1.11: Creating a stack

A stack is named Stack by default. You can rename it in the same way as renaming a canvas: by tapping on the name and editing the it.

Adding an existing canvas to a stack can be done in the following ways:

  • Drag and hold the stack over the canvas. A blue box will appear over the canvas, and a blue circle with the current number of canvases in the stack will appear in the upper-right corner. Once this happens, release the stack. This will reset the stack name to the default setting, irrespective of what it was named before. The canvas added will be found at the very bottom of the stack.
  • Drag and hold the canvas over the stack. Don’t release it until a blue box blinks over the stack and it opens up to show all the canvases inside. Place the canvas in the position you’d like before releasing it. This method lets you keep whatever name the stack originally had.
  • You can also choose the canvases you want to stack using the Select feature, which is covered in the next section.

Important Note

You cannot create a stack within a stack. Additionally, one stack cannot be stacked with another using drag and hold.

To move a canvas out of a stack, drag it over to the stack name. Then, hold it until the name turns blue and blinks, and the gallery appears. Place the canvas where you’d like.

Selecting, duplicating, and deleting

There are many more actions you can perform on your canvases from the gallery. These features are useful when you want to execute an action in bulk on several canvases. Tap on Select in the upper-right corner of the gallery to begin:

Figure 1.12: The select menu

Figure 1.12: The select menu

Once you have selected your desired canvases, you can perform the following actions on them:

  • Stack: Create a stack with all the selected canvases and stacks.
  • Preview: This will open up a slideshow with all the selected artworks in fullscreen mode, which you can swipe through. For canvases that have Animation Assist turned on, the preview will play the animated video.
  • Share: You can bulk export all of the selected canvases in the same way that we discussed earlier, including dragging and dropping to your preferred destination.
  • Duplicate: Create copies of each selected canvas.
  • Delete: This is self-explanatory. This cannot be undone, so be careful when using it.

Important Note

While in the gallery, pinch out of a canvas thumbnail to automatically activate the Preview mode and swipe through all your artworks in fullscreen, without having to load the individual canvases.

Summary

Hopefully, you’re now comfortable with how the landing screen of Procreate 5 functions, and you’ve got the hang of using all these features to organize your gallery. Try using your newly learned skills to group together all the sample artworks into a stack, because in the next chapter, it will be time to create your own custom canvas.

Left arrow icon Right arrow icon
Download code icon Download Code

Key benefits

  • Follow step-by-step instructions and tips on how to use Procreate to get the most out of it
  • Work through hands-on tutorials with real artwork that will boost your confidence to explore Procreate further
  • Highly recommended for iPad users who want to be able to paint on the go

Description

Procreate is robust, industry-grade painting software that is extremely versatile yet an affordable alternative to subscription-based applications. If you're new to Procreate, Get Set Procreate 5 will help you get up to speed with creating professional illustrations in no time. Complete with step-by-step instructions, detailed explanations, and practical application guidelines, this easy-to-follow guide will cover the ins and outs of Procreate 5.2 and show you how to use each feature effectively. You'll learn how to draw using assistive tools, apply effects, create animations, and develop amazing artwork by implementing the skills learned throughout the book. Once you've got to grips with the new features of Procreate 5 for creating beautiful illustrations, animations, and graphics, you'll be able to explore the tools at your disposal and even create your own brushes, shortcuts, and menus to work efficiently. By the end of this Procreate book, you'll be able to navigate the application confidently and take your artwork to a new level.

Who is this book for?

If you're a beginner who wants to start illustrating professionally on Procreate, but feel lost about where to start, this is the right book for you! Start learning right from the very basics, and build up your knowledge step-by-step. This book is also a perfect fit for experienced illustrators/animators accustomed to other software like Photoshop, who would like to pick up a new skill.

What you will learn

  • Become well-versed with the fundamentals of Procreate
  • Personalize the Procreate application to suit your workflow
  • Gain preliminary knowledge of the tool to further explore it for your artwork
  • Speed up your workflow with gestures and shortcuts
  • Explore, edit, and create a wide range of brushes with the help of Brush Library and Brush Studio
  • Use assisted drawing tools to enhance your accuracy
  • Learn animation using Procreate s Animation Assist tools
  • Get up-to-date with the new features of Procreate 5.2 like Page Assist and 3D painting.

Product Details

Country selected
Publication date, Length, Edition, Language, ISBN-13
Publication date : Sep 29, 2022
Length: 592 pages
Edition : 1st
Language : English
ISBN-13 : 9781800563612
Concepts :

What do you get with eBook?

Product feature icon Instant access to your Digital eBook purchase
Product feature icon Download this book in EPUB and PDF formats
Product feature icon Access this title in our online reader with advanced features
Product feature icon DRM FREE - Read whenever, wherever and however you want
Product feature icon AI Assistant (beta) to help accelerate your learning
OR
Modal Close icon
Payment Processing...
tick Completed

Billing Address

Product Details

Publication date : Sep 29, 2022
Length: 592 pages
Edition : 1st
Language : English
ISBN-13 : 9781800563612
Concepts :

Packt Subscriptions

See our plans and pricing
Modal Close icon
€18.99 billed monthly
Feature tick icon Unlimited access to Packt's library of 7,000+ practical books and videos
Feature tick icon Constantly refreshed with 50+ new titles a month
Feature tick icon Exclusive Early access to books as they're written
Feature tick icon Solve problems while you work with advanced search and reference features
Feature tick icon Offline reading on the mobile app
Feature tick icon Simple pricing, no contract
€189.99 billed annually
Feature tick icon Unlimited access to Packt's library of 7,000+ practical books and videos
Feature tick icon Constantly refreshed with 50+ new titles a month
Feature tick icon Exclusive Early access to books as they're written
Feature tick icon Solve problems while you work with advanced search and reference features
Feature tick icon Offline reading on the mobile app
Feature tick icon Choose a DRM-free eBook or Video every month to keep
Feature tick icon PLUS own as many other DRM-free eBooks or Videos as you like for just €5 each
Feature tick icon Exclusive print discounts
€264.99 billed in 18 months
Feature tick icon Unlimited access to Packt's library of 7,000+ practical books and videos
Feature tick icon Constantly refreshed with 50+ new titles a month
Feature tick icon Exclusive Early access to books as they're written
Feature tick icon Solve problems while you work with advanced search and reference features
Feature tick icon Offline reading on the mobile app
Feature tick icon Choose a DRM-free eBook or Video every month to keep
Feature tick icon PLUS own as many other DRM-free eBooks or Videos as you like for just €5 each
Feature tick icon Exclusive print discounts

Frequently bought together


Stars icon
Total 147.97
Draw and Paint Better with Krita
€52.99
SQL for Data Analytics
€37.99
Get Set Procreate 5
€56.99
Total 147.97 Stars icon

Table of Contents

21 Chapters
Part 1: UI Overview Chevron down icon Chevron up icon
Chapter 1: The Gallery – Organizing Your Files Chevron down icon Chevron up icon
Chapter 2: Getting Started – Setting Up a Canvas Chevron down icon Chevron up icon
Chapter 3: Understanding Your Workspace Chevron down icon Chevron up icon
Chapter 4: Using the Actions Menu Chevron down icon Chevron up icon
Chapter 5: Selecting and Transforming Chevron down icon Chevron up icon
Part 2: Utility and an In-Depth Discussion of Utility and Features Chevron down icon Chevron up icon
Chapter 6: Using Gestures and Shortcuts Chevron down icon Chevron up icon
Chapter 7: Organizing Your Layers Chevron down icon Chevron up icon
Chapter 8: Painting Tools and the Brush Library – Using and Organizing Brushes Chevron down icon Chevron up icon
Chapter 9: Brush Studio Settings – Editing and Combining Brushes Chevron down icon Chevron up icon
Chapter 10: Using Colour Tools Chevron down icon Chevron up icon
Chapter 11: Adjustments – Applying Image Effects Chevron down icon Chevron up icon
Chapter 12: Using Assisted Drawing Tools Chevron down icon Chevron up icon
Chapter 13: Using Animation Assist for 2D Animation Chevron down icon Chevron up icon
Chapter 14: Sketchbooking with Page Assist Chevron down icon Chevron up icon
Chapter 15: Painting on 3D Models Chevron down icon Chevron up icon
Part 3: Illustration Tips Chevron down icon Chevron up icon
Chapter 16: Rendering Objects Using Blend Modes Chevron down icon Chevron up icon
Index Chevron down icon Chevron up icon
Other Books You May Enjoy Chevron down icon Chevron up icon

Customer reviews

Top Reviews
Rating distribution
Full star icon Full star icon Full star icon Full star icon Half star icon 4.6
(20 Ratings)
5 star 80%
4 star 10%
3 star 5%
2 star 0%
1 star 5%
Filter icon Filter
Top Reviews

Filter reviews by


Sarah Wang Oct 09, 2022
Full star icon Full star icon Full star icon Full star icon Full star icon 5
If I were to explain how to use Procreate to a friend, this guide has everything I would tell them and more. As an avid Procreate user, I definitely learned more about the app, from color profiles, the reference companion, and working with 3D models. This guide will also be useful for all Procreate users, whether they are first time or long time users. I do wish there was more input from the Artist/Author on what their personal preferences are, concerning brush settings, canvas setting, and drawing process. (I really liked the step by step rendering instructions at the very end!)
Amazon Verified review Amazon
Linda K. Jan 19, 2023
Full star icon Full star icon Full star icon Full star icon Full star icon 5
This book covers Procreate 5 very thoroughly. It is easy reading with screenshots to visually help reiterate the written words. I highly recommend this comprehensive book.
Amazon Verified review Amazon
Roopkatha Banerjee Oct 09, 2022
Full star icon Full star icon Full star icon Full star icon Full star icon 5
As someone who is relatively a beginner to Procreate, (it’s only been a couple of months since I have made the switch to the app) this guide was quite beneficial to me. I learned a lot of things that I did not previously know of and it made my usage of the app a much smoother experience. The organized subsections are quite beginner-friendly and come with illustrated examples in the places that need them the most. I was very fortunate to have gotten to review this book, and the thing I liked most about it was the overall tone of it, leaning more towards helping hand than rigid instruction. Definitely recommend!
Amazon Verified review Amazon
Pijush Karmakar Oct 08, 2022
Full star icon Full star icon Full star icon Full star icon Full star icon 5
As a novice digital artist, I’ve had my fair share of struggles to understand and use Procreate. However, I personally thought I had come a long way in understanding the software. But the moment I started reading this book upon recommendation, I learnt so many new tricks. It gave me a perspective that I had never considered before. As a person who is not surrounded by a lot of digital artists and learns from YouTube, having a solid guide like this really made me confident about my foundation. It’s an absolute banger if you’re starting out because I remember how confused I was when I started. I wish I had this 2 years ago. But better late than never!
Amazon Verified review Amazon
Haru Oct 08, 2022
Full star icon Full star icon Full star icon Full star icon Full star icon 5
The book is very thorough and goes over all intricate details of using procreate. Written in a very inviting way, beginners won't get intimidated and become a pro by the end. I've been using procreate for two years and i still found new techniques to make painting easier and efficient. However i did found myself wanting to see more of the artworks by the author in the book since they looked amazing, but the book is primarily about Procreate so that's fair.
Amazon Verified review Amazon
Get free access to Packt library with over 7500+ books and video courses for 7 days!
Start Free Trial

FAQs

How do I buy and download an eBook? Chevron down icon Chevron up icon

Where there is an eBook version of a title available, you can buy it from the book details for that title. Add either the standalone eBook or the eBook and print book bundle to your shopping cart. Your eBook will show in your cart as a product on its own. After completing checkout and payment in the normal way, you will receive your receipt on the screen containing a link to a personalised PDF download file. This link will remain active for 30 days. You can download backup copies of the file by logging in to your account at any time.

If you already have Adobe reader installed, then clicking on the link will download and open the PDF file directly. If you don't, then save the PDF file on your machine and download the Reader to view it.

Please Note: Packt eBooks are non-returnable and non-refundable.

Packt eBook and Licensing When you buy an eBook from Packt Publishing, completing your purchase means you accept the terms of our licence agreement. Please read the full text of the agreement. In it we have tried to balance the need for the ebook to be usable for you the reader with our needs to protect the rights of us as Publishers and of our authors. In summary, the agreement says:

  • You may make copies of your eBook for your own use onto any machine
  • You may not pass copies of the eBook on to anyone else
How can I make a purchase on your website? Chevron down icon Chevron up icon

If you want to purchase a video course, eBook or Bundle (Print+eBook) please follow below steps:

  1. Register on our website using your email address and the password.
  2. Search for the title by name or ISBN using the search option.
  3. Select the title you want to purchase.
  4. Choose the format you wish to purchase the title in; if you order the Print Book, you get a free eBook copy of the same title. 
  5. Proceed with the checkout process (payment to be made using Credit Card, Debit Cart, or PayPal)
Where can I access support around an eBook? Chevron down icon Chevron up icon
  • If you experience a problem with using or installing Adobe Reader, the contact Adobe directly.
  • To view the errata for the book, see www.packtpub.com/support and view the pages for the title you have.
  • To view your account details or to download a new copy of the book go to www.packtpub.com/account
  • To contact us directly if a problem is not resolved, use www.packtpub.com/contact-us
What eBook formats do Packt support? Chevron down icon Chevron up icon

Our eBooks are currently available in a variety of formats such as PDF and ePubs. In the future, this may well change with trends and development in technology, but please note that our PDFs are not Adobe eBook Reader format, which has greater restrictions on security.

You will need to use Adobe Reader v9 or later in order to read Packt's PDF eBooks.

What are the benefits of eBooks? Chevron down icon Chevron up icon
  • You can get the information you need immediately
  • You can easily take them with you on a laptop
  • You can download them an unlimited number of times
  • You can print them out
  • They are copy-paste enabled
  • They are searchable
  • There is no password protection
  • They are lower price than print
  • They save resources and space
What is an eBook? Chevron down icon Chevron up icon

Packt eBooks are a complete electronic version of the print edition, available in PDF and ePub formats. Every piece of content down to the page numbering is the same. Because we save the costs of printing and shipping the book to you, we are able to offer eBooks at a lower cost than print editions.

When you have purchased an eBook, simply login to your account and click on the link in Your Download Area. We recommend you saving the file to your hard drive before opening it.

For optimal viewing of our eBooks, we recommend you download and install the free Adobe Reader version 9.