
Follow these steps to add images as binary resources inside a WPF application and load them into the application window:
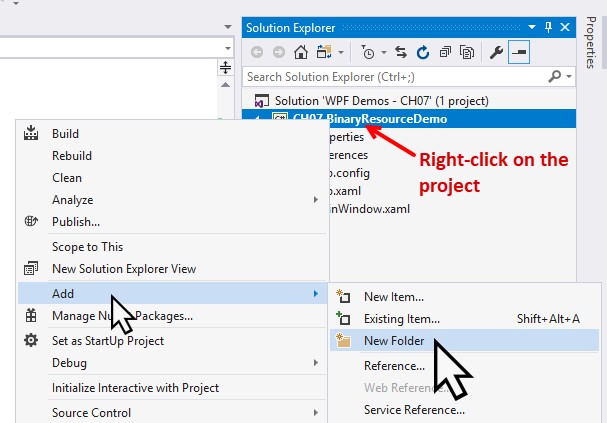
- Right-click on the project to add a new folder. Follow the context menu path Add | New Folder. Rename the newly created folder as Images:
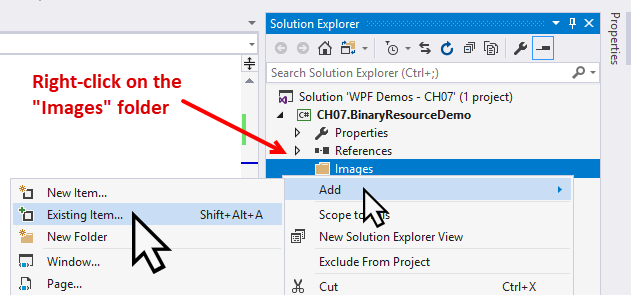
- Now right-click on the Images folder to add a few images. From the context menu entry, select Add | Existing Item... and add two images of your choice. In this example, we have added two existing images, image1.png and image2.png, for demonstration:
- From the Solution Explorer, right-click on the image1.png and go to its Properties. Set the Build Action of the image to Resource, which is the default:

- Now right-click on the image2.png from Solution Explorer, and go to its Properties. Set its Build Action to Content.
- Change the Copy to Output Directory to Copy Always:

- From the Solution Explorer, open the MainWindow.xaml and replace the Grid with a horizontal StackPanel.
- Now insert the two images inside...