


Customizing your digital workspace
When first using Resolve, it can be a little confusing, as there are so many pages all with a myriad of functions, which to a beginner can be understandably overwhelming. It’s like learning to fly for the first time using a Jumbo Jet! Thankfully, we can simplify the workspace by hiding many of the pages so that our interface is more appropriate for a beginner, much more like learning to fly in a small propellor plane. It is still daunting but much more achievable!
However, first, let us look at how Resolve is unique in using pages in the first place.
Understanding the Resolve pages
Blackmagic Design, the owner of DaVinci Resolve, has created a separate page for each of these different software programs laid out in a row at the bottom of the software interface (Figure 1.5). The benefit of this is that you can do advanced sound, color, and visual effects without having to export your film edit out into another application. Resolve is the only editing software that has this function. Other editing programs rely on plugins or exporting the edit into another application to do more advanced work and then reimporting it back in to do further edits. Of course, if you prefer to work this way, then Resolve will let you do this too. However, this is a more advanced and time-consuming technique and is beyond the scope of this book.
You might have noticed that the pages are laid out in the order of a traditional filmmaking workflow. However, the beauty of Resolve is that you can go back and forth between the pages and work in any order that you want.
In this chapter and for most of the book, we will be using the Cut page, which is the default page that Resolve will take you to when you first open a new project.
The Cut page is used for creating a quick edit and is great for quickly creating and publishing social media content or rough cut for a feature film:
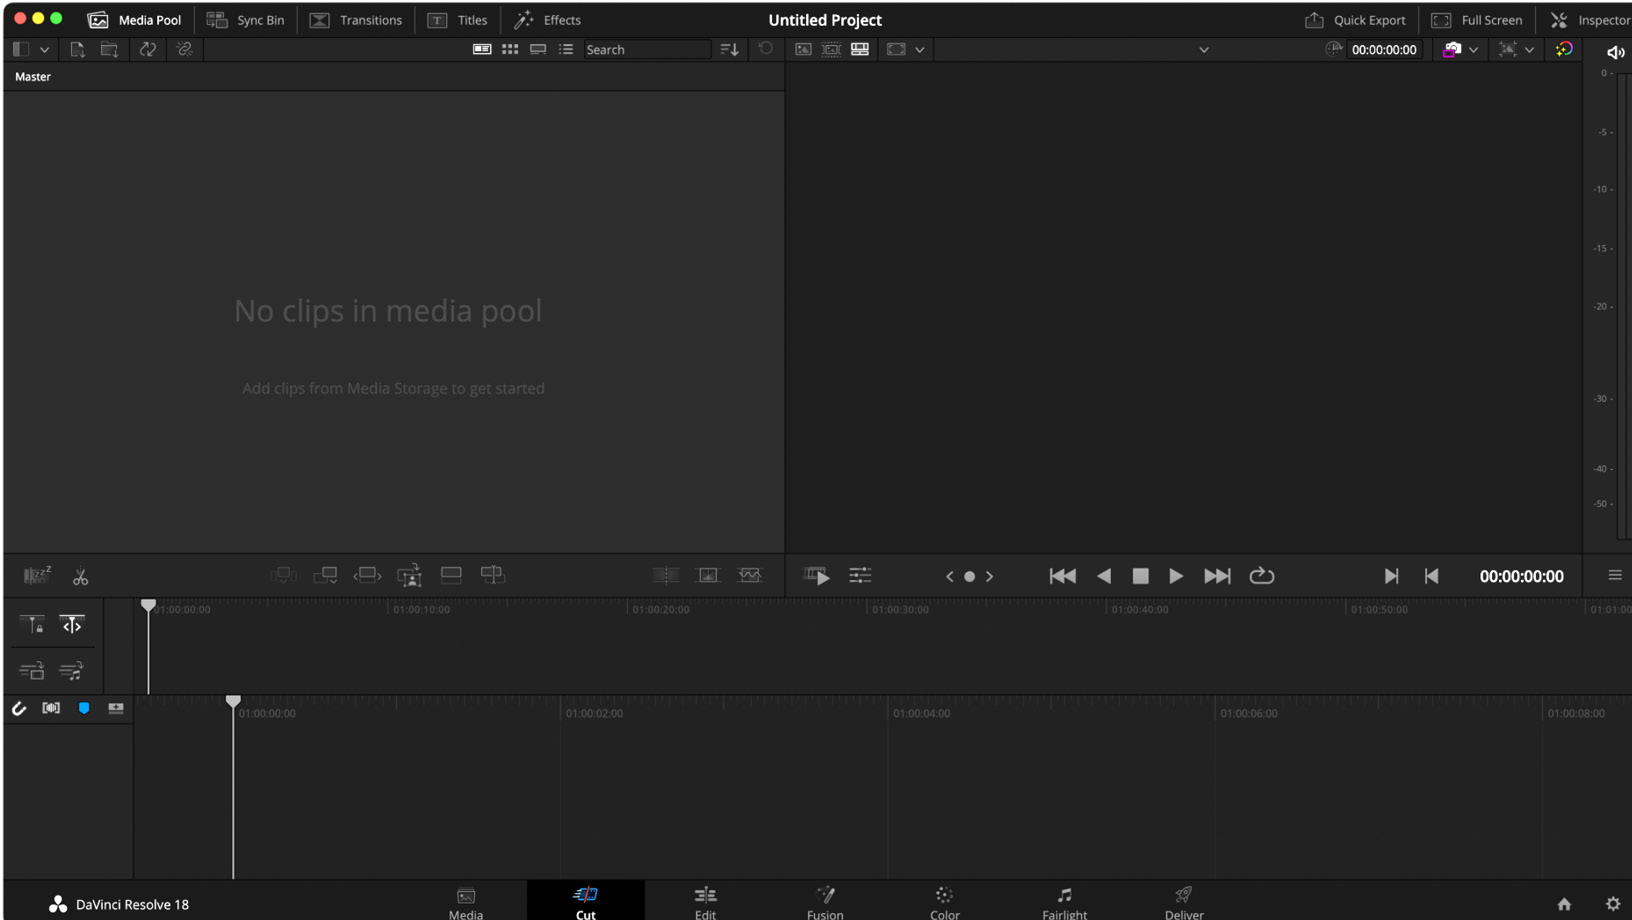
Figure 1.5: The Cut page
Now, let us simplify our workspace so that we can focus mainly on the Cut page without the distractions of the other pages.
Simplifying the workspace
Having so much software functionality can be great when you need to use all of the powerful features of Resolve for your feature film. However, if you just want to use one or a few of the pages, Resolve has a handy feature where you can temporarily hide the page you don’t want. Let’s do that now. For now, we are going to hide the Media, Edit, Color, Fusion, Fairlight, and Deliver pages:
- Select the Workspace menu in the top-right corner of Resolve (the Menu bar).
- Select Show Page.
- Click on the pages you want to hide – in this case, the Media, Edit, Color, Fusion, Fairlight, and Deliver pages.
- There will now be a tick next to the pages Resolve will show and no tick next to the pages Resolve will hide. By default, all pages are preselected.
Now that your workspace is a lot simpler, we can save this new look as a preset, which you can quickly load again when you want to use it in the future:
- In the Menu bar, select Workspace.
- Select Layout Presets > Save Layout as Preset….
- In the Enter Preset Name textbox, name your preset
Basic Workspace. - Click on the OK button or press the Return key on your keyboard.
Well done! You have now created your first workspace preset, which you can quickly recall later.
Top tip
You can save your layout presets on a USB stick (or even in cloud storage such as Google Drive or DropBox) so that when you are working on someone else’s version of Resolve, you can load your workspace without affecting the way they like to lay it out.
Now that you have simplified your workspace, let’s start importing your media.


