


Creating your first project in DaVinci Resolve!
When opening Resolve for the first time, it can be quite confusing where to start. You will learn how to create a new project and where to set and save project settings in DaVinci Resolve so that you can load them up quickly for future projects.
Opening Resolve for the first time
After installing Resolve, the first time you open it, you will be greeted with the welcome screen (Figure 1.1) that gives you an overview of the latest features. This can be found in the Help menu if you need to be reminded: Help > Welcome to DaVinci Resolve:
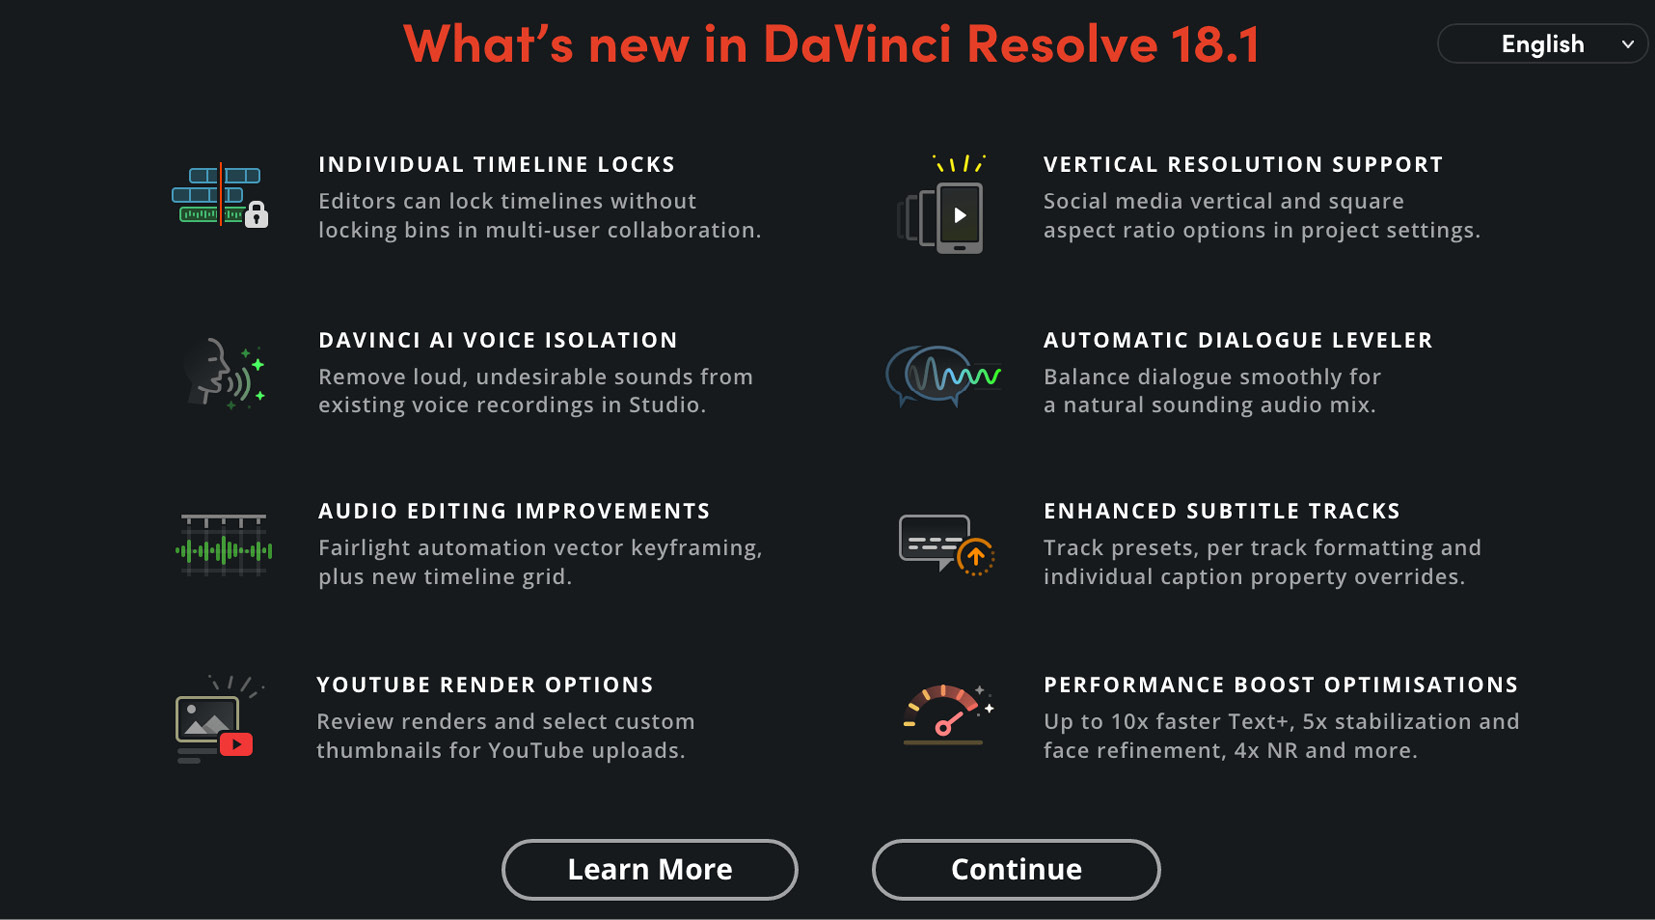
Figure 1.1: Welcome screen
Next, Resolve will ask where you want to save the certain files it needs to be able to work. You can always change these locations later, but first, let us look at what they are so that you can better understand where to tell Resolve to store them.
Cache files
Cache files are media files that Resolve temporarily stores for easy access to help Resolve access them quicker while you are editing, which also helps for the faster playback of your media on your Timeline. It is best to store these cache files on your internal hard drive on your computer, or if it’s faster, an external Solid State Drive (SSD) connected to your computer. If you’re using an external drive for your cache files, remember to plug it in before you start Resolve; otherwise, Resolve will not know where to store your cache files and present the following message (Figure 1.2):
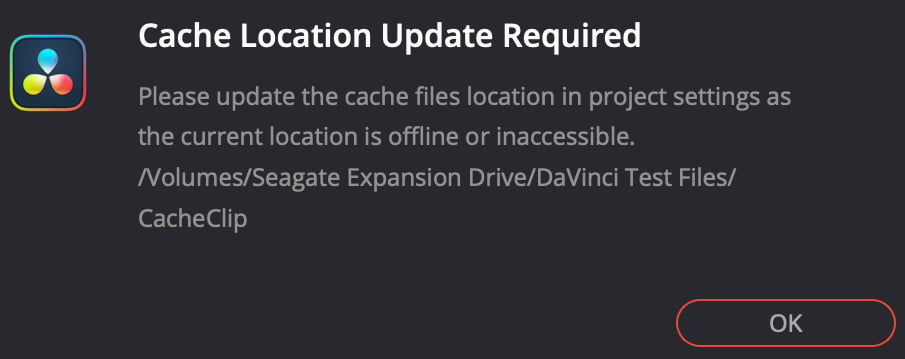
Figure 1.2: Cache files warning message
Stills
Resolve also needs to know where to save your stills. Otherwise, you will get the following message (Figure 1.3) if Resolve can not find the drive your stills folder is linked to:
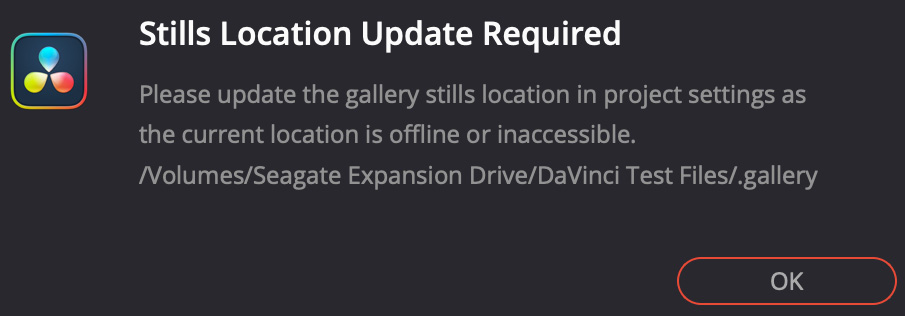
Figure 1.3: Stills warning message
This is not, as it sounds, where you store still photos you use in your edit. It is where Resolve stores still images of frames you select from your Timeline. It’s a bit like a screenshot or photo of a moment in time of your edit.
This can be useful if you want to share an image from your Timeline as a thumbnail for your social media posts. You can store these stills on a hard drive anywhere. It doesn’t need to be a fast drive – save that for your cache files.
Top tip
If you change your mind, you can change the cache and stills locations later. It is good practice to store the cache and stills files directly on your computer as Resolve will not lose the link to them. Unless, of course, you move the folders when tidying up your computer. In this case, you can relink them to the moved folder or create a new folder to link to if you have deleted it.
Creating your first project
Now that we have told Resolve where to store the files it needs to create in order to work fluidly, we can create your first project. This is done in Project Manager (Figure 1.4):
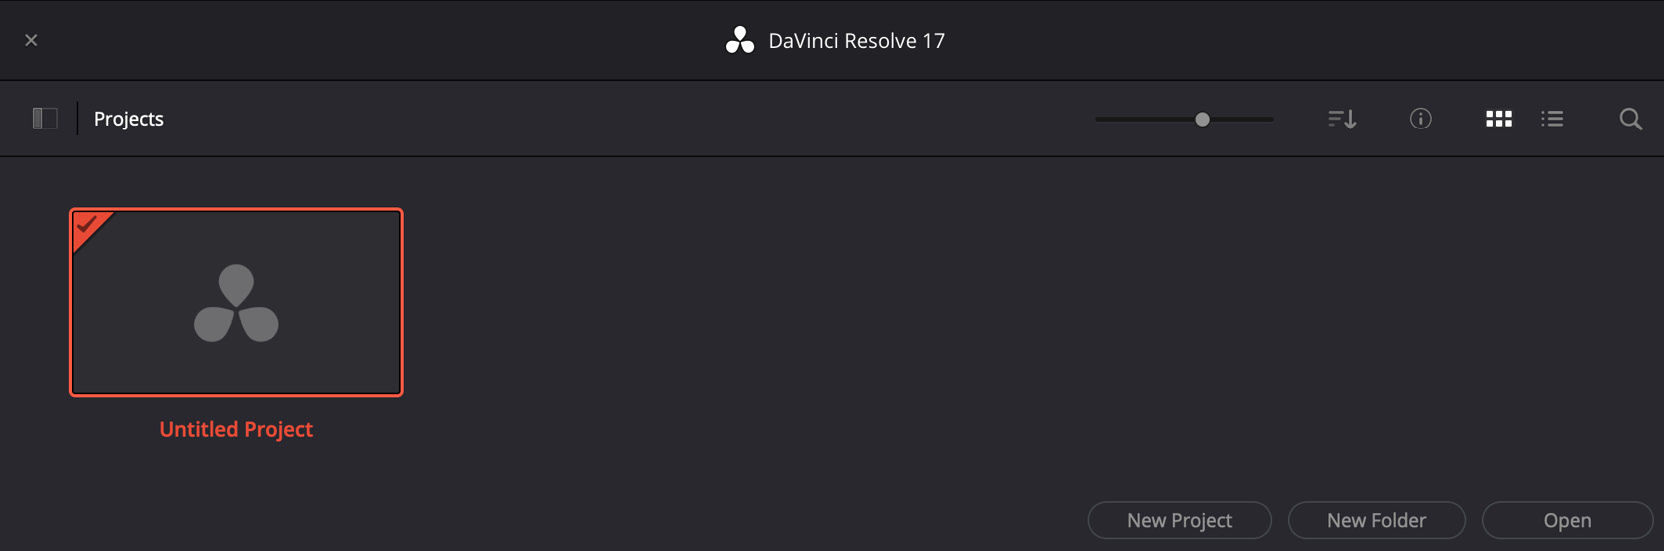
Figure 1.4: Project Manager
There are two ways to create a new project:
- Click on the New Project button in the bottom-right corner of the Project Manager window
- Alternatively, open the Untitled Project template
Which you choose is up to you.
The only difference is that New Project will ask you for a project name before creating it, whereas, with Untitled Project, you can create a blank project without having to name it.
The Untitled Project option is good for creating a temporary project to play around with the features in Resolve without needing to save a project. Of course, if you change your mind, you can always save this project and Resolve will ask you to name it first so that it can save it.
Now that you have created your first project, let’s look at the visual layout or User Interface (UI) of Resolve and how you can customize it to suit how you work.


