Materials needed
Any model of the Raspberry Pi will work for the projects used in this book. The preceding image shows a Raspberry Pi Model B+, with four USB ports and a network connection. The Model A+ (with one USB port and no network connection) will also work, but a USB hub (which is described later) will be needed to allow both a keyboard and mouse to be used at the same time.
The Models A+ and B+ replace the older Models A and B, and have the same capabilities, but neater designs. You can identify the Plus models by looking at the mounting holes surrounded by metal. The Plus (+) models have four mounting holes in a rectangle, whereas the previous models have two or zero mounting holes. In the preceding image, two mounting holes are in the corners at the left end of the board, and the other two mounting holes are on the mid-right of the board.
The Raspberry Pi 2 looks almost the same as Model B+, but has a faster processor. This is not important for the projects in this book. Along with a Raspberry Pi computer, you will need other peripherals. In order to keep costs down, the Raspberry Pi was designed to work with devices that people already owned; you may find many of these components around your house already. Just make sure they're not in use before you take them!
Tip
http://elinux.org/RPi_VerifiedPeripherals is a useful website to check whether a particular device will work with the Raspberry Pi.
Power supply
The Raspberry Pi requires a micro-USB connection, which is capable of supplying at least 700 mA (or 0.7A) at 5V. Power supplies, which can give 1000 mA or more are available (and will be more reliable), but it must supply exactly 5 V. Most standard mobile phone chargers are suitable for this purpose, and have their capabilities written on them, so you can check. Do not attempt to power your Pi from the USB port of another computer or hub; they are often incapable of supplying the required current.

Storage
The operating system and files of Raspbian are stored on an SD card, which is similar to what you may find in a digital camera. The Raspberry Pi models A and B use a standard-sized SD card, while the A+, B+ and Pi 2 models use smaller microSD cards. You will need at least 4 GB of space (preferably 8 GB or more). The Raspberry Pi Foundation sells very affordable 8 GB SD cards with the operating system pre-installed, and these can be found at http://swag.raspberrypi.org/.
If you start with a blank SD card, you will also need a way of writing to it from another computer. Many computers have SD writers built in, but it is possible to buy USB dongles which do the job too.

Input
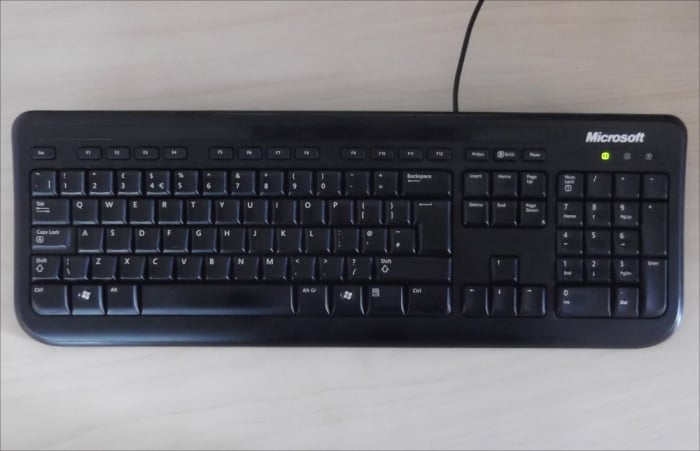
For inputs, we will use a USB keyboard and mouse:

Keyboard

Mouse
Video
We will use a monitor or a television with HDMI or DVI input, and a video cable connected from the Pi's HDMI port to the screen's input, as shown in the following figures. It is possible to connect to an older VGA or composite screen, but this is more complicated. Take a look at this website more information http://elinux.org/RPi_VerifiedPeripherals.
The following images show the display monitor and cables that you might use to connect the Pi to your monitor:

Monitor

DVI connector

HDMI connector
Network
An Internet connection is not essential, but is very useful as it allows you to do more work directly on the Pi. The easiest approach is to use a wired Ethernet connection.
The following image shows an Ethernet connector that is used to connect the Pi to the Internet:

RJ-45 Ethernet Connector
It is also possible to use a USB Wi-Fi dongle—you will need a powered USB hub to provide additional USB ports, and you should check whether the dongle is compatible with a Linux operating system. The following image shows an USB hub (unpowered):

USB multi-port hub
You may also like to put your Raspberry Pi in a case to protect it, though this is certainly not necessary. There are many different companies which make different styles of cases, so choose one that suits you, or you could even make your own from Lego or cards!


