Deploying from DevOps
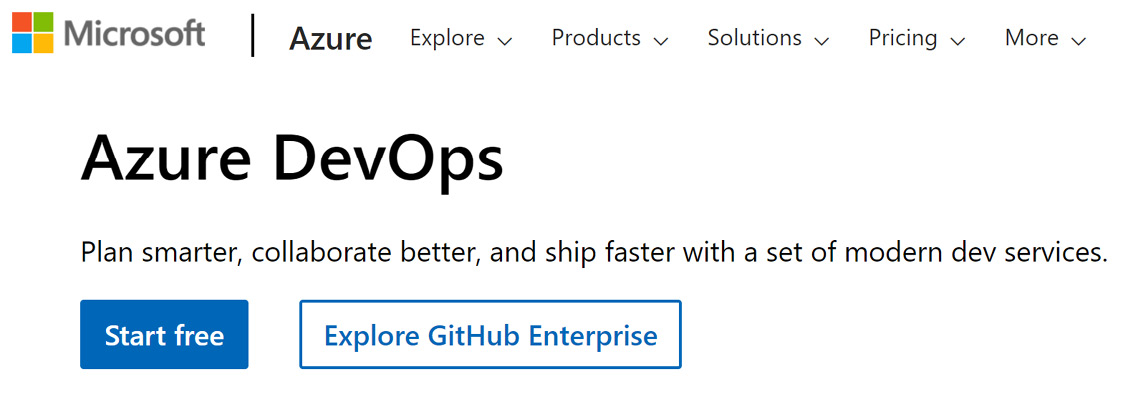
We’ll now be walking through deploying from DevOps instead of our local Visual Studio. The first step is to create your DevOps project, as shown in Figure 10.1:

Figure 10.1 – DevOps opening page
To create the project, we’ll use the wizard. (The first time, the wizard will probably come up immediately, otherwise click to bring up the wizard.) Here are the steps:
- Go to dev.Azure.com.
- Click on Start free (even if you already have an account).
- If it redirects you, enter
dev.azure.comin the address box. - Click New Project in the upper right.
- Enter a name and description and choose private.
- Click on Advanced and make sure the version control is set to Git.
- Click Create.
Let’s now import a bit of code.
Importing sample code
Before we can deploy to Azure, we need to have a repository with the code we want to deploy. Clone the code for Chapter 6 from https://github.com...


