For the fundamental language features, Rust does not stray far from what you are used to in other languages. At a high level, a Rust program is organized into modules, with the root module containing a main() function. For executables, the root module is usually a main.rs file and for libraries, a lib.rs file. Within a module, you can define functions, import libraries, define types, create constants, write tests and macros, or even create nested modules. We'll see all of them, but let's start with the basics. Here's a simple Rust program that greets you:
// greet.rs

1. use std::env;
2.
3. fn main() {
4.    let name = env::args().skip(1).next();
5.    match name {
6.       Some(n) => println!("Hi there ! {}", n),
7.       None => panic!("Didn't receive any name ?")
8.    }
9. }
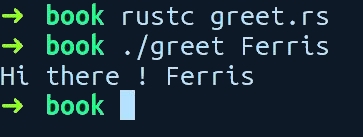
Let's compile and run this program. Write it to a file called greet.rs and run rustc with the file name, and pass your name as the argument. I passed the name Ferris, Rust's unofficial mascot, and got the following output on my machine:

Awesome! It greets Ferris. Let's get a cursory view of this program, line by line.
On line 1, we import a module called env from the std crate (libraries are called crates). std is the standard library for Rust. On line 3, we have our usual function main. Then, on line 4, we call the function args() from the env module, which returns an iterator (sequence) of arguments that has been passed to our program. Since the first argument contains our program name, we want to skip it, so we call skip and pass in a number, which is how many elements (1) we want to skip. As iterators are lazy and do not pre-compute things in Rust, we have to explicitly ask it to give the next element, so we call next(), which returns an enum type called Option. This can be either a Some(value) value or a None value because a user might forget to provide an argument.
On line 5, we use Rust's awesome match expression on the variable name and check whether it's a Some(n) or a None value. match is like the if else construct, but more powerful. On line 6, when it's a Some(n), we call println!(), passing in our inner string variable n (this gets auto-declared when using match expressions), which then greets our user. The println! call is not a function, but a macro (they all end with a !). Finally, on line 7, if it's a None variant of the enum, we just panic!() (another macro), which aborts the program, making it leave an error message.
The println! macro, as we saw, accepts a string, which can contain placeholders for items using the "{}" syntax. These strings are called format strings, while the "{}" in the string are called format specifiers. For printing simple types such as primitives, we can use the "{}" format specifier, whereas for other types, we use the "{:?}" format specifier. There are more details to this, though. When println! encounters a format specifier, that is, "{}", and a corresponding substitution value, it calls a method on that value, which returns a string representation of it. This method is part of a trait. For the "{}" specifier, it calls a method from the Display trait, whereas for "{:?}", it calls a method from the Debug trait. The latter is mostly used for debugging, while the former is for displaying a human readable output of data types. It is somewhat similar to the toString() method in Java. When developing, you usually need to print your data types for debugging. The cases where these methods are not available on a type when using the "{:?}" specifier, we then need to add a #[derive(Debug)] attribute over the type to get those methods. We'll explain attributes in detail in subsequent chapters, but expect to see this in future code examples. We'll also revisit the println! macro in Chapter 9, Metaprogramming with Macros.
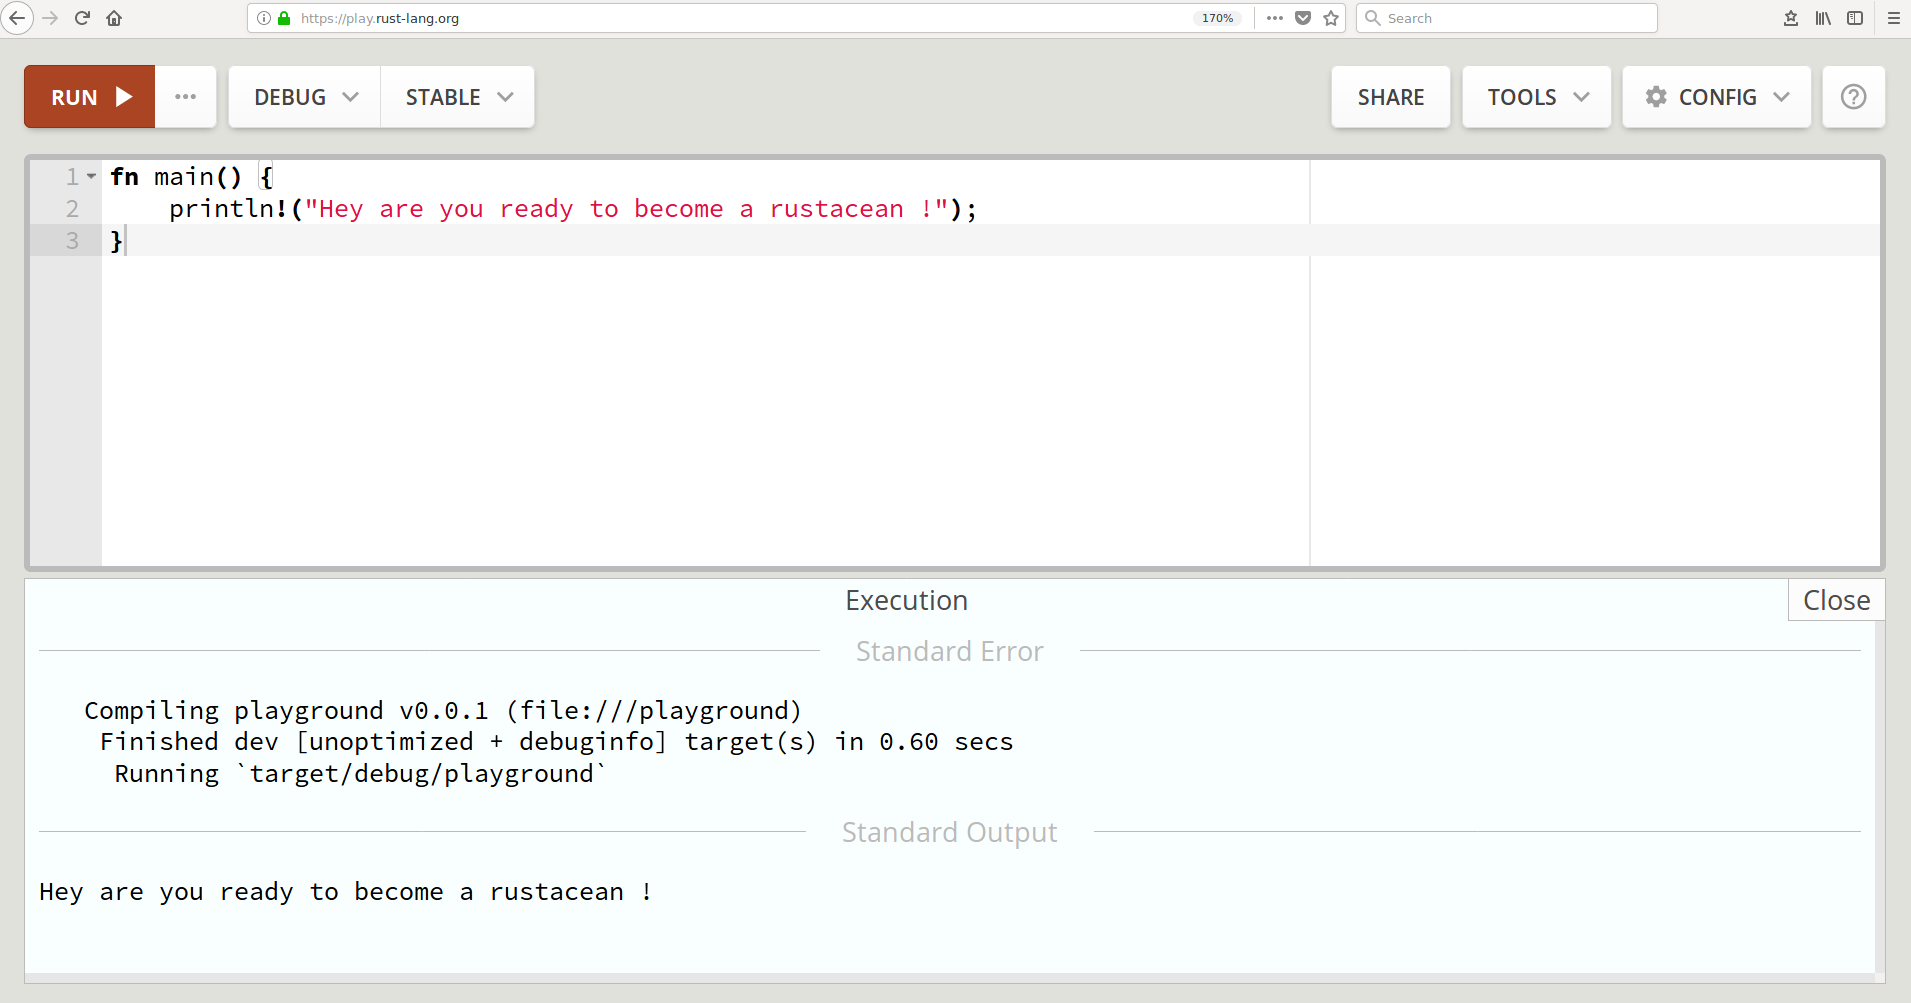
Running rustc manually is not how you will do this for real programs, but it will do for these small programs in this chapter. In subsequent chapters, we will be using Rust's package manager to build and run our programs. Apart from running the compiler locally, another tool that can be used to run the code examples is the official online compiler called Rust playground, which can be found at http://play.rust-lang.org. Following is the screenshot from my machine:

The Rust playground also supports external libraries to be imported and to be used when trying out sample programs.
With the previous example, we got a high-level overview of a basic Rust program, but did not dive into all of the details and the syntax. In the following section, we will explain the language features separately and their syntax. The explanations that follow are here to give you enough context so that you can quickly get up and running in regard to writing Rust programs without going through all of the use cases exhaustively. To make it brief, each section also contains references to chapters that explain these concepts in more detail. Also, the Rust documentation page at https://doc.rust-lang.org/std/index.html will help you get into the details and is very readable with its built-in search feature. You are encouraged to proactively search for any of the constructs that are explained in the following sections. This will help you gain more context about the concepts you're learning about.
All of the code examples in this chapter can be found in this book's GitHub repository (PacktPublishing/Mastering-RUST-Second-Edition). For this chapter, they are in Chapter 1, Getting Started with Rust Directory – the same convention is followed for the rest of the chapters in this book.
With that said, let's start with the fundamental primitive types in Rust.


