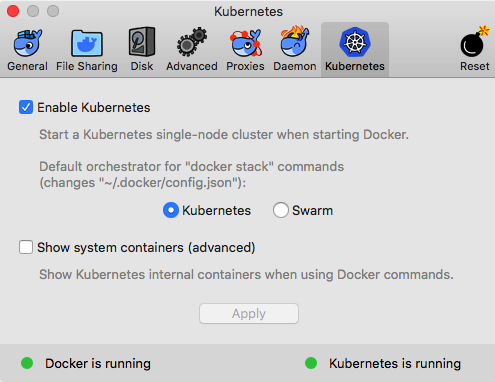
Docker has made the installation process extremely simple. All you need to do to enable Kubernetes support is open Preferences and click on the Kubernetes tab:
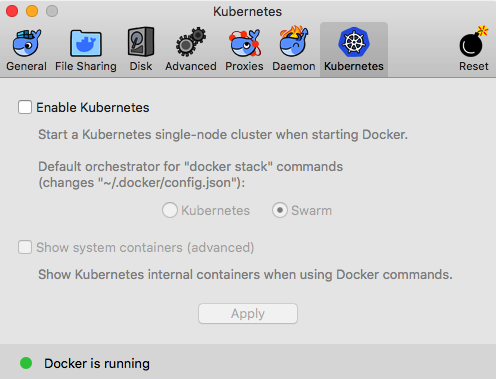
As you can see, there are two main options. Tick the Enable Kubernetes box and then select Kubernetes as the default orchestrator. Leave Show systems containers unticked for now; we look at this in a little more detail once we have enabled the service. Clicking Apply will pop up the following message:
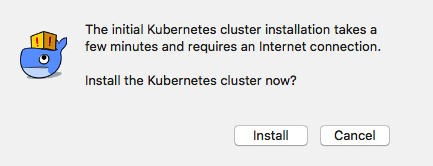
Hitting the Install button will download the required containers needed to enable Kubernetes support on your Docker installation:
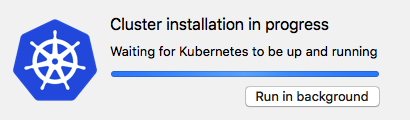
As mentioned in the first dialogue box, it will take a short while for Docker to download, configure, and launch the cluster. Once complete, you should see a green dot next to Kubernetes is running:
Open a Terminal and run the following command:
$ docker container ls -a
This...