Deploying a virtual machine in Azure
Within this part of the chapter, we will deploy a virtual machine by using the Azure Resource Manager portal. When you followed the guidance in the chapters before, you should have the following things already configured:
- Resource groups
- Virtual networks
- Azure storage
These parts are also the basics for deploying an Azure virtual machine:
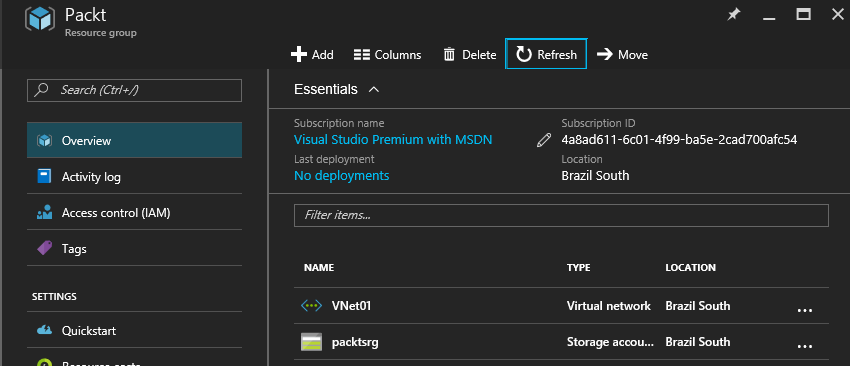
If you have a Resource groups, network and storage ready, you can start to deploy a virtual machine.
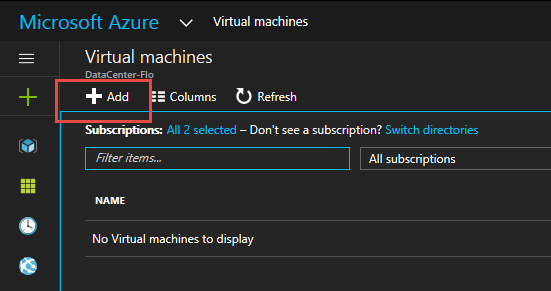
- First you open the side bar and select
Virtual machines:
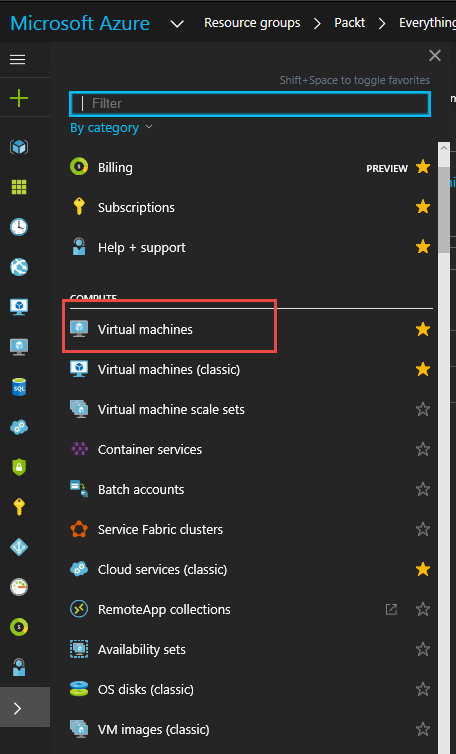
- Within the new window, click on the
Addbutton:
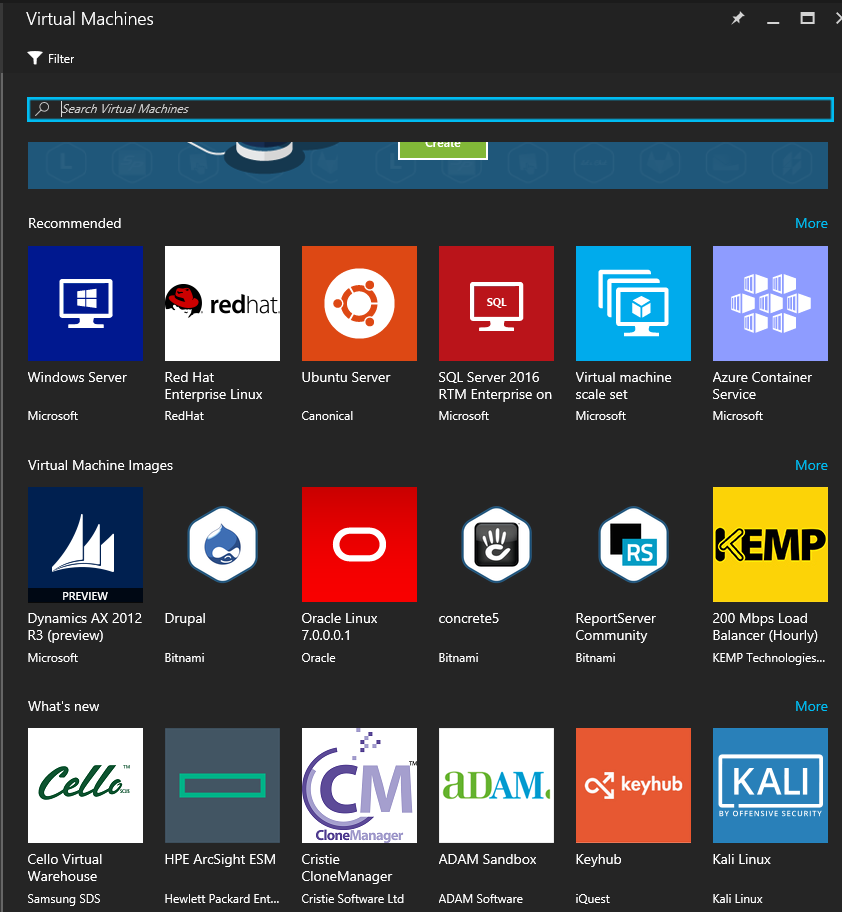
- Afterwards, you need to select the image and operating system you want to deploy. In the current scenario, we will select
Windows Server:
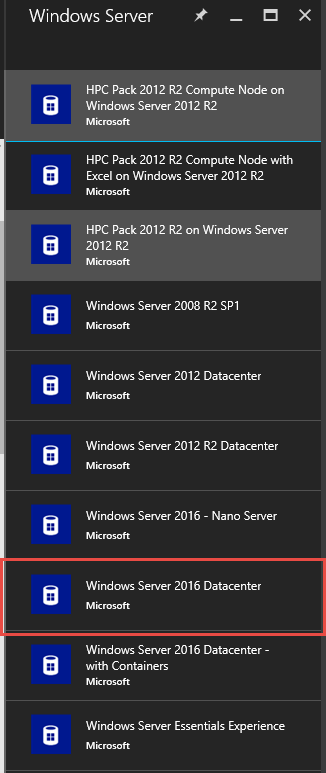
- Select the version you want to deploy. In this scenario, we will select
Windows Server 2016 Datacenter:
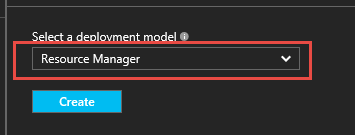
Select the deployment modelasResource Managerfrom the drop-down menu. It is not recommended to useClassicany more. Click on theCreatebutton to start the VM configuration blade:
- Within...