We have the load balancer and the repositories already set up. Now, we need to set up the services. Proceed as follows:
- Go to ECS and select Clusters.
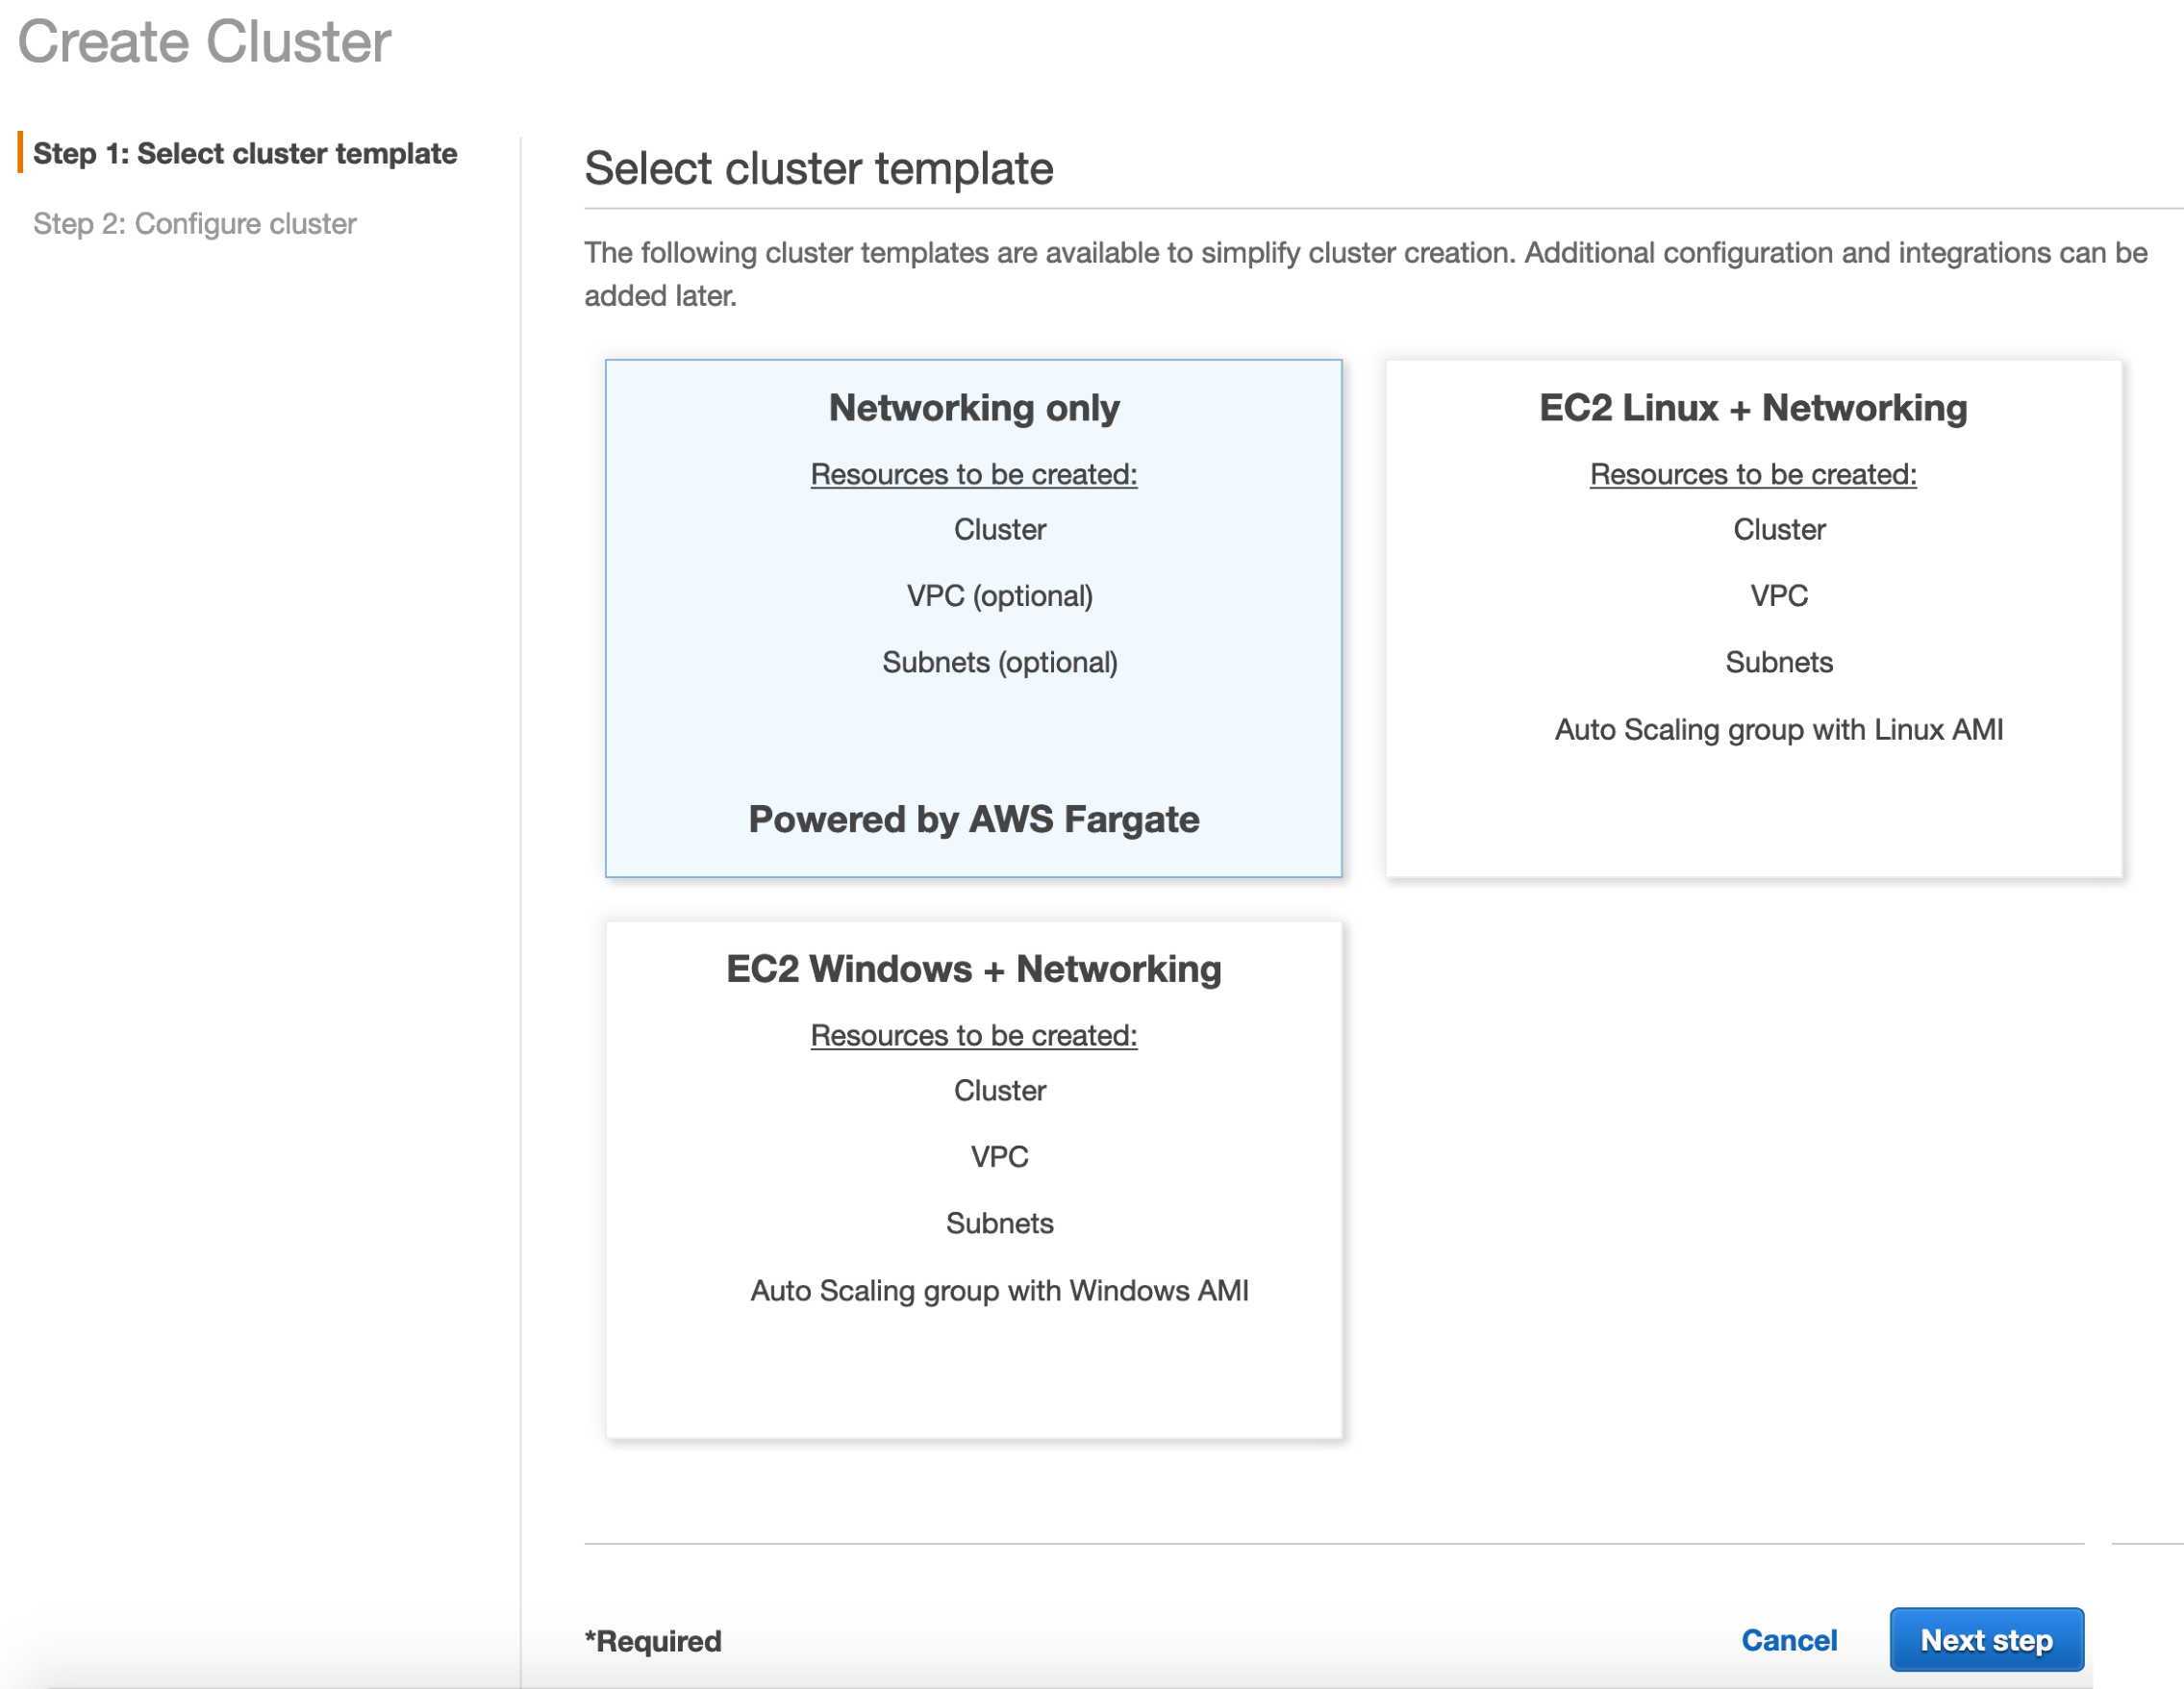
- Then, select Create Cluster, as shown in the following screenshot:

- Select Networking only, as we will use AWS Fargate to deploy, as shown in the following screenshot:
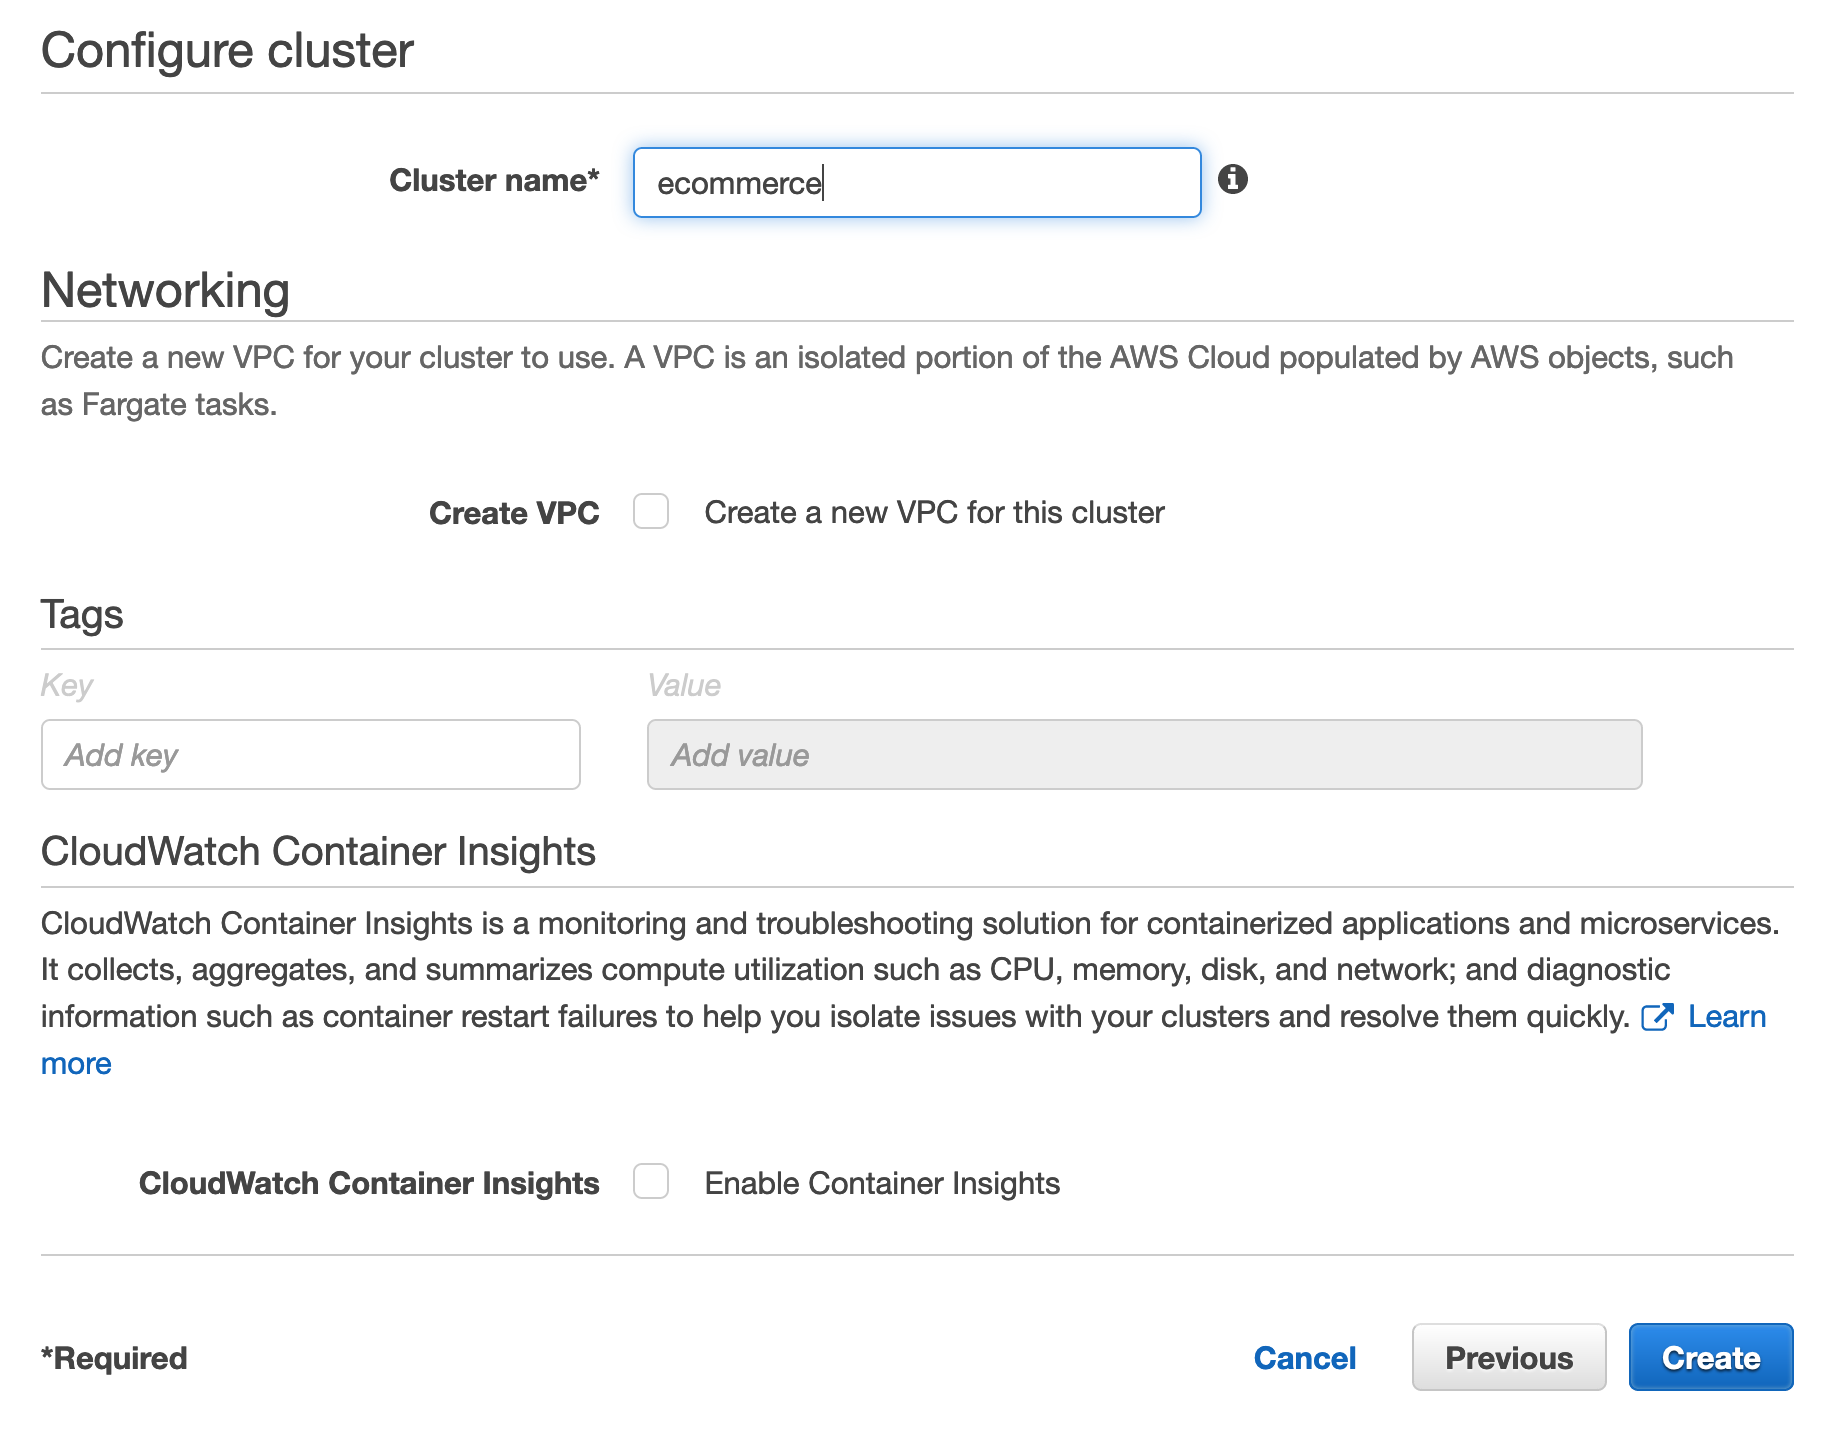
- Click Next step, and type ecommerce as the name of the cluster. Leave the rest blank, as shown in the following screenshot:
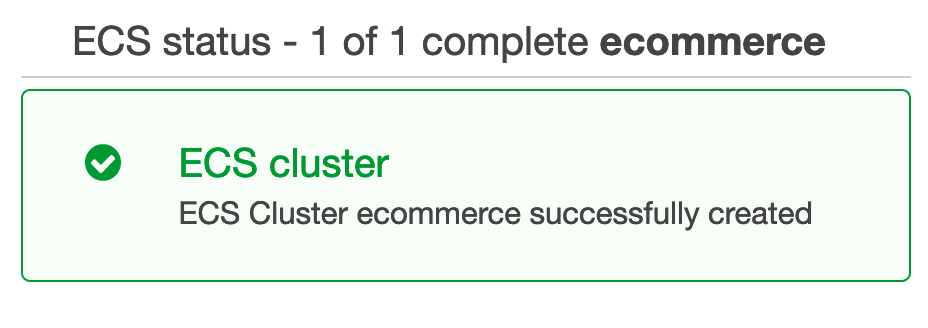
You should now see the following success message:
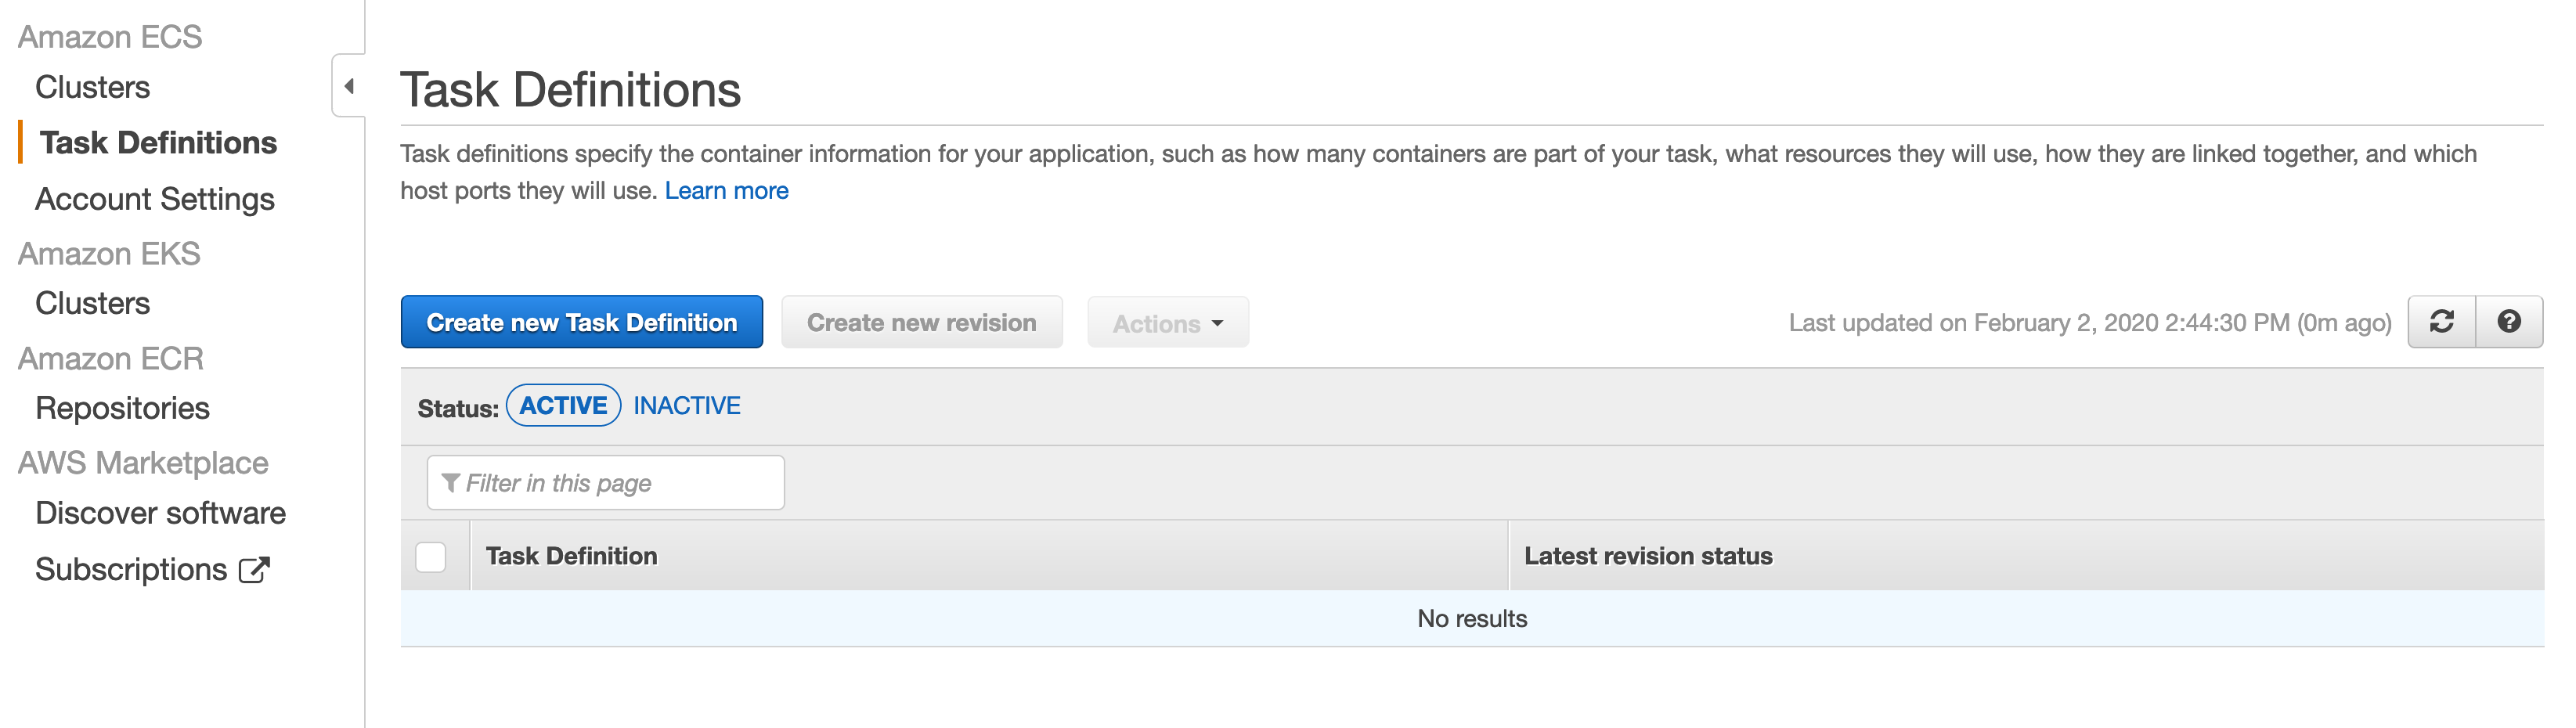
- Next, we need to create the task definitions. Click on Task Definitions and select Create new Task Definition, as follows:
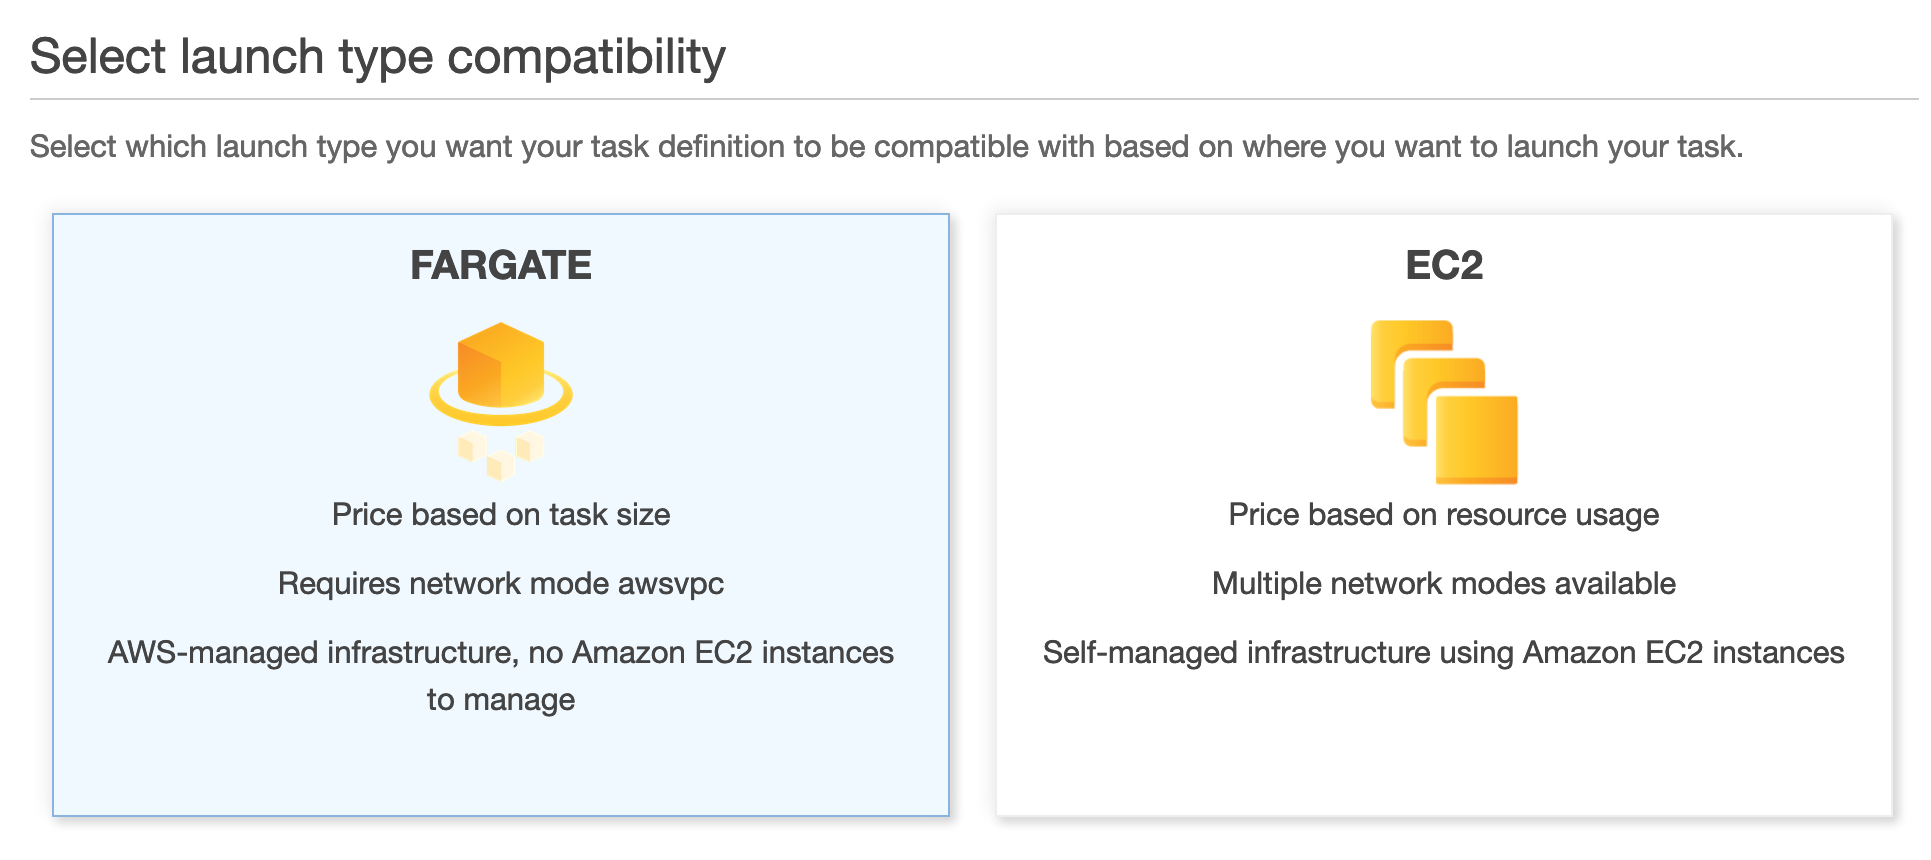
- Select FARGATE as the type, and click Next as follows:
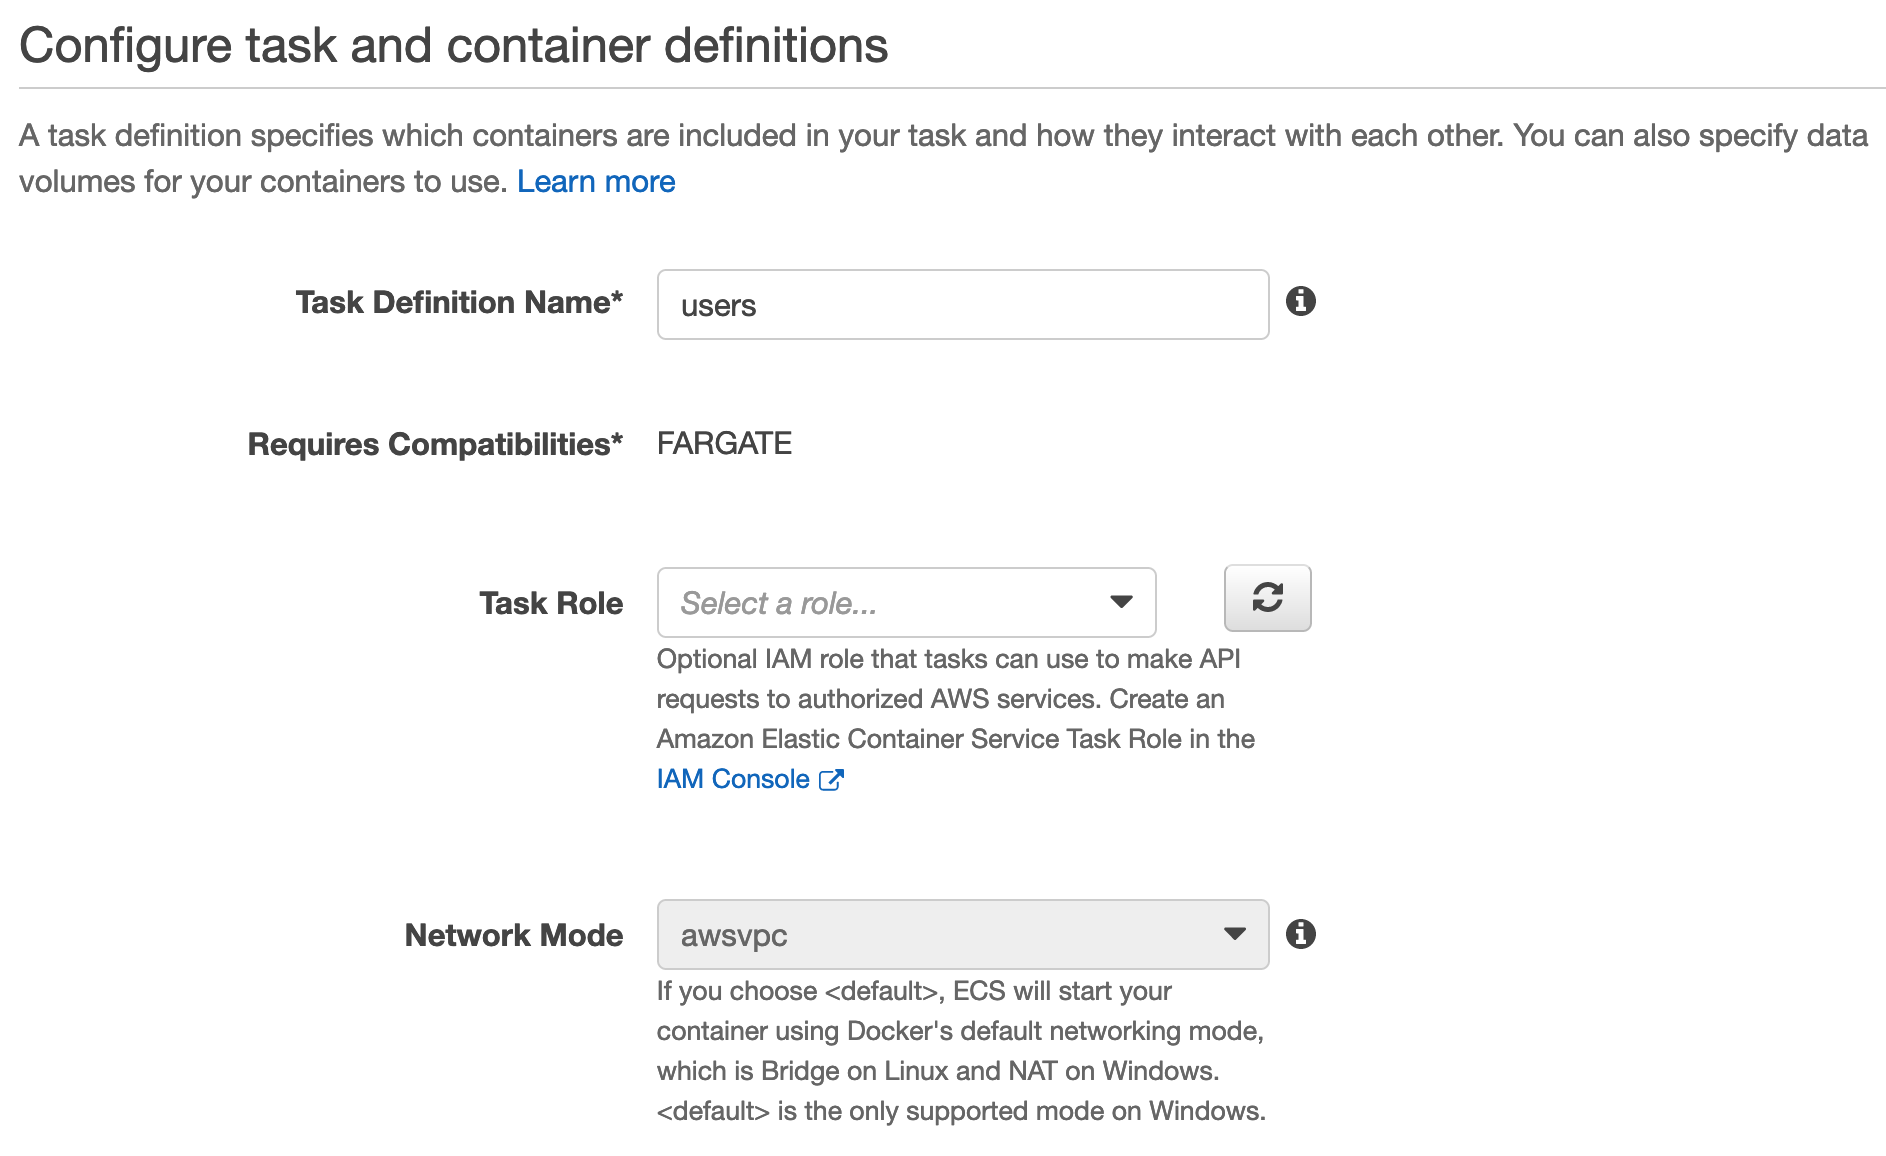
- Now, type in users as the name, and leave the rest blank, as shown in the following screenshot:
- Scroll down and select 0.5GB for RAM and 0.25 vCPU. Then, click Add container, as shown...