Setting up Neo4j
There are several ways to use Neo4j:
- Through short-lived time sandboxes in the cloud, which is perfect for experimenting
- Locally, with Neo4j Desktop
- Locally, with Neo4j binaries
- Locally, with Docker
- In the cloud, with Neo4j Aura (free plan available) or Neo4j AuraDS
For the scope of this book, we will use the Neo4j Desktop option, since this application takes care of many things for us and we do not want to go into server management at this stage.
Downloading and starting Neo4j Desktop
The easiest way to use Neo4j on your local computer when you are in the experimentation phase, is to use the Neo4j Desktop application, which is available on Windows, Mac, and Linux OS. This user interface lets you create Neo4j databases, which are organized into Projects, manage the installed plugins and applications, and update the DB configuration – among other things.
Installing it is super easy: go to the Neo4j download center and follow the instructions. We recap the steps here, with screenshots to guide you through the process:
- Visit the Neo4j download center at https://neo4j.com/download-center/. At the time of writing, the website looks like this:
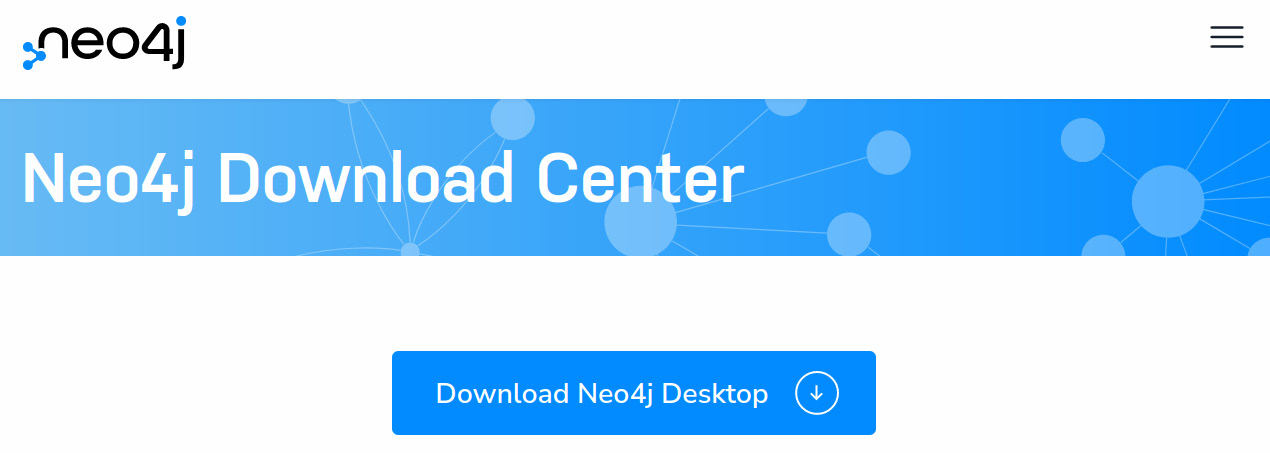
Figure 1.7 – Neo4j Download Center
- Click the Download Neo4j Desktop button at the top of the page.
- Fill in the form that’s asking for some information about yourself (name, email, company, and so on).
- Click Download Desktop.
- Save the activation key that is displayed on the next page. It will look something like this (this one won’t work, so don’t copy it!):
eyJhbGciOiJQUzI1NiIsInR5cCI6IkpXVCJ9.eyJlbWFpbCI6InN0ZWxsYTBvdWhAZ21haWwuY29tIiwibWl4cGFuZWxJZ CI6Imdvb2dsZS1vYXV0a
...
...
The following steps depend on your operating system:
- On Windows, locate the installer, double-click on it, and follow the steps provided.
- On Mac, just click on the downloaded file.
- On Linux, you’ll have to make the downloaded file executable before running it. More instructions will be provided next.
For Linux users, here is how to proceed:
- When the download is over (this can take some time since the file is a few hundred MBs), open a Terminal and go to your download directory:
# update path depending on your system
$ cd Downloads/
- Then, run the following command, which will extract the version and architecture name from the
AppImagefile you’ve just downloaded:$ DESKTOP_VERSION=`ls -tr neo4j-desktop*.AppImage | tail -1 | grep -Po "(?<=neo4j-desktop-)[^AppImage]+"
$ echo ${DESKTOP_VERSION} - If the preceding
echocommand shows something like1.4.11-x86_64., you’re good to go. Alternatively, you can identify the pattern yourself and create the variable, like so:$ DESKTOP_VERSION=1.4.11-x86_64. # include the final dot
- Then, you need to make the file executable with
chmodand run the application:# make file executable:
$ chmod +x neo4j-desktop-${DESKTOP_VERSION}AppImage# run the application:
$ ./neo4j-desktop-${DESKTOP_VERSION}AppImage
The last command in the preceding code snippet starts the Neo4j Desktop application. The first time you run the application, it will ask you for the activation key you saved when downloading the executable. And that’s it – the application will be running, which means we can start creating Neo4j databases and interact with them.
Creating our first Neo4j database
Creating a new database with Neo4j desktop is quite straightforward:
- Start the Neo4j Desktop application.
- Click on the Add button in the top-right corner of the screen.
- Select Local DBMS.
This process is illustrated in the following screenshot:
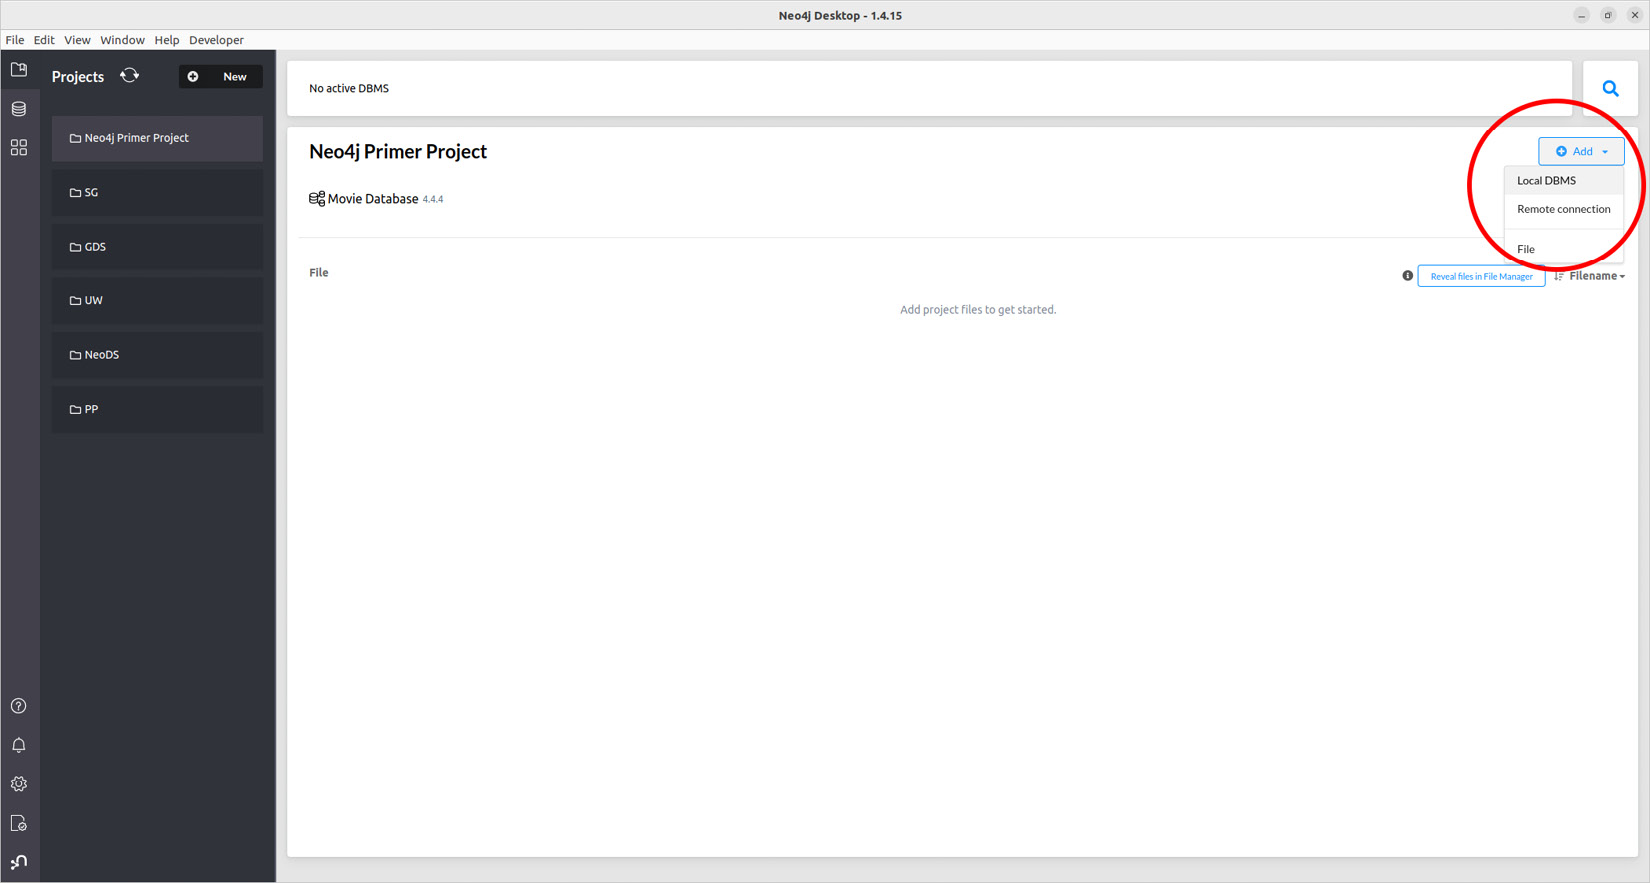
Figure 1.8 – Adding a new database with Neo4j Desktop
- The next step is to choose a name, a password, and the version of your database.
Note
Save the password in a safe place; you’ll need to provide it to drivers and applications when connecting to this database.
- It is good practice to always choose the latest available version; Neo4j Desktop takes care of checking which version it is. The following screenshot shows this step:
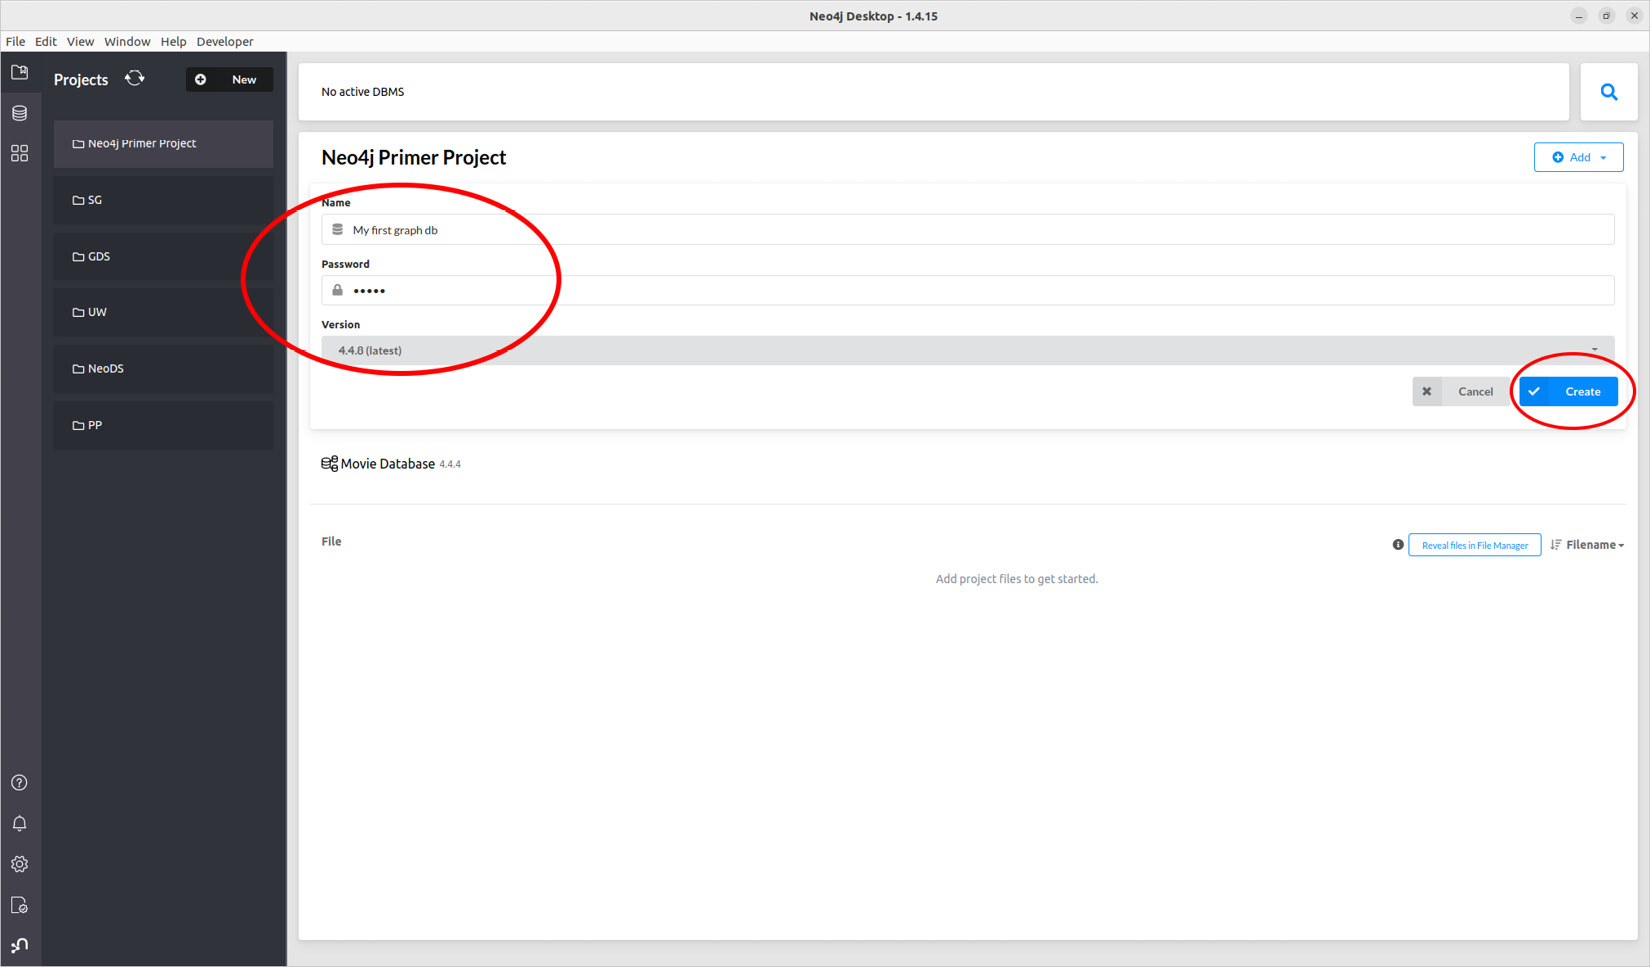
Figure 1.9 – Choosing a name, password, and version for your new database
- Next, just click Create, and wait for the database to be created. If the latest Neo4j version needs to be downloaded, it can take some time, depending on your connection.
- Finally, you can start your database by clicking on the Start button that appears when you hover your new database name, as shown in the following screenshot:
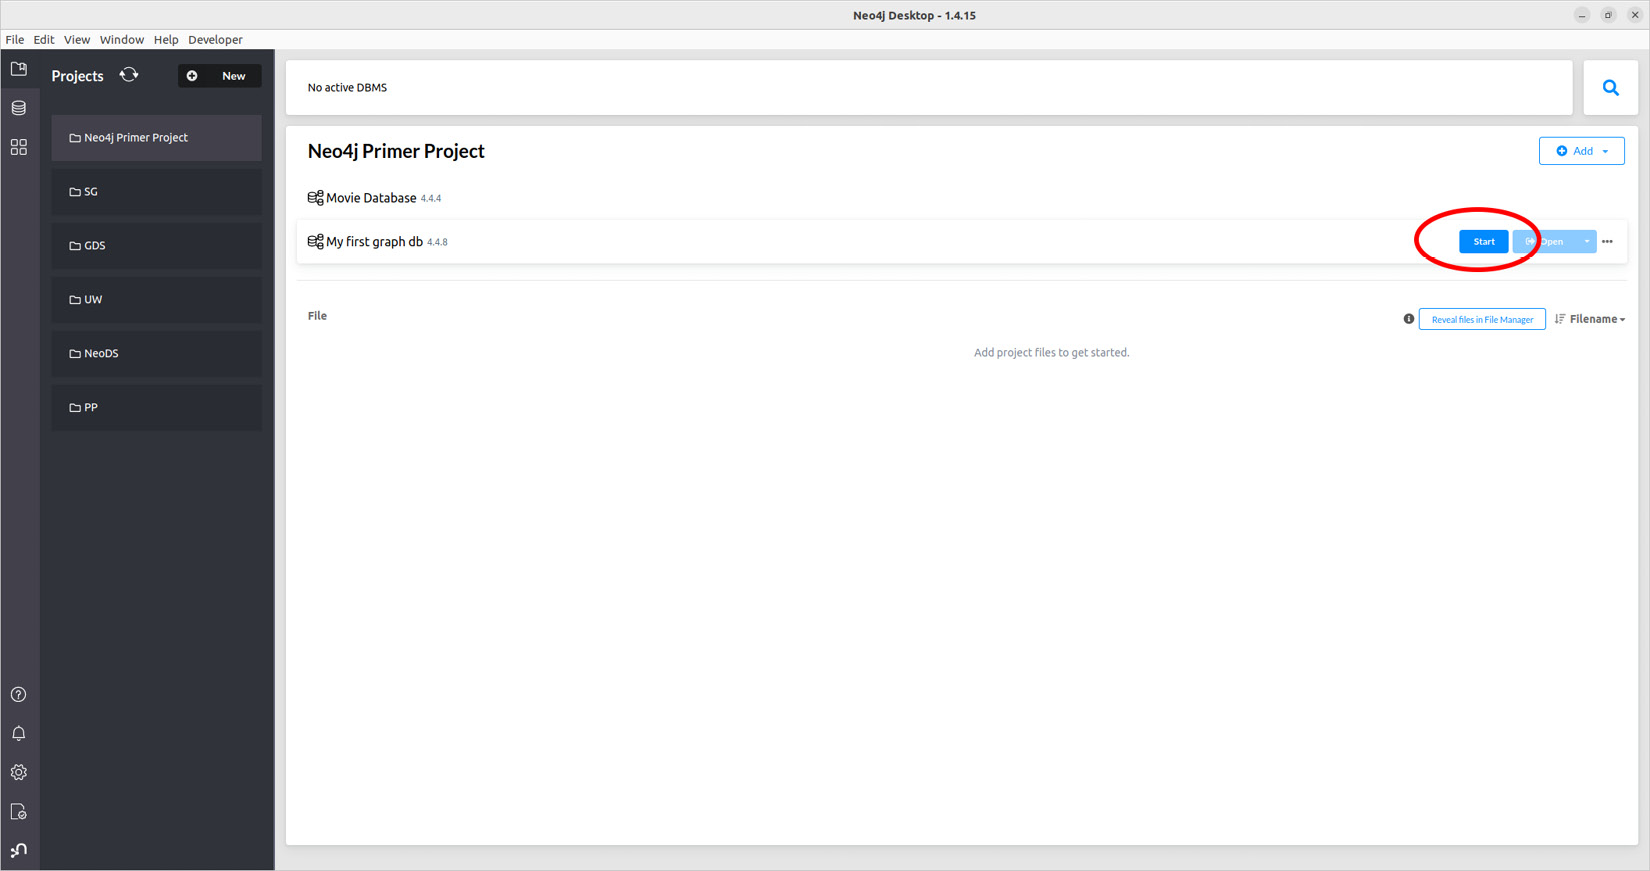
Figure 1.10 – Starting your newly created database
Note
You can’t have two databases running at the same time. If you start a new database while another is still running, the previous one must be stopped before the new one can be started.
You now have Neo4j Desktop installed and a running instance of Neo4j on your local computer. At this point, you are ready to start playing with graph data. Before moving on, let me introduce Neo4j Aura, which is an alternative way to quickly get started with Neo4j.
Creating a database in the cloud – Neo4j Aura
Neo4j also has a DB-as-a-service component called Aura. It lets you create a Neo4j database hosted in the cloud (either on Google Cloud Platform or Amazon Web Services, your choice) and is fully managed – there’s no need to worry about updates anymore. This service is entirely free up to a certain database size (50k nodes and 150k relationships), which makes it sufficient for experimenting with it. To create a database in Neo4j Aura, visit https://neo4j.com/cloud/platform/aura-graph-database/.
The following screenshot shows an example of a Neo4j database running in the cloud thanks to the Aura service:
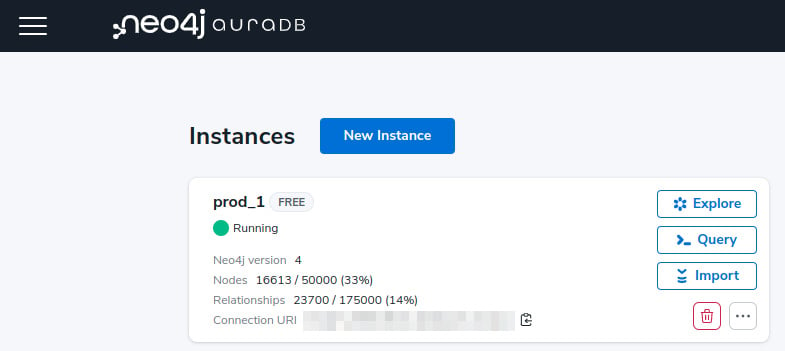
Figure 1.11 – Neo4j Aura dashboard with a free-tier instance
Clicking Explore opens Neo4j Bloom, which we will cover in Chapter 3, Characterizing a Graph Dataset, while clicking Query starts Neo4j Browser in a new tab. You’ll be requested to enter the connection information for your database. The URL can be found in the previous screenshot – the username and password are the ones you set when creating the instance.
In the rest of this book, examples will be provided using a local database managed with the Neo4j Desktop application, but you are free to use whatever technique you prefer. However, note that some minor changes are to be expected if you choose something different, such as directory location or plugin installation method. In the latter case, always refer to the plugin or application documentation to find out the proper instructions.
Now that our first database is ready, it is time to insert some data into it. For this, we will use our first Cypher queries.


