Creating your first project
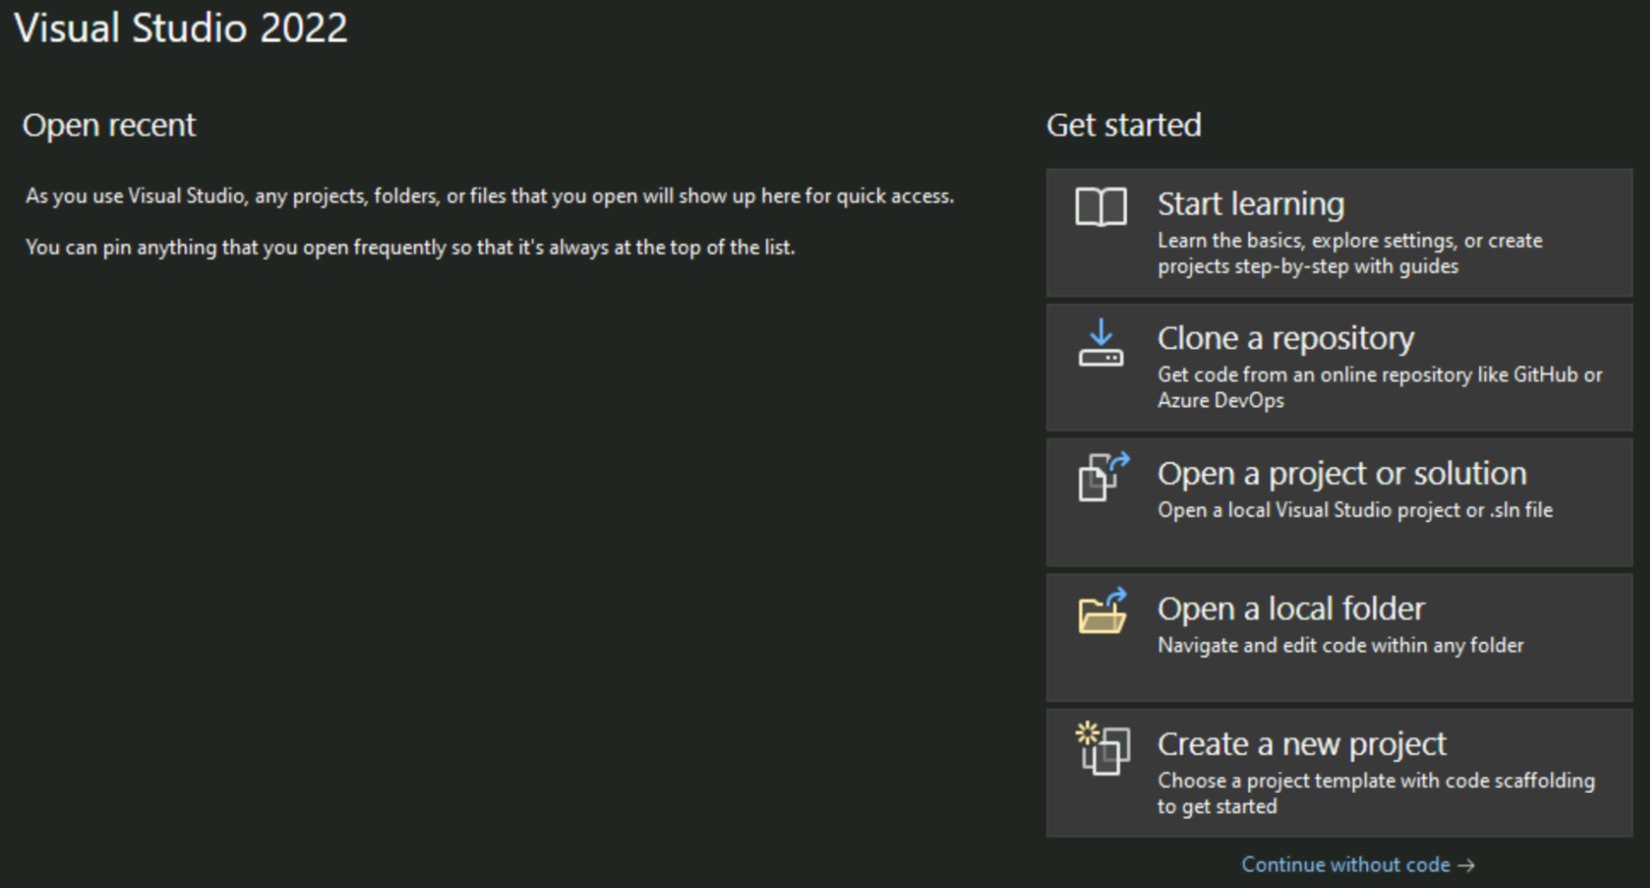
After installing all of the prerequisite software listed in step 2, under the Installing Visual Studio Community 2022 section, you should be able to begin building them without the need for any extra settings. To get things going, we’ll write a straightforward function that we’ll attempt to execute to make sure everything is set up and prepared. Start up Visual Studio 2022 Community Edition and select Create a new project to get started.

Figure 1.40 – Visual Studio – welcome screen
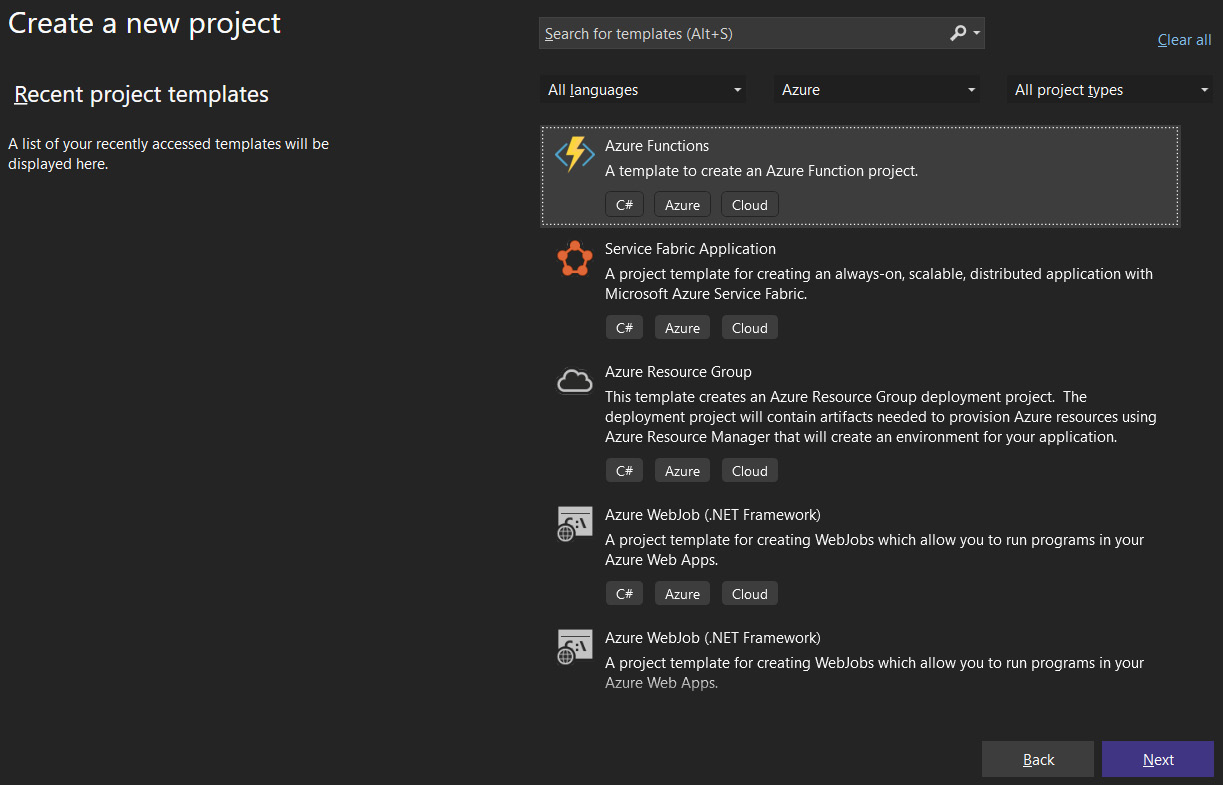
Now you can select an Azure Function from the list of choices and follow the steps to get started with the project. On the first screen, configure your new project screen. We need to set the project name, project location, and solution name. On the Additional information screen, we need to configure the framework, function trigger, and authorization level. Please see the following configuration values:

Figure 1.41 – Visual Studio – creating an Azure Functions app
Project Name: FunctionApp1
Project Location: C:\USER\PROJECTFOLDER
Solution Name: FunctionApp1
Functions Worker: .NET 6.0
Function: http trigger
Authorization Level: Function
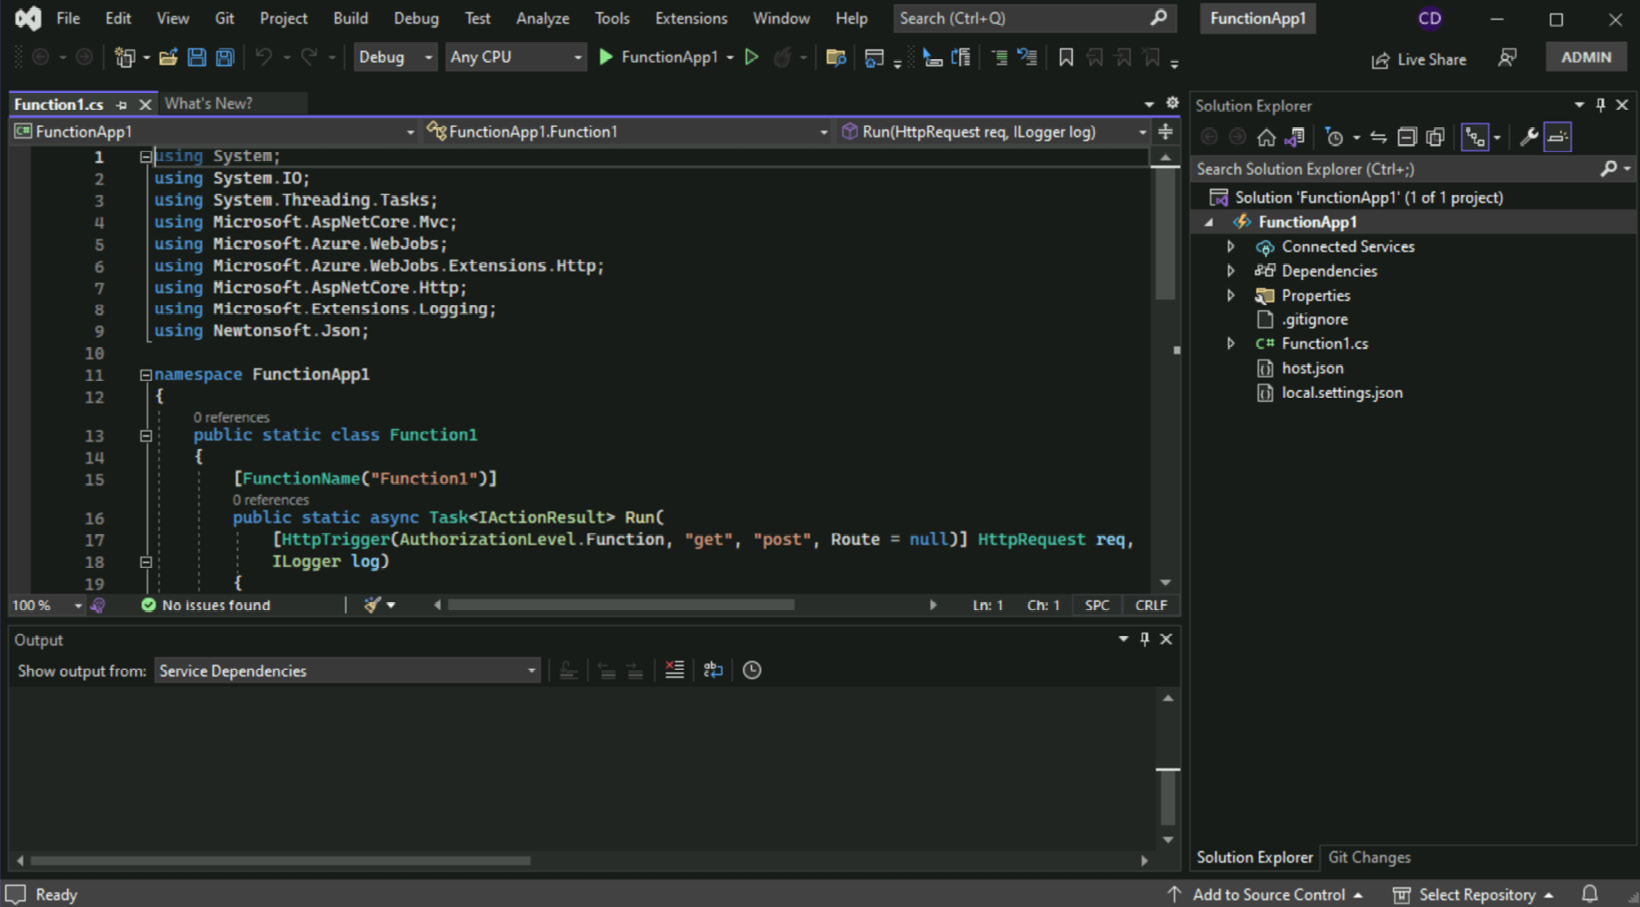
After you click the OK button, you should see a screen similar to the following screenshot (see Figure 1.42). This indicates that a new function file has been created, and some standard code has already been added as a starting point. We will discuss how to create a function and its properties in the chapter of this book specifically related to Azure Functions (Chapter 5). For now, we won’t go into too much detail.

Figure 1.42 – Azure Functions project in Visual Studio
This is how, we can create an Azure Function using Visual Studio. We can other project types such as ASP.NET Core MVC, Blazor, and ASP.NET Core Web APIs. We will explore other project types in the upcoming chapters. Visual Studio will also help us to debug, deploy, and monitor the applications in Azure.


