We are going to explore some different styles of developing, from the naive JSFiddle approach, to a more robust approach with WebStorm support. Since we want to use libraries to add new functionalities to our software, I'll provide you with a guide to add them regardless of whichever method of development you choose.
Choosing a development environment
How to do it...
I will start from the simplest method and then present you some more involved methods for bigger projects.
Just the browser
There are a series of websites such as JSFiddle that let you write a Vue application right from the browser (CodePen and JS Bin among others) and those are very good to test new functionalities and try recipes in this book. On the other hand, they are too limited in terms of code organization to develop anything more. In first recipe of this chapter, this style of development is used so please refer to that to learn how to develop with only the browser. In general, you should take what you learn by doing the recipes this way and transfer it into more structured projects, depending on what you are developing.
Adding dependencies with just the browser
Every time I mention an external library, you will search for the relative .js file on the Internet, preferably distributed by a CDN, and add it to the left menu of JSFiddle. Let's try with moment.js.
- Open a new JSFiddle (point your browser to https://jsfiddle.net/).
- In another tab, search for momentjs CDN in your favorite search engine.
- The first result should lead you to a CDN website with a list of links; you should eventually find something like https://somecdn.com/moment.js/X.X.X/moment.js where the X represents the version number.
- Copy the link you found and go back to JSFiddle.
- In the External Resources section in the left sidebar, paste your link and press Enter.
For many libraries this is sufficient; some libraries do not support this and you will have to include them in your JSFiddle in some other way.
TextEditor
The rawest way to be up and running is with a text editor and a browser. This is totally legitimate for simple, self contained components.
There are plenty of text editors from which to choose these days. One I like to use is Microsoft Visual Studio Code (https://github.com/Microsoft/vscode). There is little difference if you use another, is just so happens that Code has a plugin for Vue:
- Create a new file called myapp.html, in which we write:
        <!DOCTYPE html>
        <html>
          <head>
            <title>Vue.js app</title>
          </head>
          <body>
            <div id="app">
              {{'hello world'}}
            </div>
            <script
              src="https://cdnjs.cloudflare.com/ajax
               /libs/vue/2.0.0/vue.js">
            </script>
            <script>
              new Vue({el:'#app'})
            </script>
          </body>
        </html>
- Open the file you just created in a browser.
Vue gets downloaded from https://cdnjs.com/ and the text hello world should appear (without mustaches--if you see the mustaches, chances are something's gone wrong so check the console for errors).
This approach resembles the JSFiddle one: we have an HTML part, a JavaScript part, and a CSS part on the top. We are just bringing everything under our control. Also, this way we can use Vue developer tools (check out the recipe X-raying your application with Vue developer tools for an introduction of those).
Adding dependencies with a TextEditor
Adding external libraries in this configuration means simply adding another <script> entry to your file and setting the source attribute to the respective link. If we wanted to add moment.js, we look for the library in the same way as explained before and we add the following snippet to our page:
<script src="https://somecdn.com/moment.js/X.X.X/moment.js "></script>
Node package manager (npm)
The canonical way to work with Vue projects, and the one officially supported by the Vue community, involves the use of npm and in particular an npm package named vue-cli.
If you are not familiar with npm, put it on your list of things to do, especially if you plan to develop with JavaScript extensively.
Briefly stated, npm is a tool to organize and share your code, beyond using other people's code in your projects. More formally, it's a package manager for everything JavaScript. We will use some basic commands now and some more advanced later in the book, but you are invited to learn more by yourself:
- Install npm. As it's bundled in Node.js, the best route to follow is to install Node.js directly. You will find instructions at https://nodejs.org/en/download/.
- After you install npm, open a command line and type npm install -g vue-cli; this will install vue-cli. The -g options stands for globally and it means that wherever you are, you can type vue and it will run the program.
- Create a new directory that will act as a workspace. We will put all of our projects inside it.
- Type vue list; we get all the available templates from the official Vue template repository--other templates can be used from other sources.
The simple template will create a page similar to what we have done a few paragraphs before. I invite you to run vue init simple and check it out; spot the difference between that and what we have done. What we are doing now instead is a step further. We are going to use a more involved template that includes a bundler. There is one for webpack and browserify; we are going with the first.
If you are not familiar with webpack or browserify they are programs to control the build process of JavaScript programs from sources and assets (images, css files, and others) to customized bundles. For example, for a single .js file:
- Type vue init webpack-simple and the program will ask you some questions on how you would like your project to be. If you don't know how to answer, press Enter to go with the default.
We could have chosen in an equivalent way the browserify-simple template; those are two different libraries to achieve the same results.
- Once the scaffolding is complete, type npm install. This will take care of downloading and installing all the npm packages we need to write our Vue app.
After this, you'll have a functioning demo application already in place.
- Type npm run dev to run your application. Further instruction, will appear on the screen and will tell you to visit a specific web address, but there is a good chance that your browser will be opened automatically.
- Point the browser at the specified address. You should be able to see the demo application right away.
Exploring the source files created by vue-cli, you will find two notable files. The first file is the entry point for your application, src/main.js. It will contain something like the following:
import Vue from 'vue'
import App from './App.vue'

new Vue({
 el: '#app',
 render: h => h(App)
})
This code was loaded in the index.html page you just saw. It just tells the main Vue instance to load and render the App component in an element selected by #app (the element with the attribute id="app", a <div> in our case).
The App.vue file you will find is a self contained way you can write Vue components. You will find more on components in other recipes, but for now think of it as a way you can further divide your application to keep it more ordered.
The following code is different from what you'll find in the official template but it summarizes the general structure:
<template>
  <div id="app">
    <img src="./assets/logo.png">
    <h1>\{{ msg }}</h1>
  </div>
</template>
<script>
export default {
  data () {
    return {
      msg: 'Hello Vue 2.0!'
    }
  }
}
</script>
<style>
body {
  font-family: Helvetica, sans-serif;
}
</style>
You can see that having code divided into HTML, JavaScript, and CSS is a recurring pattern. In this file we can see something similar to what we saw in JSFiddle in the first recipes.
In the <template> tag we put our HTML, in the <script> tag JavaScript code and we use the <style> tag to add some styling to our application.
After running npm run dev, you can try to edit the msg variable in this file; the webpage will reload the component automatically after saving your modifications.
Adding dependencies with npm
To add external libraries in this configuration you simply type npm install followed by the name of the library. Then in your code you use it with something along the lines of the following:
import MyLibrary from 'mylibrary'
We can import moment.js with the following command:
npm install moment
Then in our JavaScript we add the following lines:
import moment from 'moment'
IDE
If you have a very big project, chances are you are already using tools such as IntelliJ or Webstorm. In this case, I suggest you stick to the embedded console for most of the work and only use features such as syntax highlighting and code completion. This is because developer tools are still immature for Vue and you will probably spend more time configuring your tools than actually programming:
- Open Webstorm and create a new Empty Project:
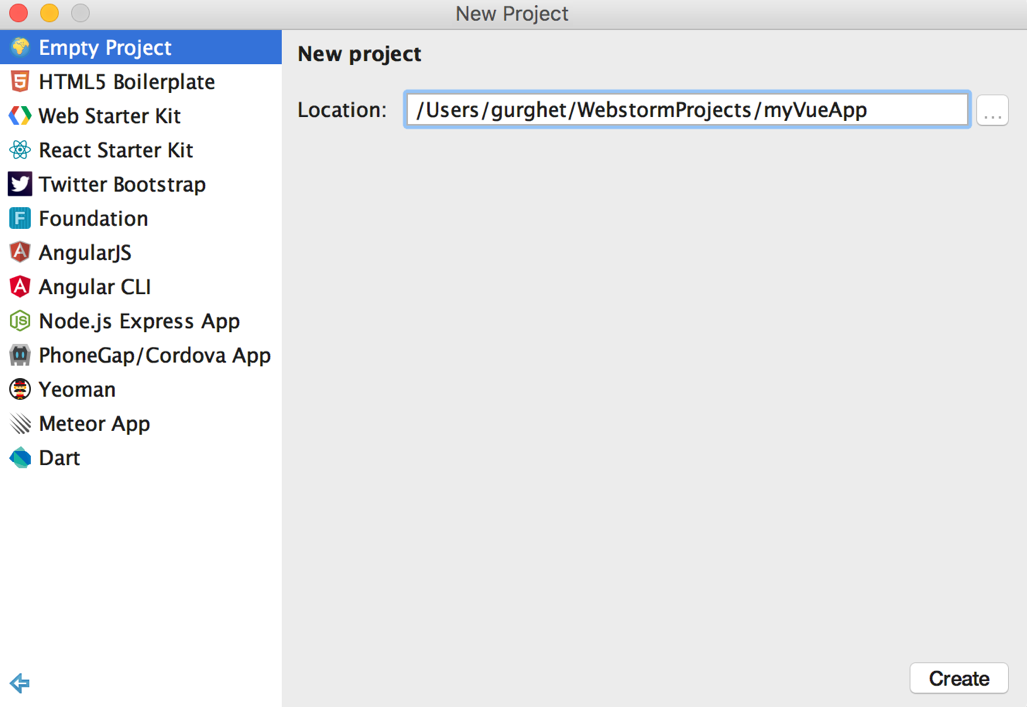
- In the bottom-left corner you should be able to open up the console or Terminal:
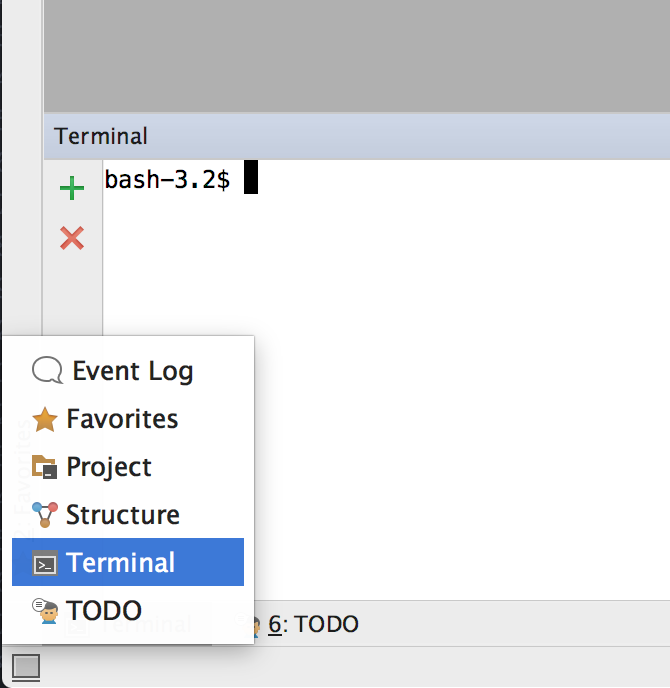
- From this prompt you should be able to work with npm exactly as explained in the previous paragraph. Read it if you haven't yet. In our case, we are going to suppose Node is installed and vue-cli is also installed.
- Type vueinit simple and answer the questions; you should end up with something similar to this:
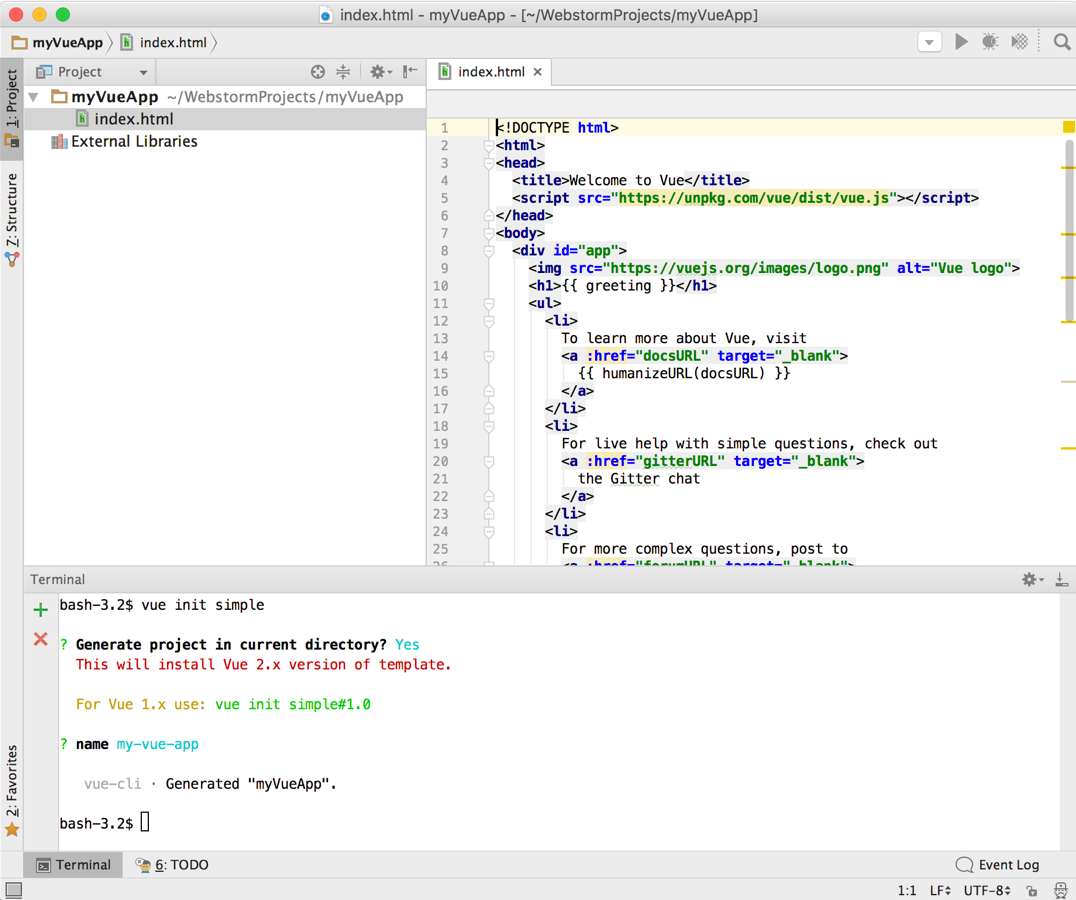
- Open the index.html file by double-clicking it.
- Hover over the top-right corner of the index.html file, and you should see the browser icons; click one:
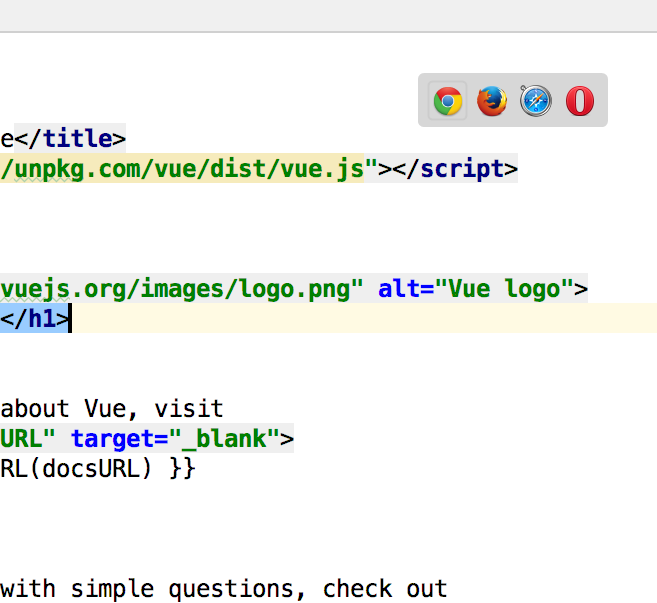
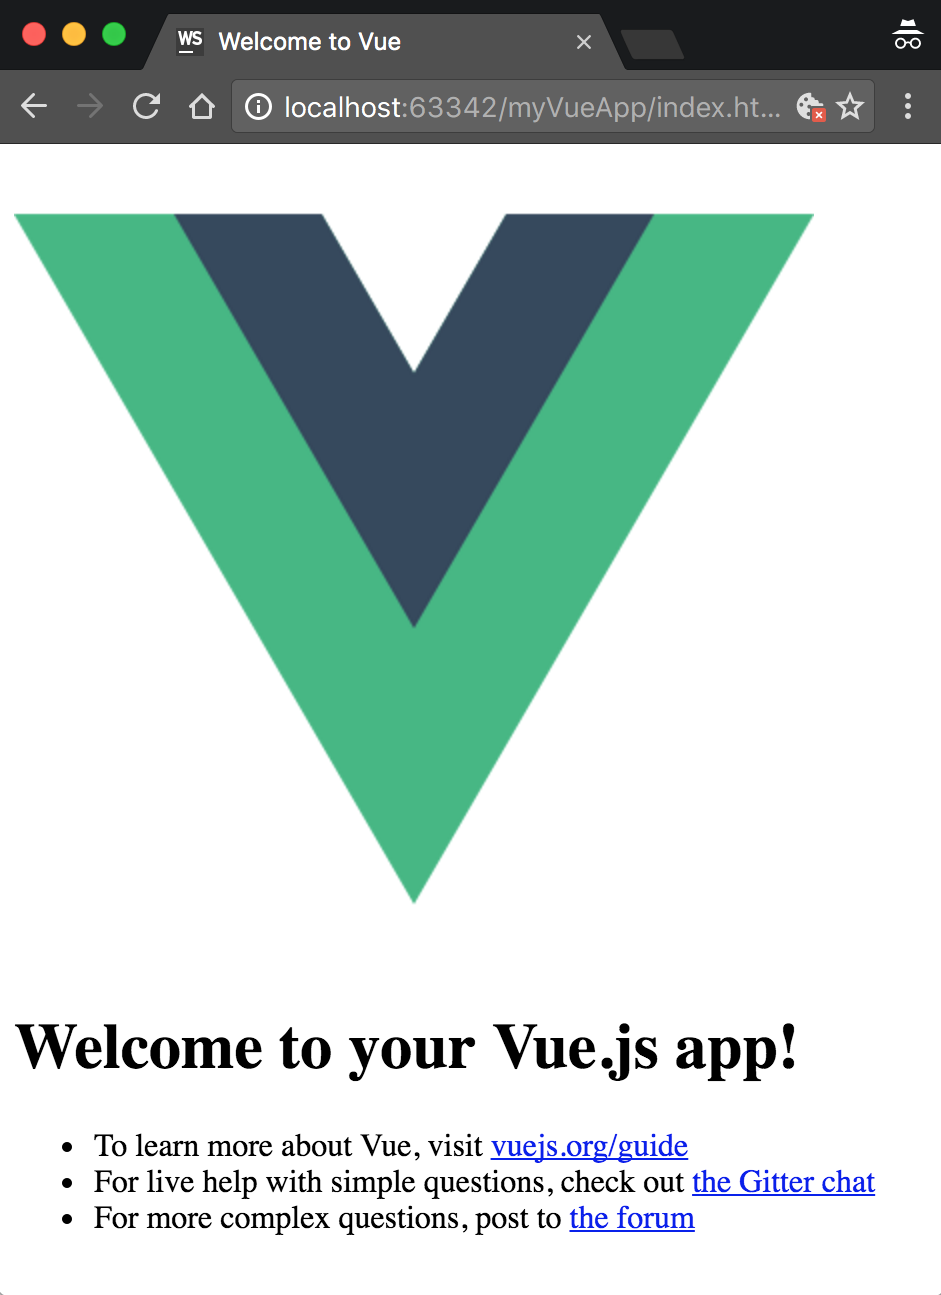
- Your sample application is up and running!
Wrap up
You can see more of how this works in dedicated recipes. Here I wanted you to have an overview of the possibilities for developing with Vue. For quick prototypes, you can definitely go with JSFiddle. When you need your own environment or you need to use Vue developer tools but not much more, using just a text editor can be acceptable. For the majority of serious projects though, you should familiarize yourself with npm, webpack, or Browserify and use vue-cli to scaffold your new projects.


