Creating a Tenant
A tenant, from a Microsoft 365 perspective, is the top-level structure that identifies your organization. It’s a boundary that separates your users and data from those of other organizations that use the Microsoft 365 service. Creating the tenant is the primary prerequisite step to working with Microsoft 365. The first step in creating a tenant is to plan a tenant, followed by provisioning a tenant.
Planning a Tenant
There are a number of early planning stages for creating a Microsoft 365 tenant, but the one you’ll carry out first will be deciding which kind of tenant to acquire. Tenants are available for organizations of different sizes as well as different industry verticals. Many of these early planning choices can’t be changed later, so you want to make sure you have a thorough understanding of all of the options before hastily clicking through selection screens.
Selecting a Tenant Type
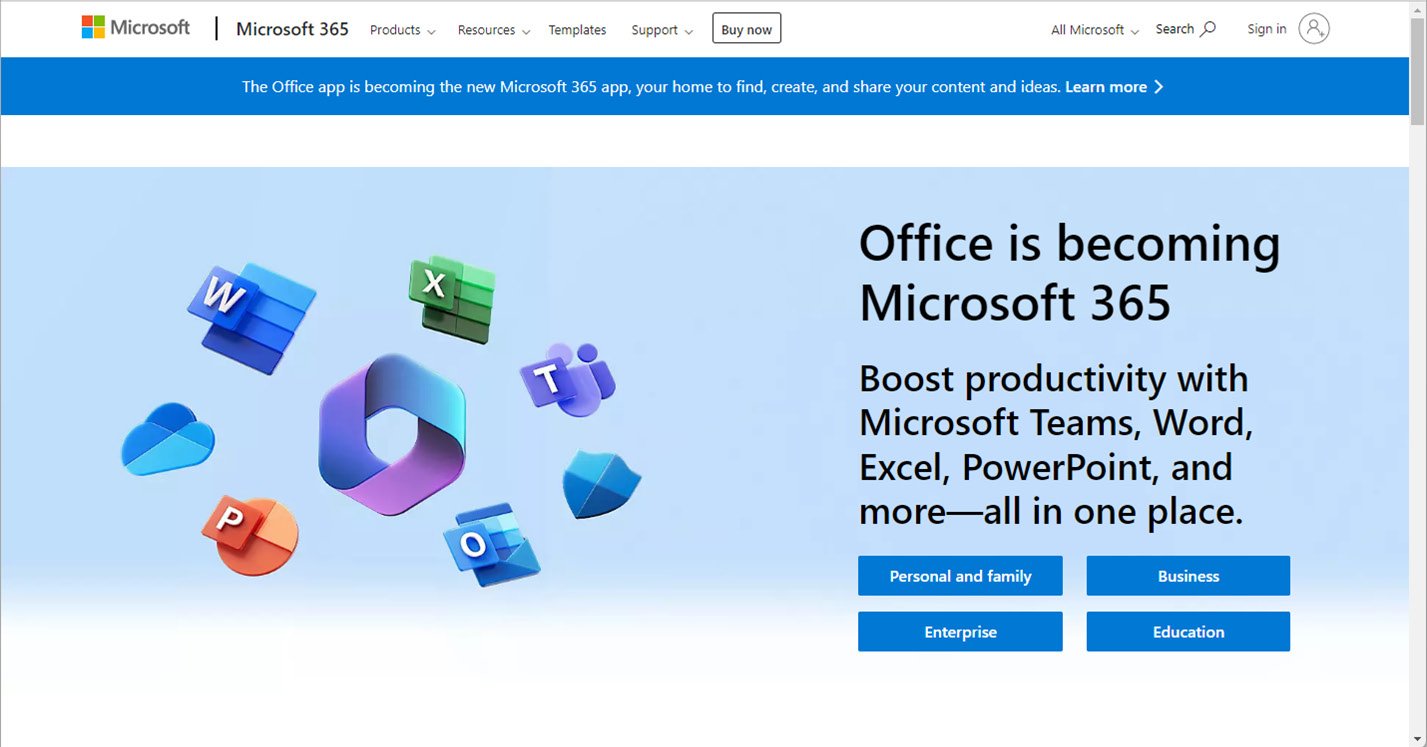
Microsoft has made a variety of packages available, targeting different types of organizations, as shown in Figure 1.2:

Figure 1.2 – Types of tenants
Table 1.1 below lists the types of tenants available for customers to choose from:
|
Tenant type |
Target customer |
|
Microsoft 365 Personal |
Single person or home user |
|
Microsoft 365 Family |
Single person, up to 6 users |
|
Microsoft 365 Business |
Up to 300 users |
|
Microsoft 365 Enterprise |
Unlimited users |
|
Microsoft 365 for US Government |
Unlimited users |
|
Microsoft 365 for Education |
Unlimited users |
Table 1.1 – Tenant types and target customers
For the purposes of the MS-102 exam, you’ll focus on the Microsoft 365 Enterprise service plans.
Tenant Type Deep Dive
The MS-102 exam focuses on the feature set and product, or service bundles, available in Microsoft 365 Enterprise plans, though the technologies available are largely the same across all plans. Microsoft 365 for US Government is available only for local, state, and federal government customers (and their partners or suppliers) and has a subset of the currently commercially available features, trailing by anywhere from 6 months to 2 years, depending on the certification level of the environment. Microsoft 365 for Education has the same feature set as the commercial enterprise set, with a few added features targeted to educational institutions. Microsoft 365 for Education is only available to schools and universities.
Selecting a Managed Domain
After choosing what type of tenant you’ll acquire, one of the next steps you’ll be faced with is naming your tenant. When you sign up for a Microsoft 365 subscription, you are prompted to choose a name from Microsoft’s onmicrosoft.com managed namespace. The name you select will need to be unique across all other Microsoft 365 customers.
Tenant Name Considerations
The tenant name (or managed domain name) cannot be changed after it has been selected. As such, it’s important to select one that is appropriate for your organization. The tenant name is visible in a handful of locations, so be sure to select a name that doesn’t reveal any privacy information and looks professionally appropriate for the type of organization you’re representing.
Provisioning a Tenant
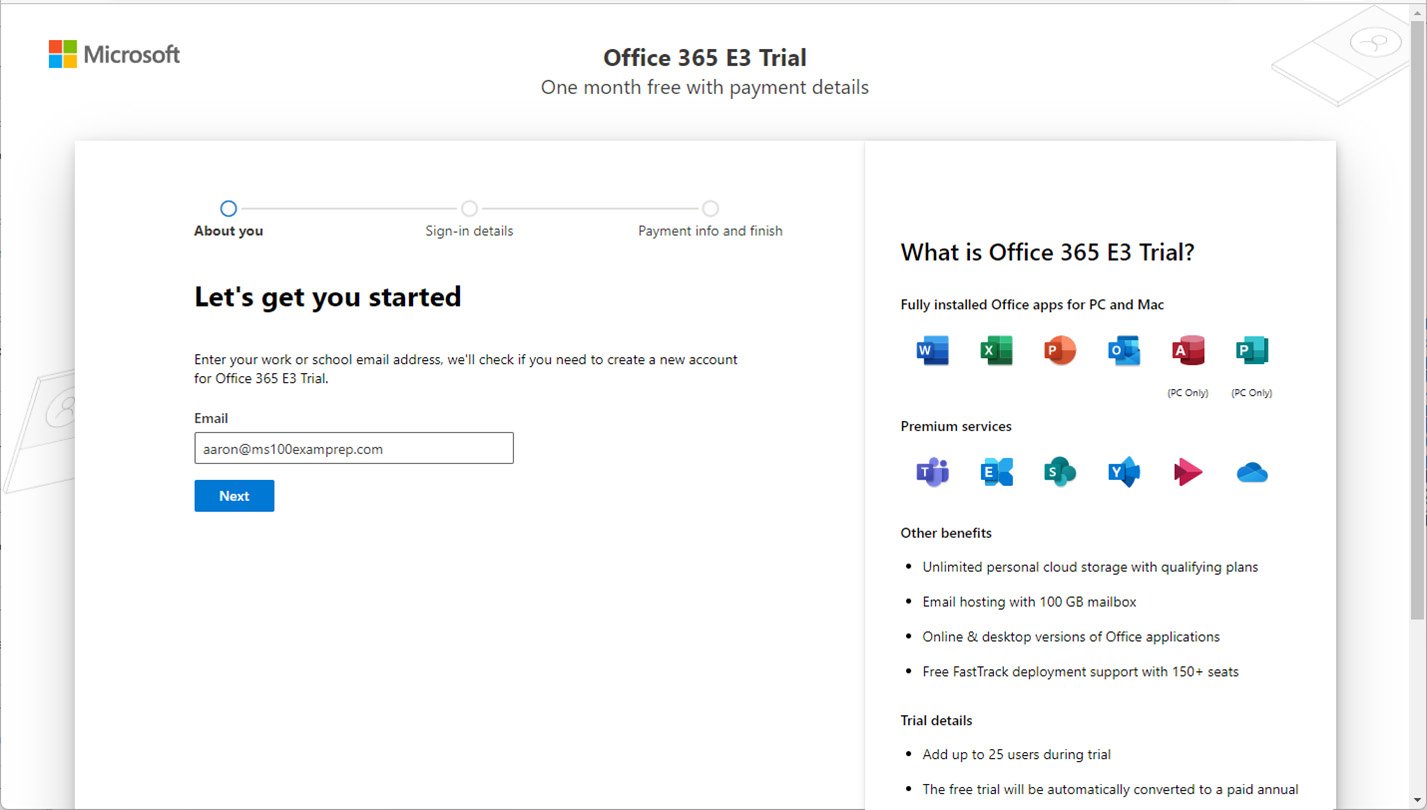
The act of provisioning a tenant is a relatively simple affair, requiring you to fill out a basic contact form and choose a tenant name. Microsoft periodically changes what plans are available for new trial subscriptions. As of the time of writing, Office 365 E3 is available for a trial subscription. Currently, the available public trial subscriptions require the addition of payment information, which will cause a trial to roll over into a fully paid subscription after the trial period ends. See Figure 1.3:

Figure 1.3 – Starting a trial subscription
The signup process may prompt for a phone number to be used during verification (either a text/SMS or call) to help ensure that you’re a valid potential customer and not an automated system.
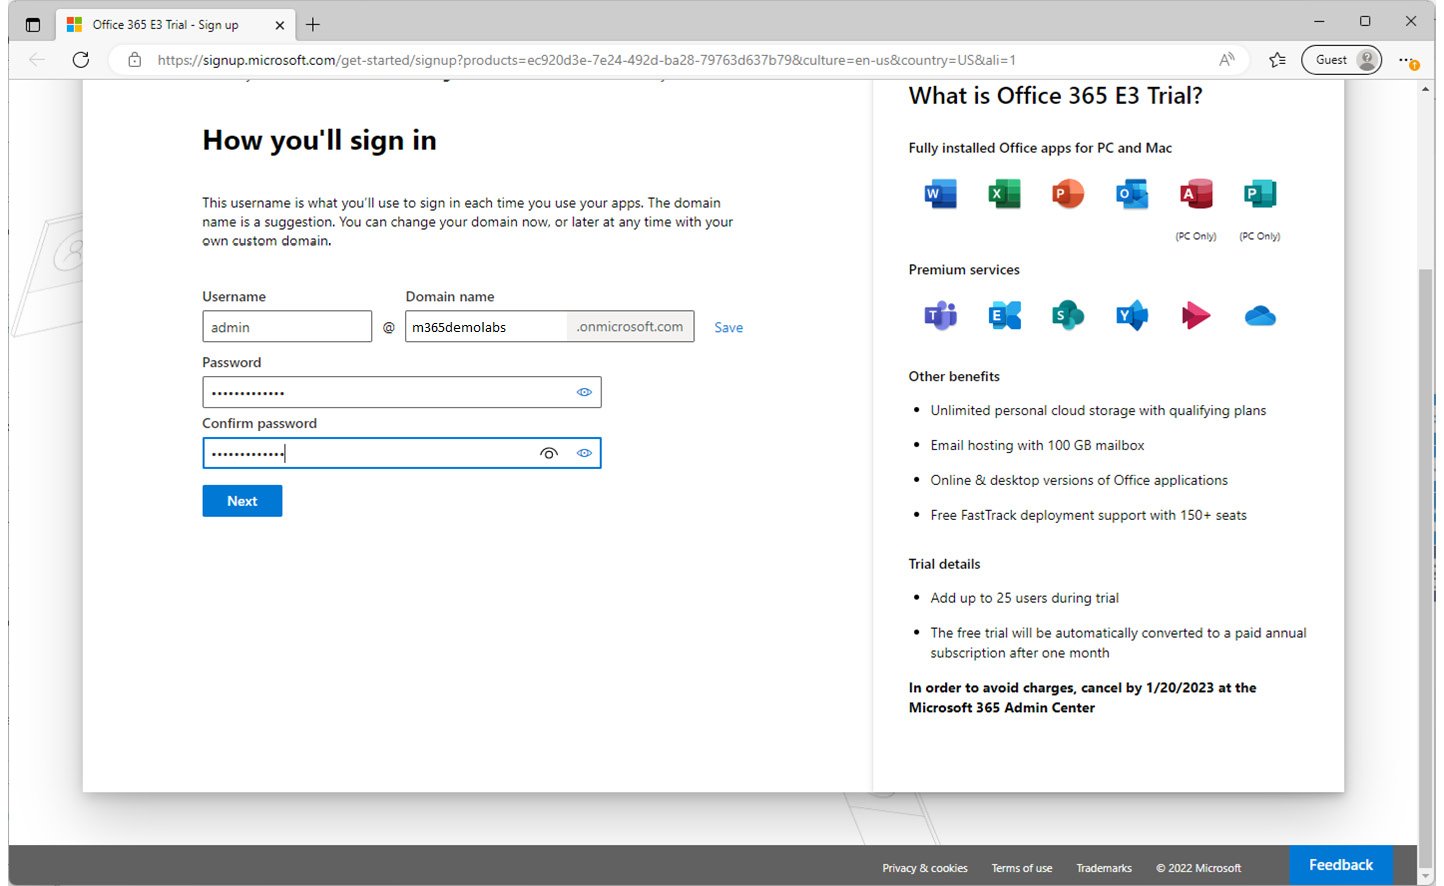
After verifying your status as a human, you’ll be prompted to select your managed domain, as shown in Figure 1.4:

Figure 1.4 – Choosing a managed domain
In the Domain name field, you’ll be prompted to enter a domain name. If the domain name value you select is already taken, you’ll receive an error and be prompted to select a new name.
Region Selection
Microsoft automatically provisions your tenant based on a combination of your source IP address and what type of tenant (enterprise, government, or personal) you’re selecting. You need to ensure that you’re not using any external VPN services that mask your location. Region selection determines not only where your tenant data is located physically but also, in some cases, what services are available. Once your tenant is provisioned into a region, it can’t be changed.
After you’ve finished, you can enter payment information for a trial subscription. Note the end date of the trial; if you fail to cancel by that time, you’ll be automatically billed for the number of licenses you have configured during your trial!


