
In this lab, we are going to build on the blank app we created in Lab 1 by creating a welcome screen for our app. Begin by opening the app we created in Lab 1 in PowerApps Studio.
Activity 1: Building basic branding
The first thing we are going to do is build a basic look and feel for our app by placing some shapes onto the canvas. To begin with, we will create a header.
For this, we will insert a Rectangle we will use as a header. Follow these steps to do so:
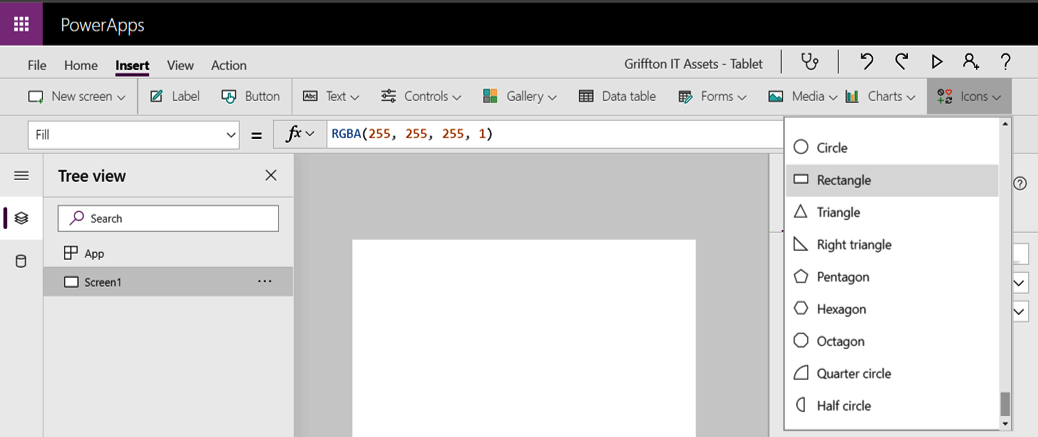
- Open the Insert menu.
- From the Icons menu, select Rectangle:
- When the rectangle appears on the canvas, drag it to the top left corner or change the X and Y properties to 0:
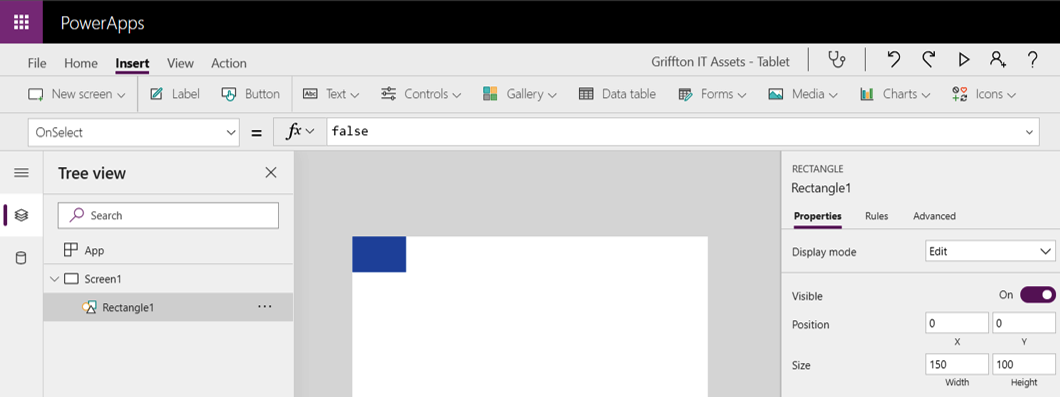
- Use the right handle to drag the width of the rectangle until it is the full width of the canvas:

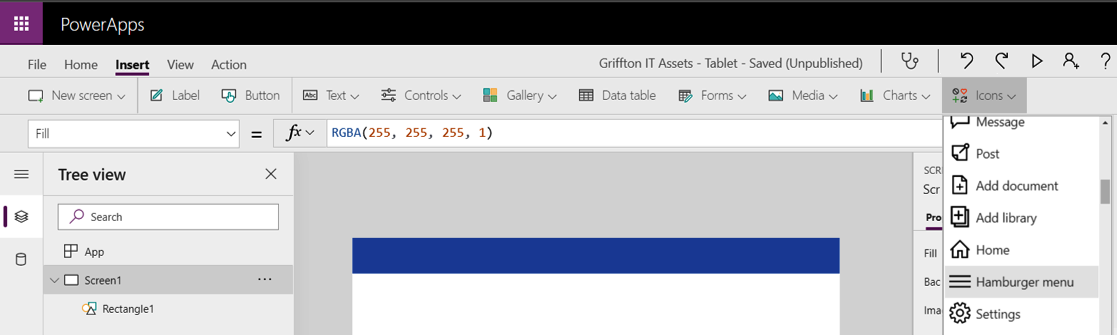
Now, we need to place a Hamburger menu on the screen that will serve as our navigation menu. Let's get started:
- Open the Insert menu.
- From the Icons menu, select Hamburger menu:
- When the icon appears on the screen, change the X property to...