In this lab, we will build upon the entities that we created in Chapter 15, Introducing Model-Driven Apps, and use those entities to begin building a model-driven app. In this lab, we will create Views of the data and use those Views within a model-driven app. By creating the entity, PowerApps has already created a number of Forms for us to use.
Activity 1: Creating Views
In this section, we will practice creating Views on the data that we have stored within our entity:
- Open the PowerApps portal by navigating to make.powerapps.com.
- Expand Data on the left-hand menu.
- Select Entities to bring up our entities list:

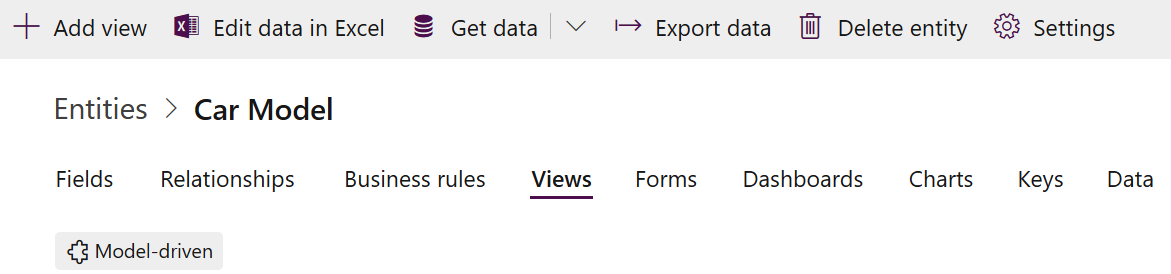
- Select Model from the list of entities.
- Select Views from the entity navigation and click + Add view:
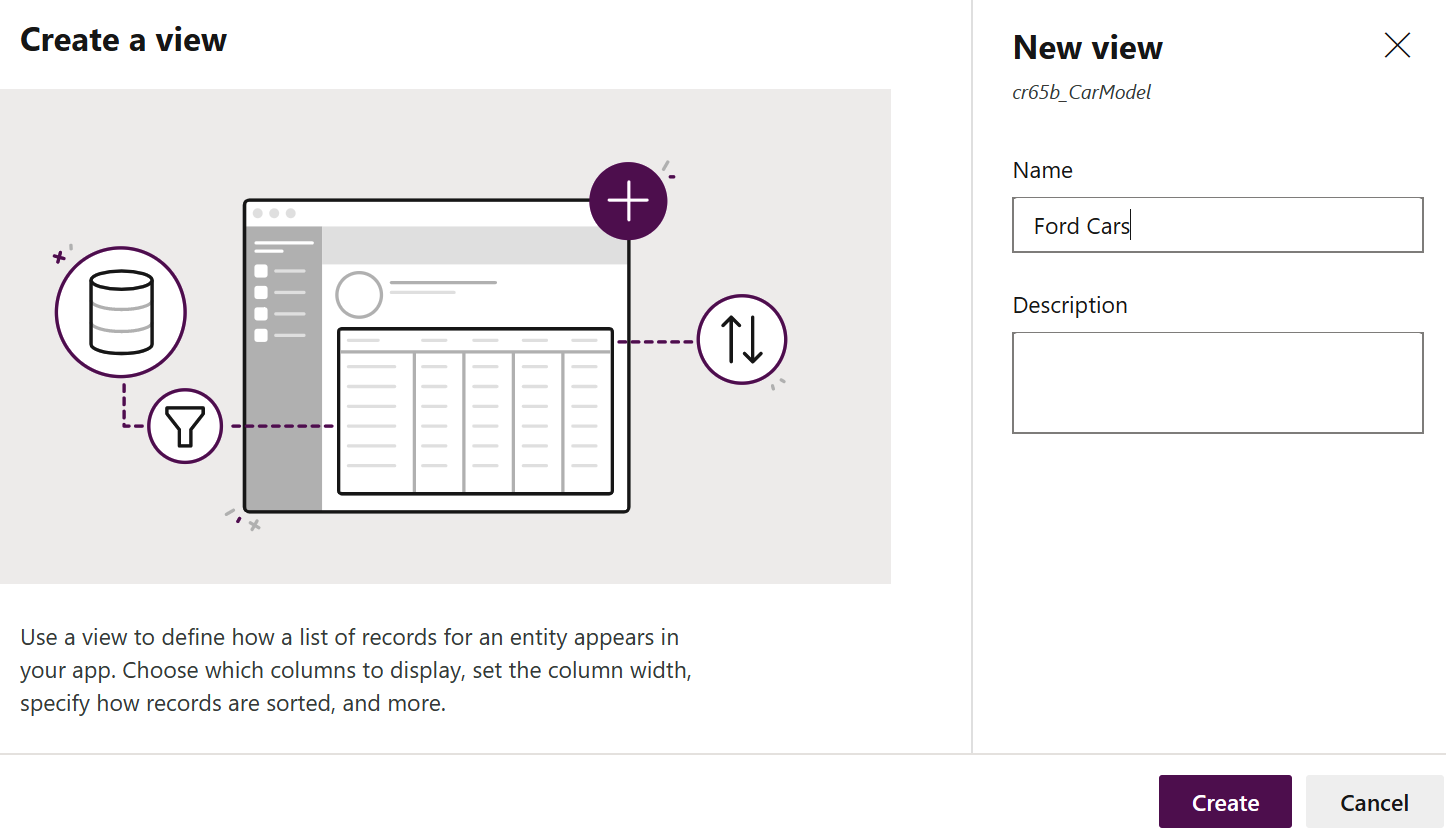
- Name the View Ford Cars and click Create:
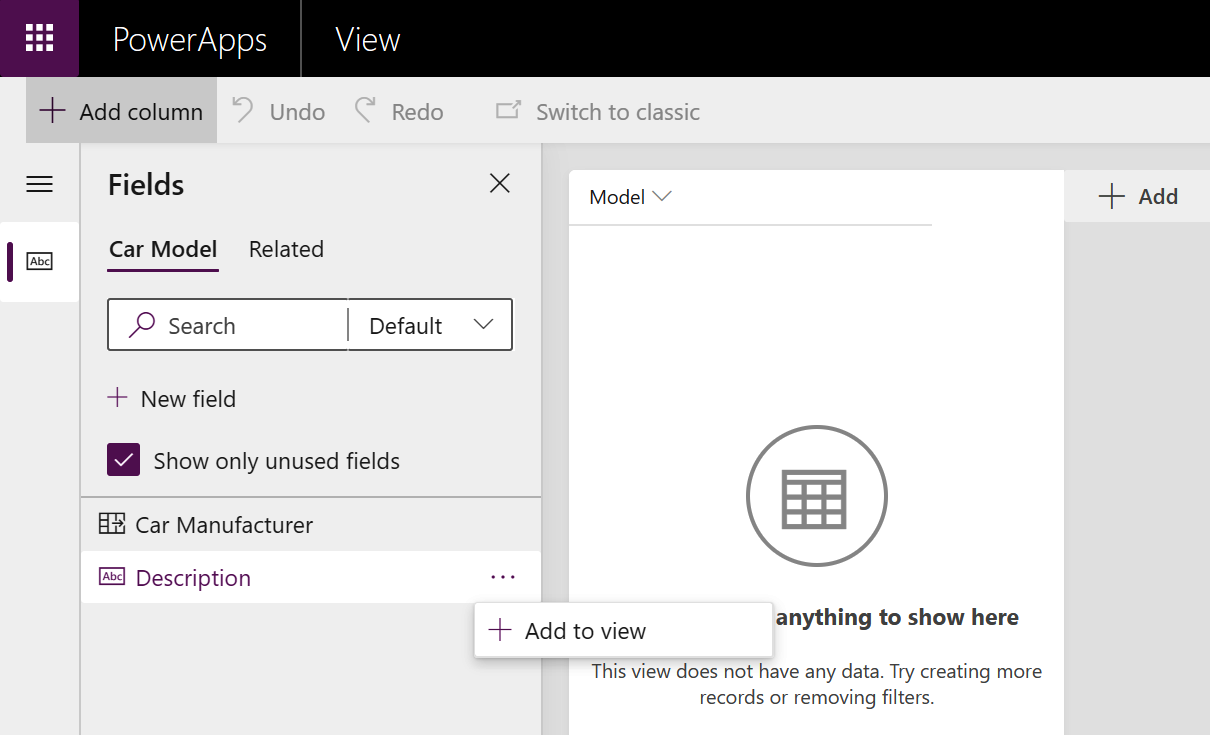
- When the View editor appears, hover your mouse over the Description field, select the ellipsis, and click + Add to view, which will then add the field to the area in the middle:
- Select Edit filters on the right-hand...