PyCharm is a fully fledged IDE, used by many developers around the world to write and develop Python code. The IDE is developed by the Jetbrains company and provides rich code analysis and completion, syntax highlighting, unit testing, code coverage, error discovery, and other Python linting operations.
Also, PyCharm Professional Edition supports Python web frameworks, such as Django, web2py, and Flask, beside integrations with Docker and vagrant for running a code over them. It provides amazing integration with multiple version control systems, such as Git (and GitHub), CVS, and subversion.
In the next few steps, we will install PyCharm Community Edition:
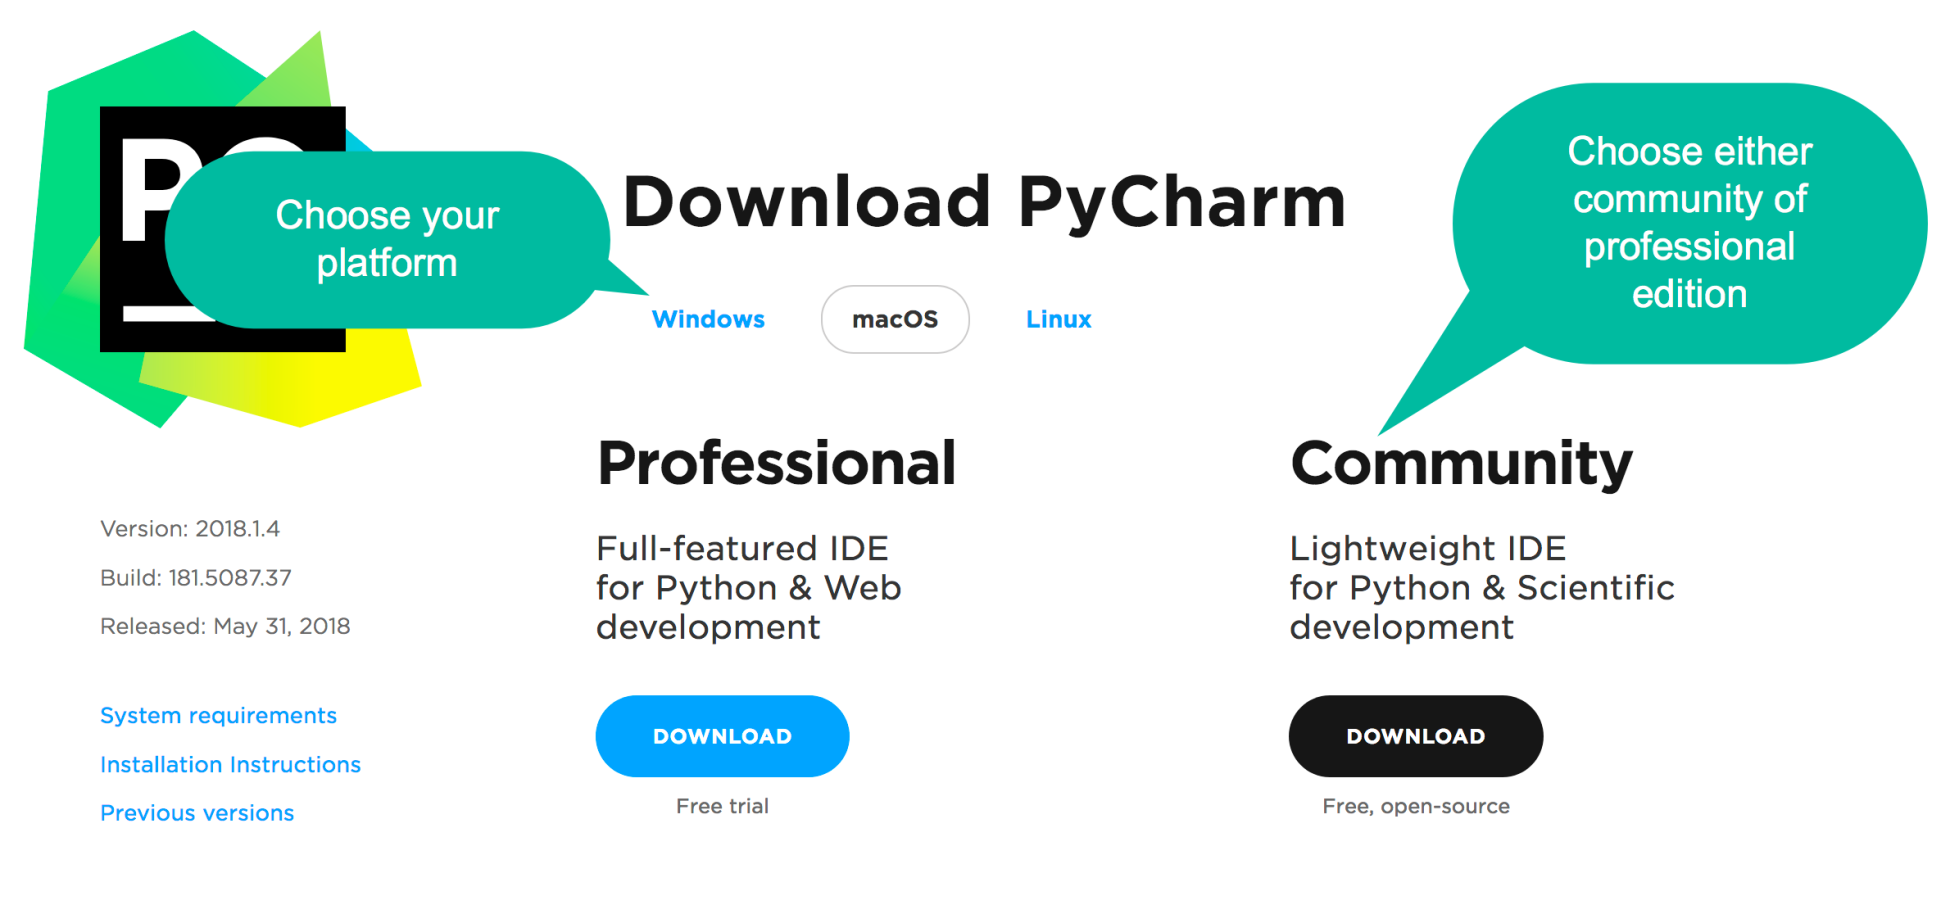
- Go to the PyCharm download page (https://www.jetbrains.com/pycharm/download/) and choose your platform. Also, choose to download either the Community Edition (free forever) or the Professional Edition (the Community version is completely fine for running the codes in this book):
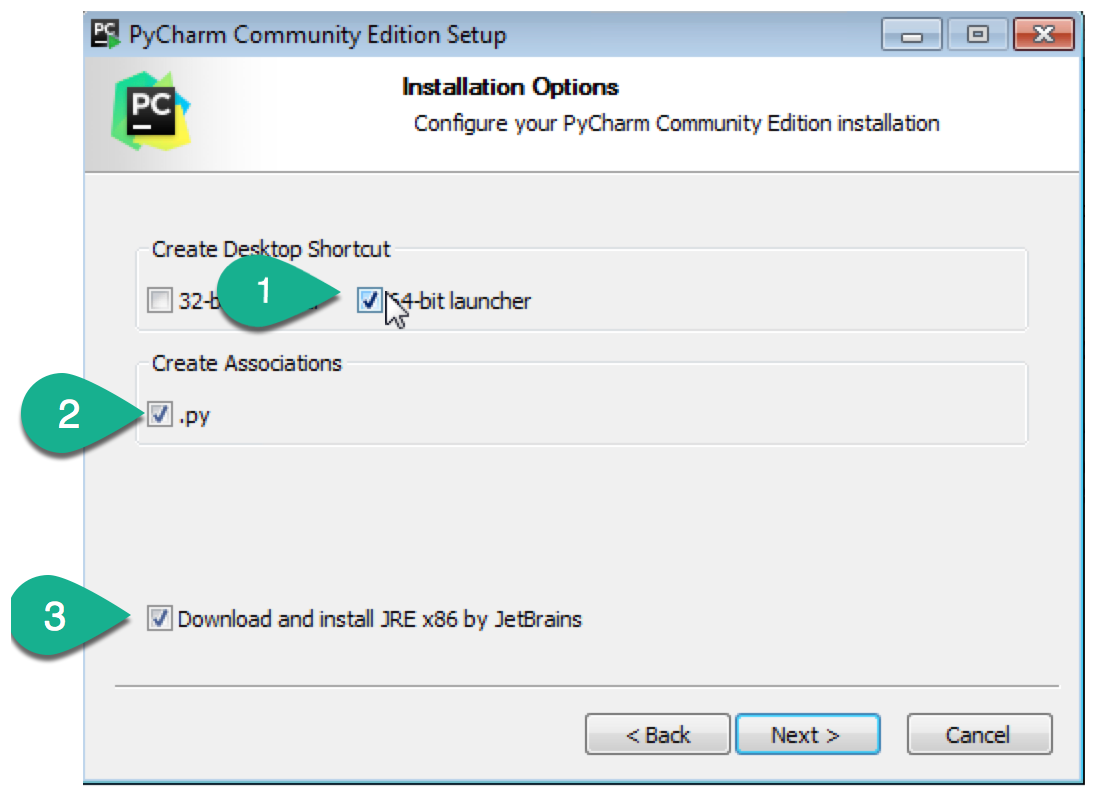
- Install the software as usual, but make sure that you select the following options:
- 32- or 64-bit launcher (depending on your operating system).
- Create Associations (this will make PyCharm the default application for Python files).
- Download and install JRE x86 by JetBrains:
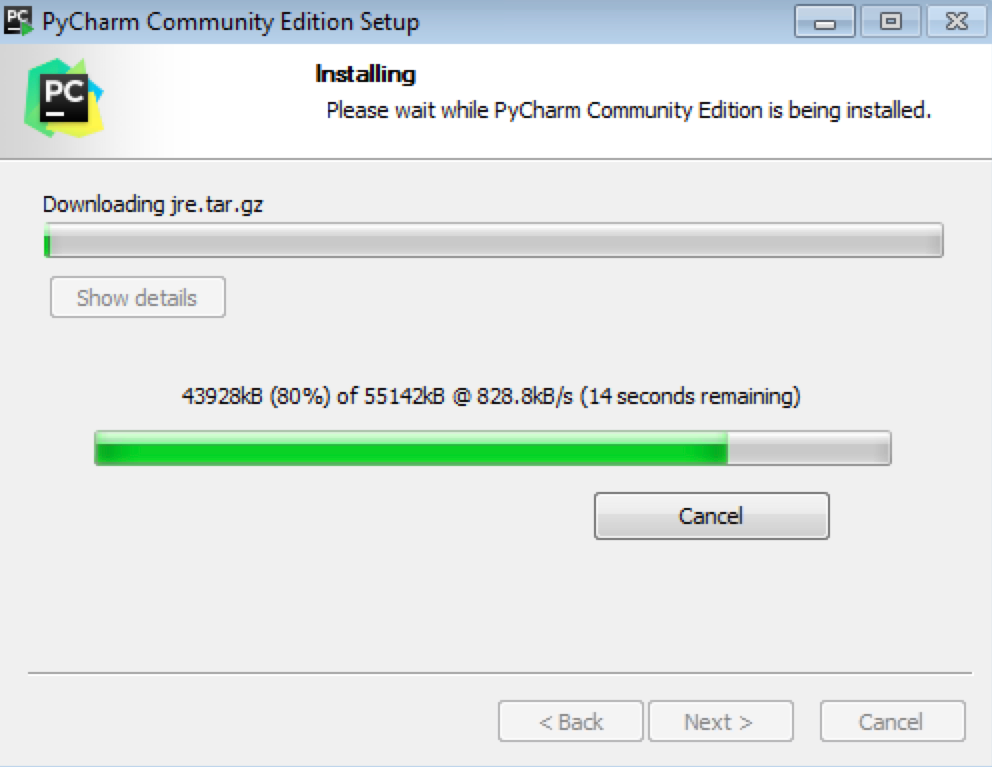
- Wait until PyCharm downloads the additional packages from the internet, and installs it, then choose Run PyCharm Community Edition:
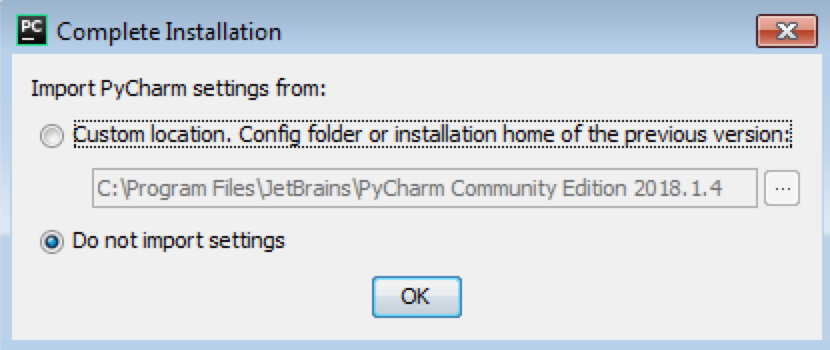
- Since this is a new and fresh installation, we won't import any settings from
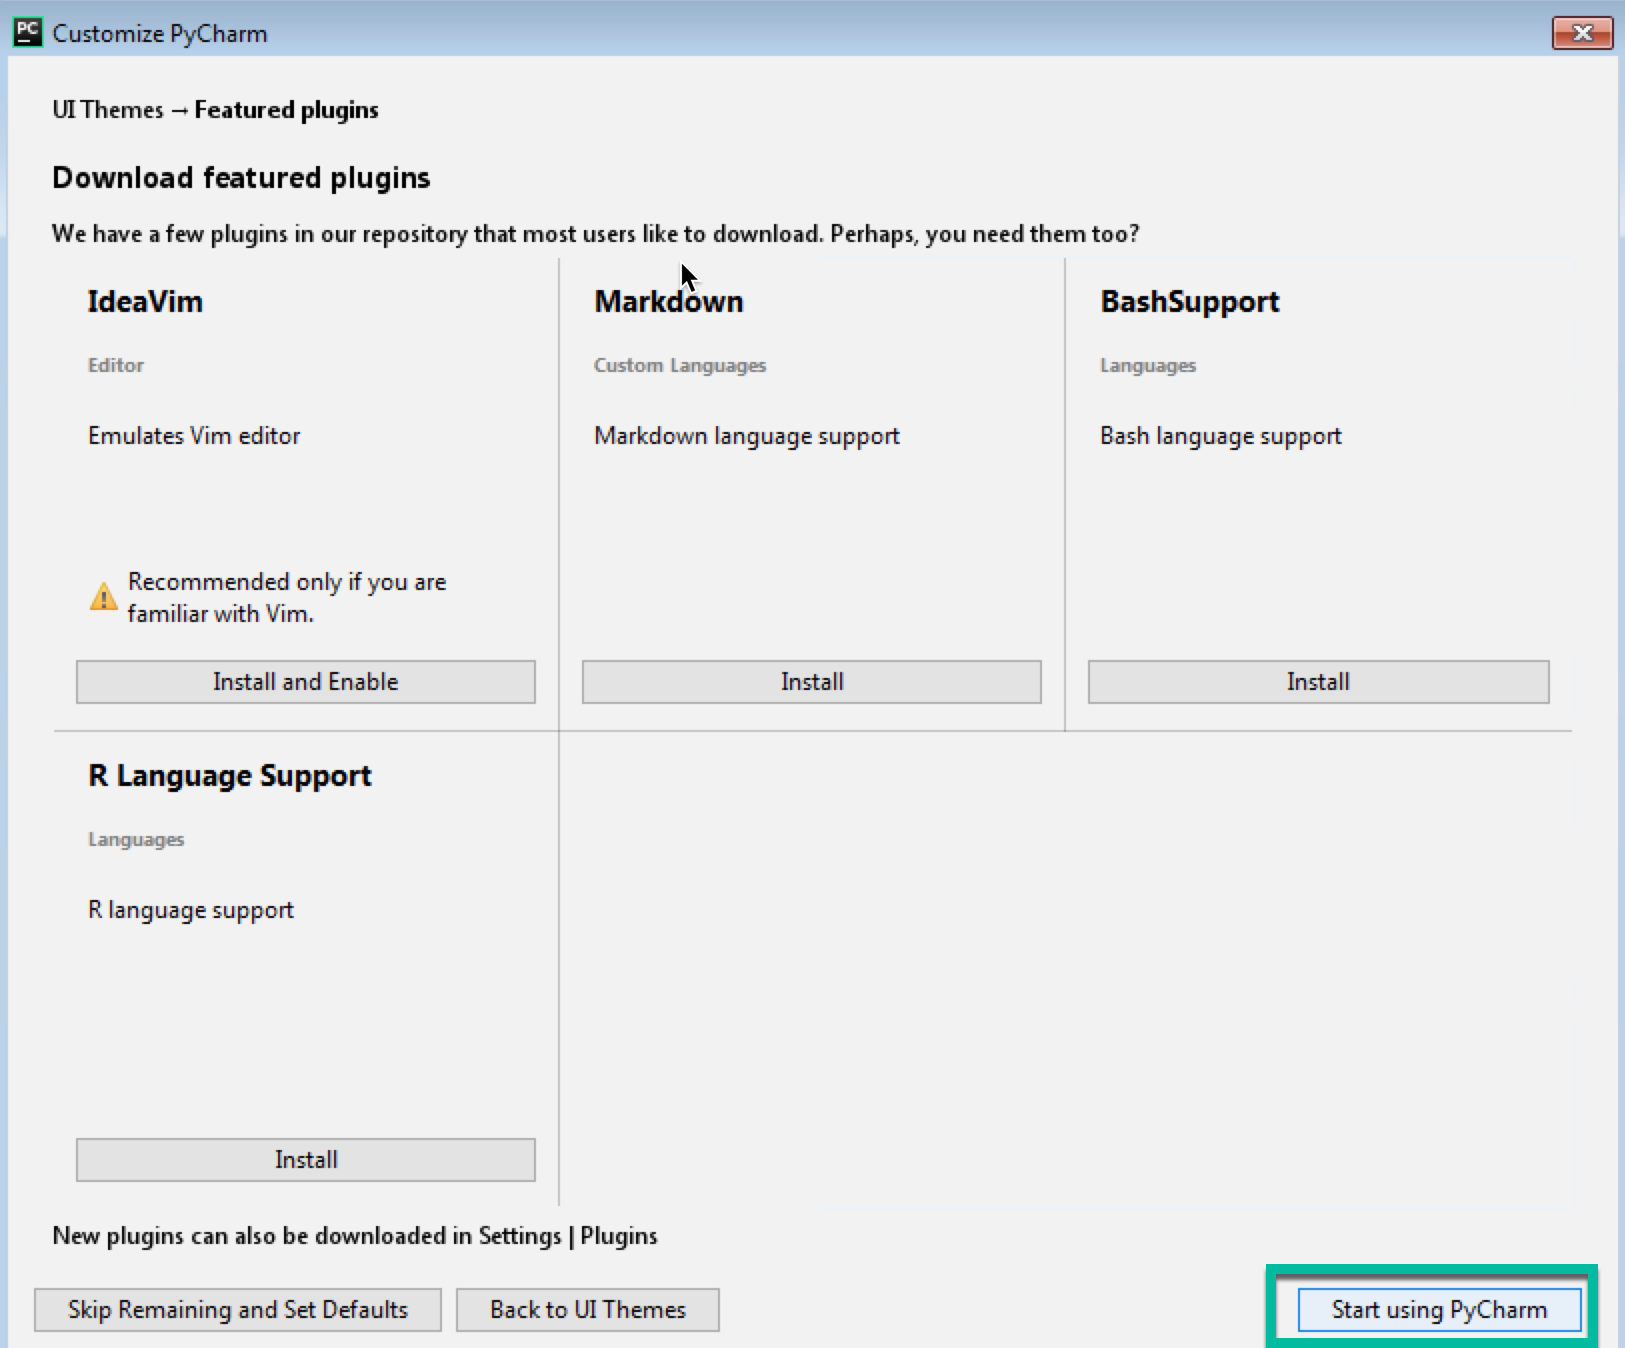
- Select the desired UI theme (either the default or darcula, for dark mode). You can install some additional plugins, such as Markdown and BashSupport, which will make PyCharm recognize and support those languages. When you finish, click on Start Using PyCharm:
