


Configuring Allure reporting
If you did not set Allure as a reporter previously, it can be done manually. This is a two-step process: installation and configuration. If you did set Allure, skip to step 2:
- To install Allure, type the following:
> yarn add @wdio/allure-reporter
This will install Allure as a
devDependancies. We can verify the package is added to thepackage.jsonfile.
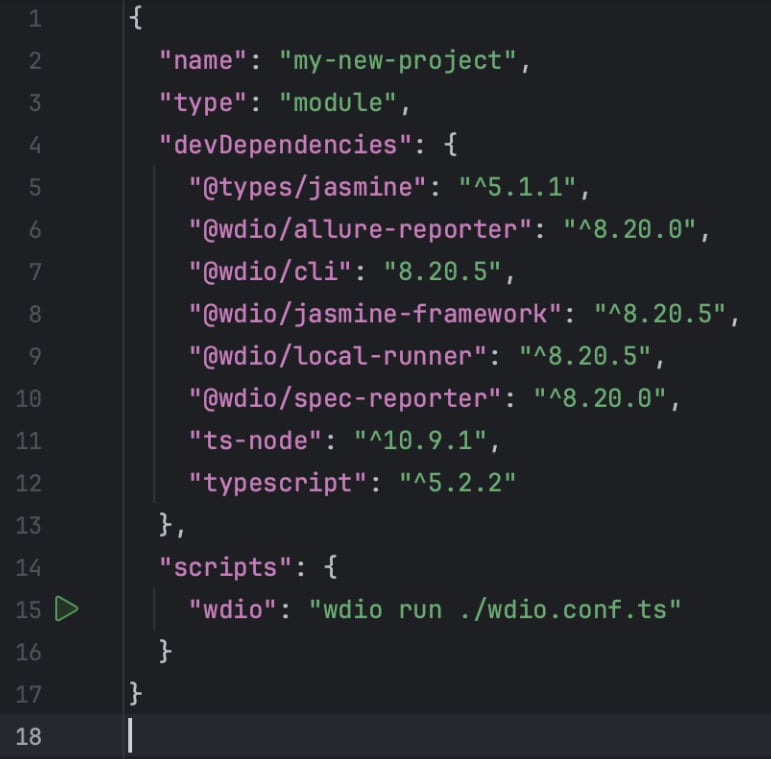
Figure 12.1 – Allure reporter dependency is added to package.json
- The Allure package is added to the dev dependencies. Next, the output directories for the HTML report and screen captures must be configured in
wdio.config.ts:
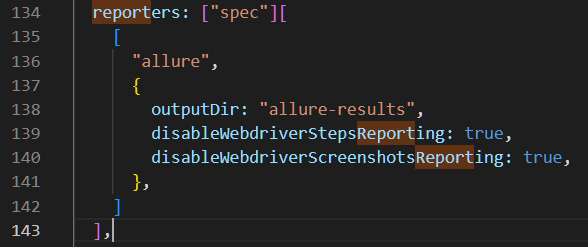
Figure 12.2 – Adding Allure configuration to the wdio.config.ts file
In the wdio.config.ts file, outputDir directs where the HTML files and screen captures are to be stored. Let’s use allure-results. Now run the test again:
> yarn wdio
This will launch the example.e2e.ts test...


