Databricks is the company behind Spark. It has a cloud platform that takes out all of the complexity of deploying Spark and provides you with a ready-to-go environment with notebooks for various languages. Databricks Cloud also has a community edition that provides one node instance with 6 GB of RAM for free. It is a great starting place for developers. The Spark cluster that is created also terminates after 2 hours of sitting idle.
Leveraging Databricks Cloud
How to do it...
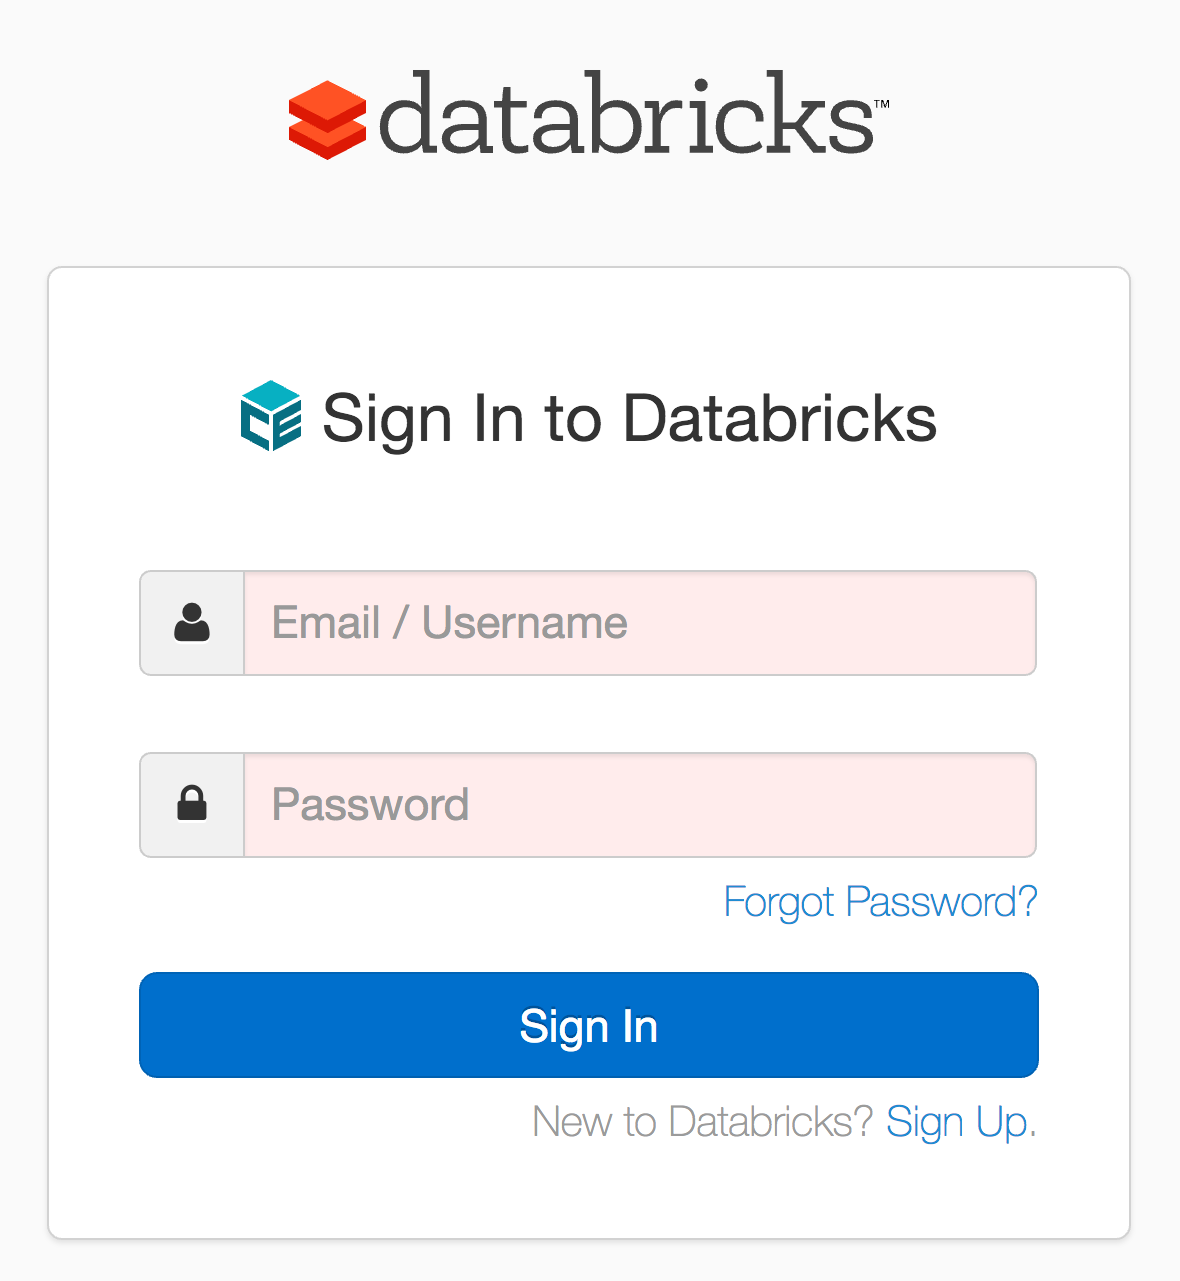
- Click on Sign Up :
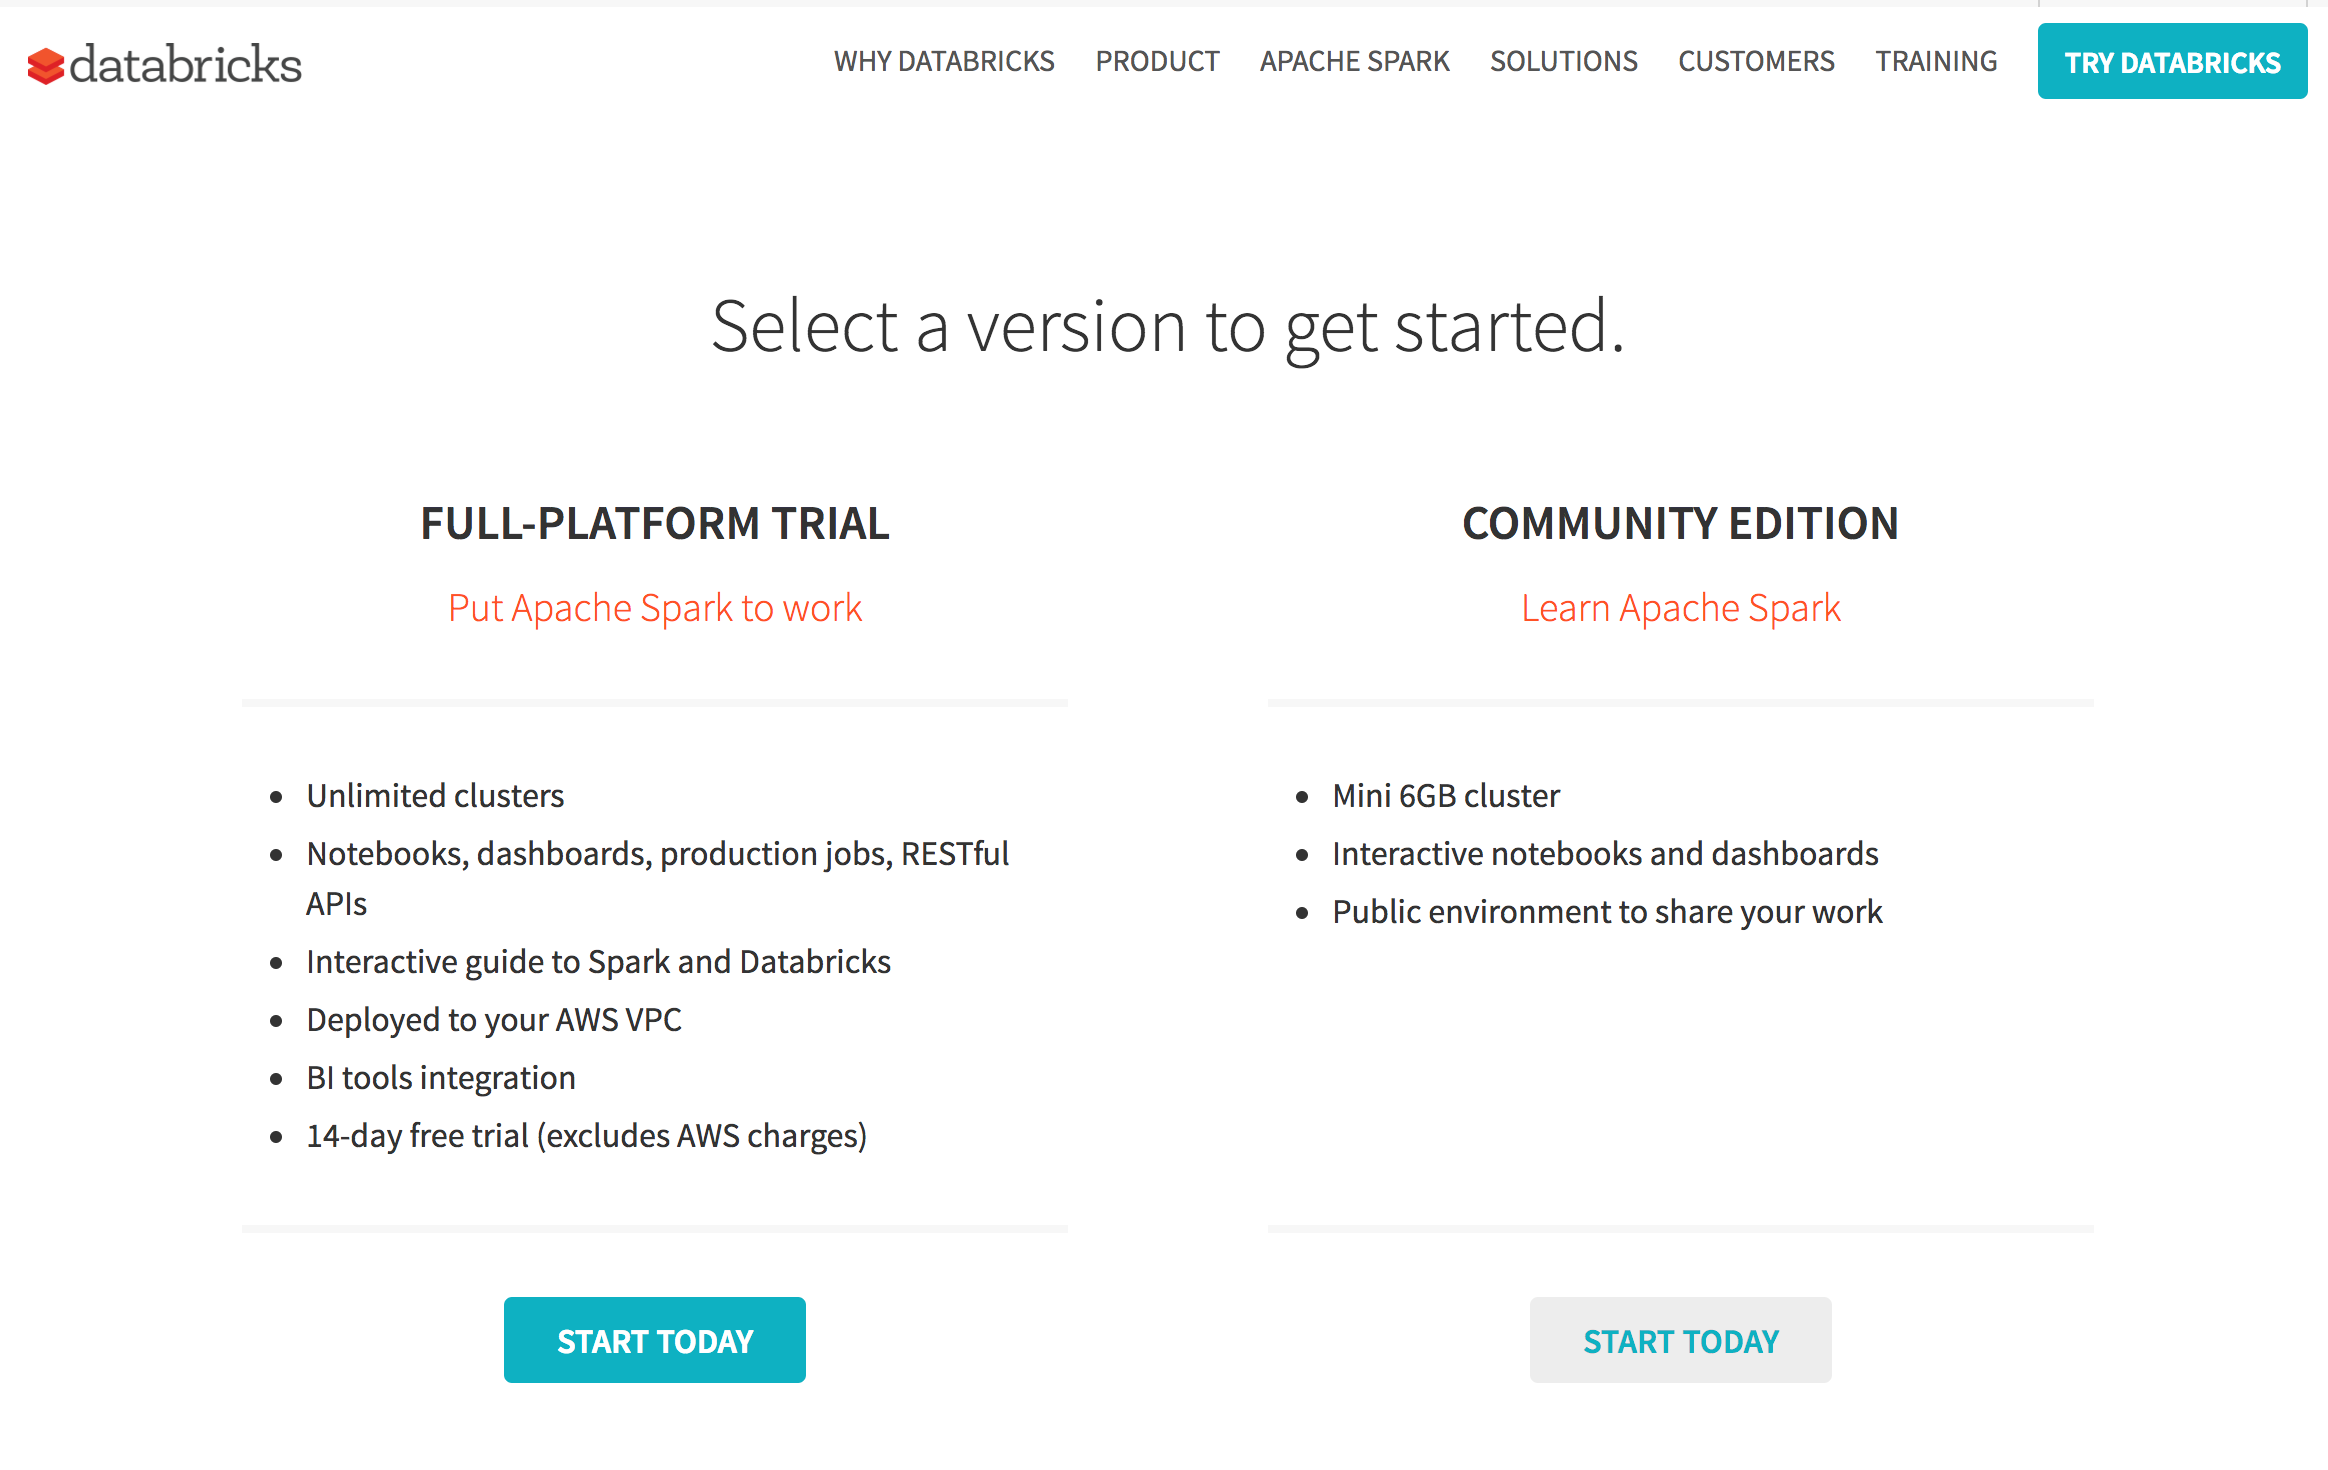
- Choose COMMUNITY EDITION (or full platform):
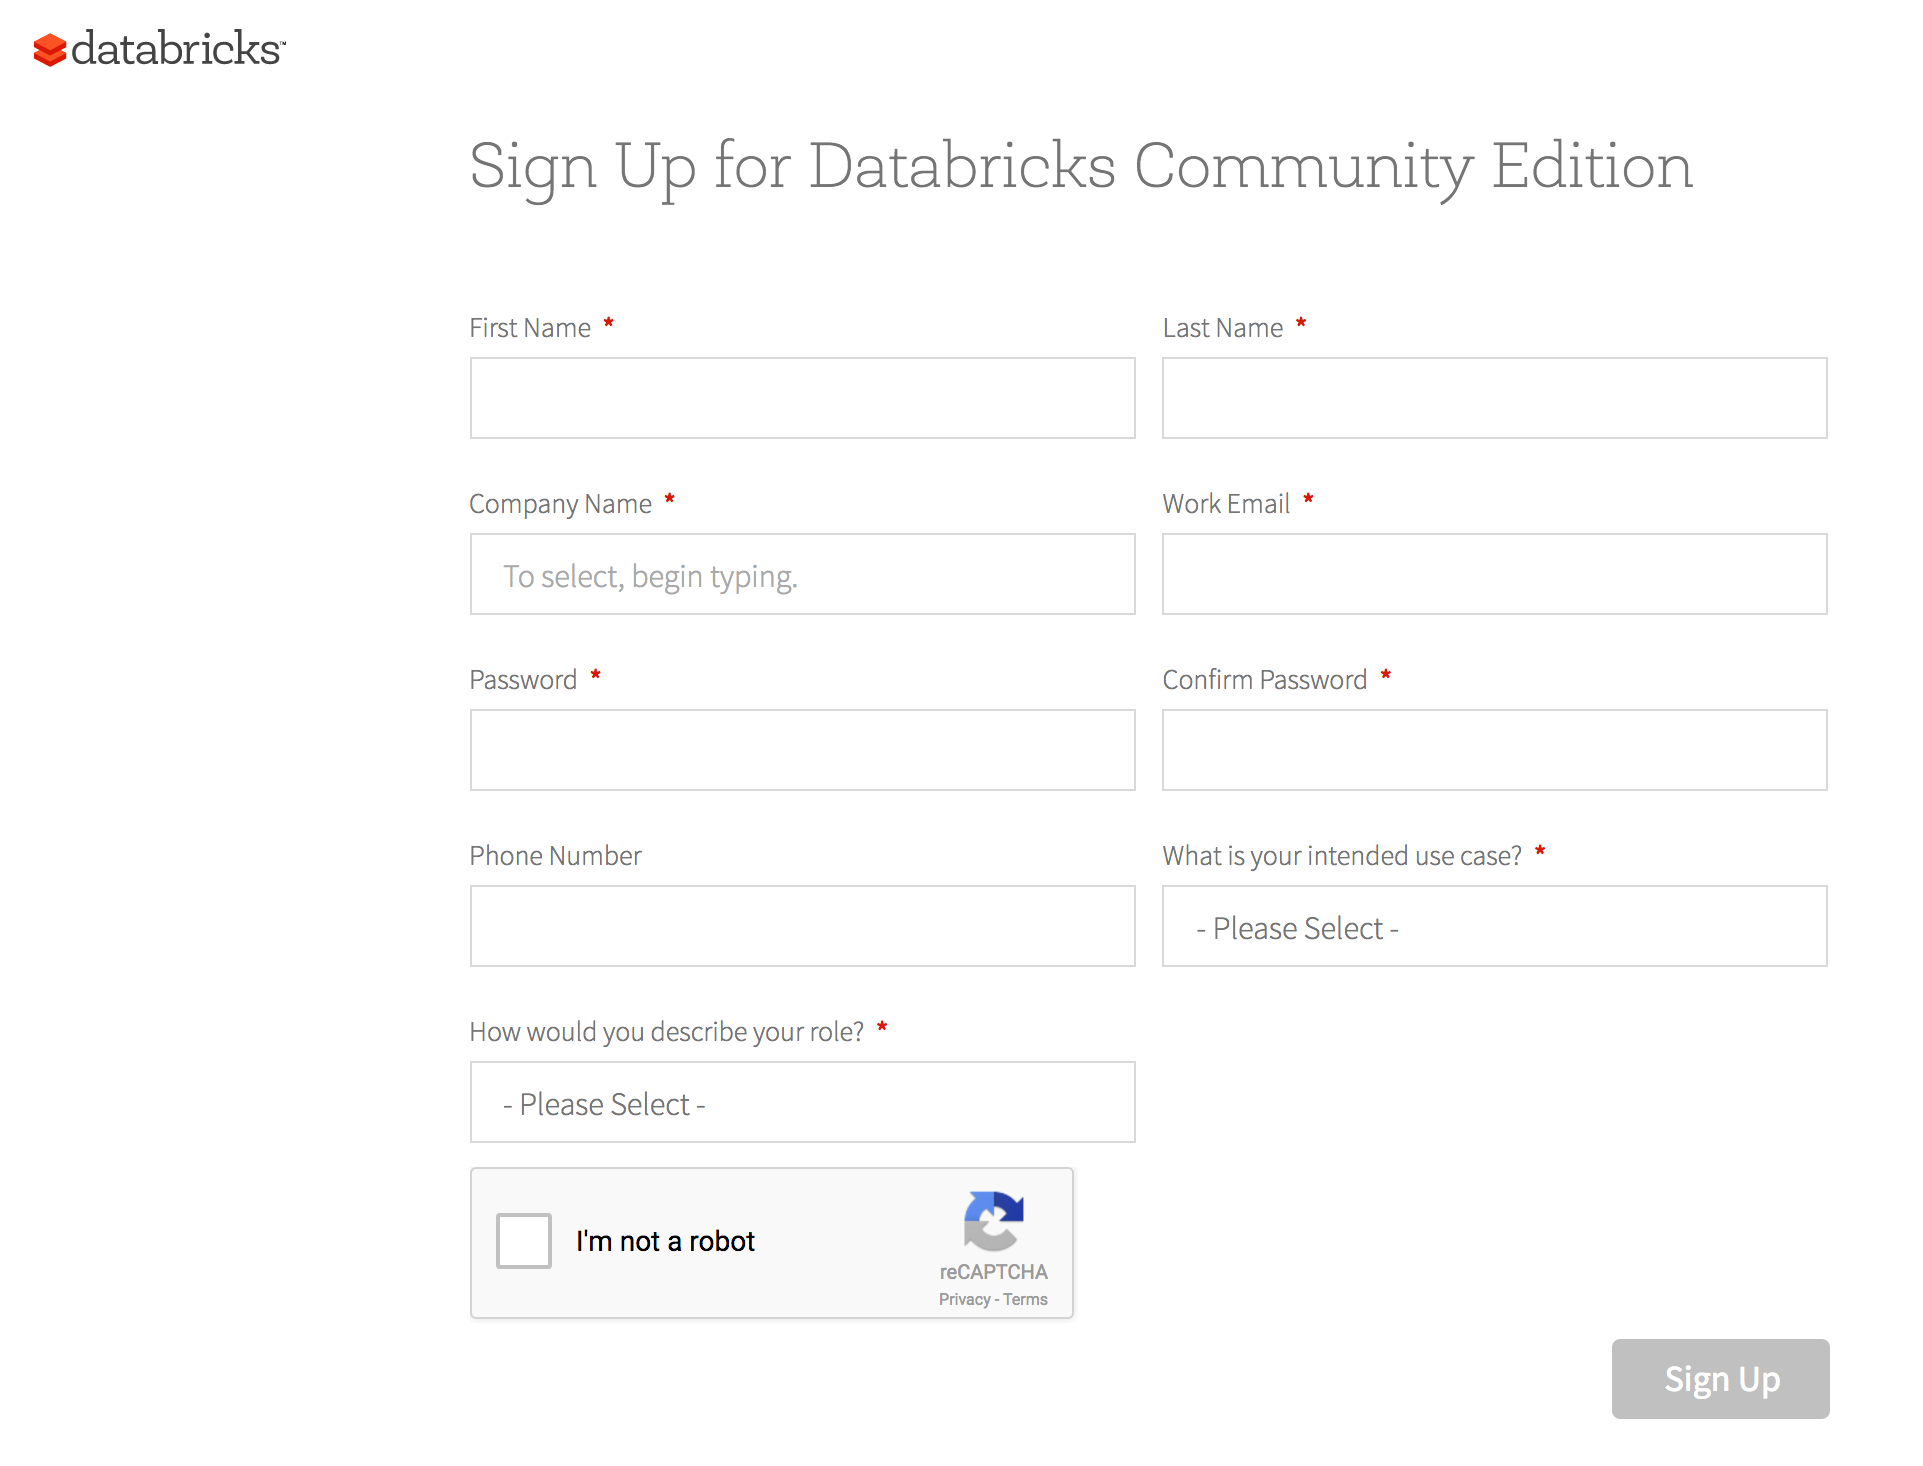
- Fill in the details and you'll be presented with a landing page, as follows:
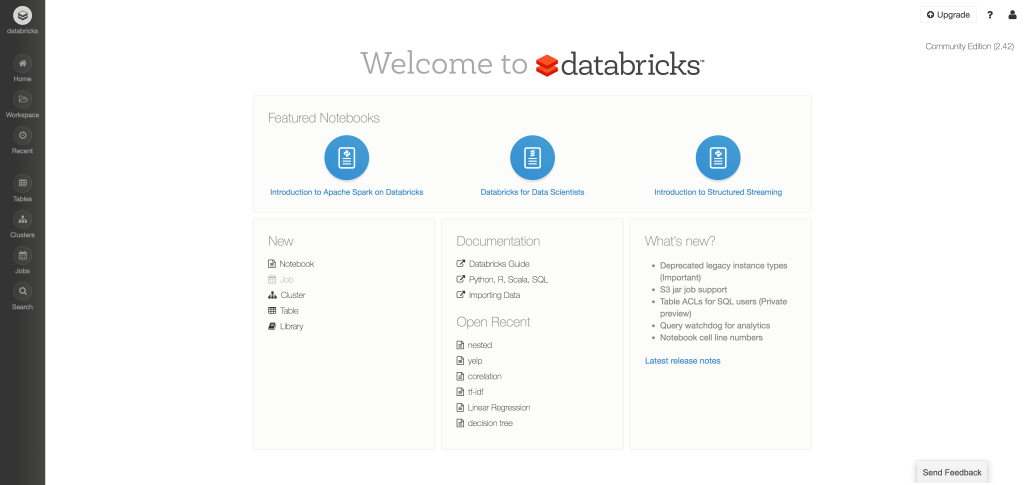
- Click on Clusters, then Create Cluster (showing community edition below it):
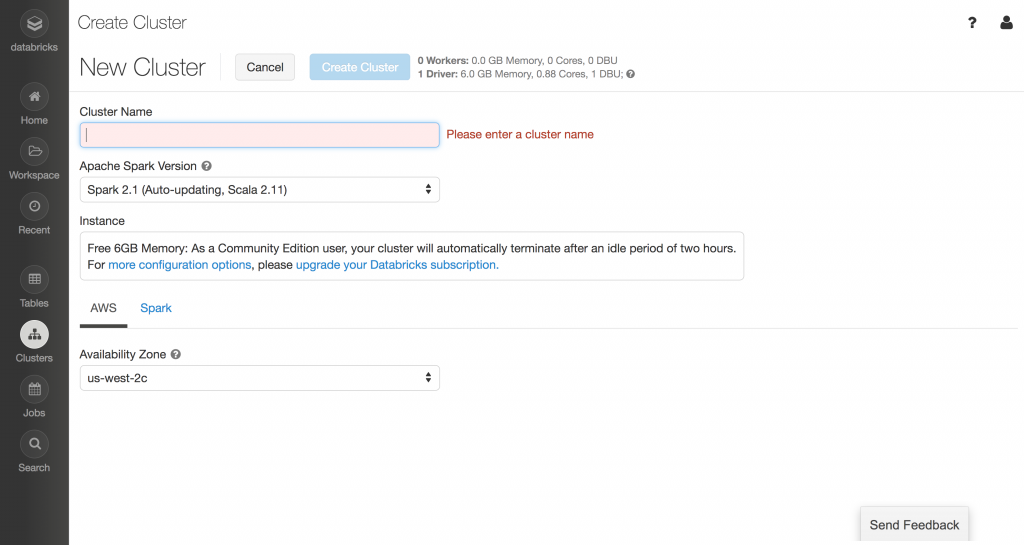
- Enter the cluster name, for example, myfirstcluster, and choose Availability Zone (more about AZs in the next recipe). Then click on Create Cluster:
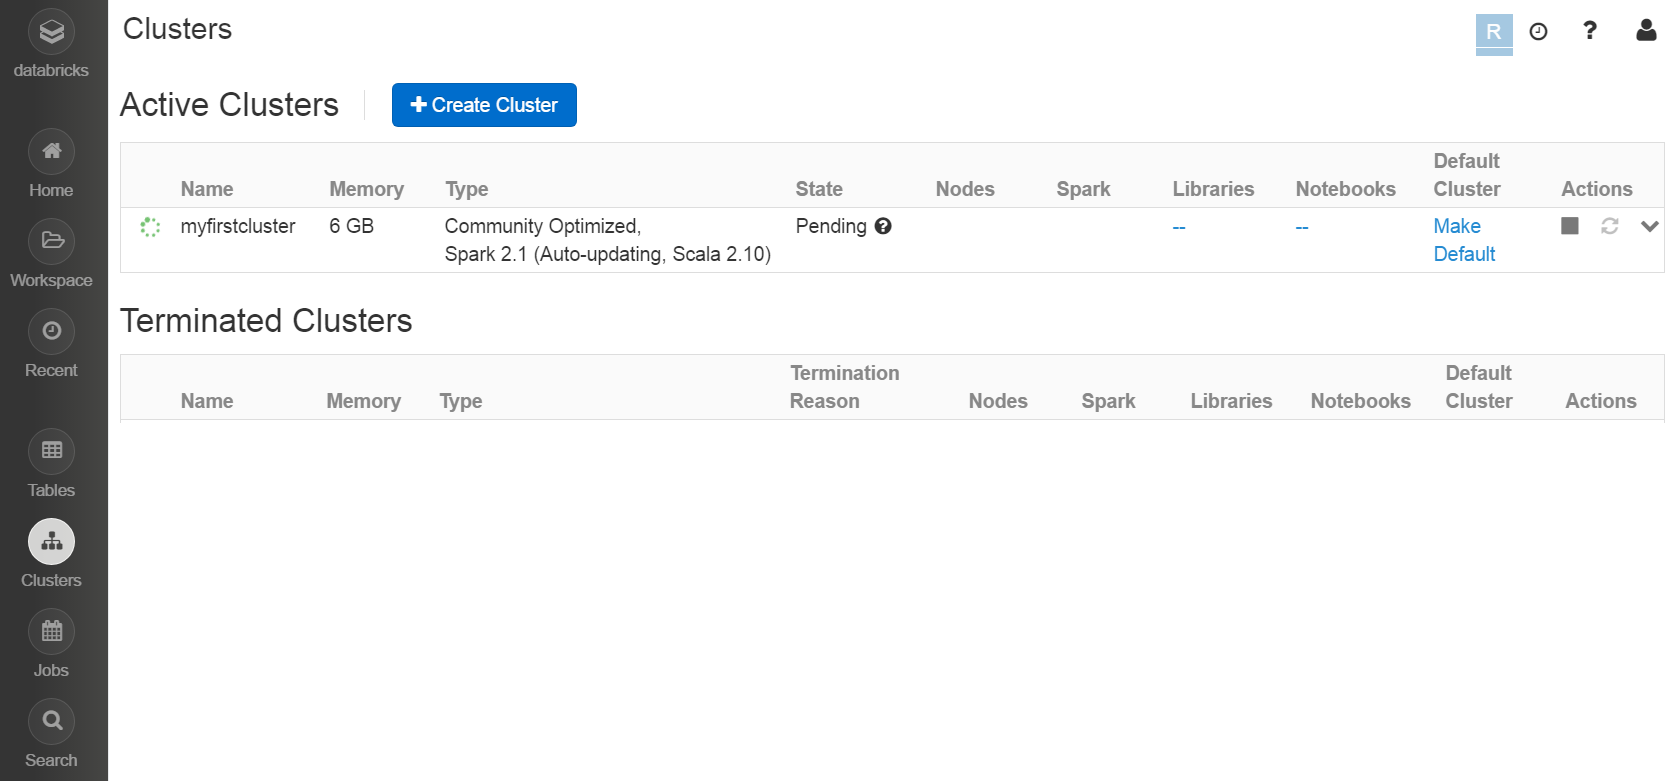
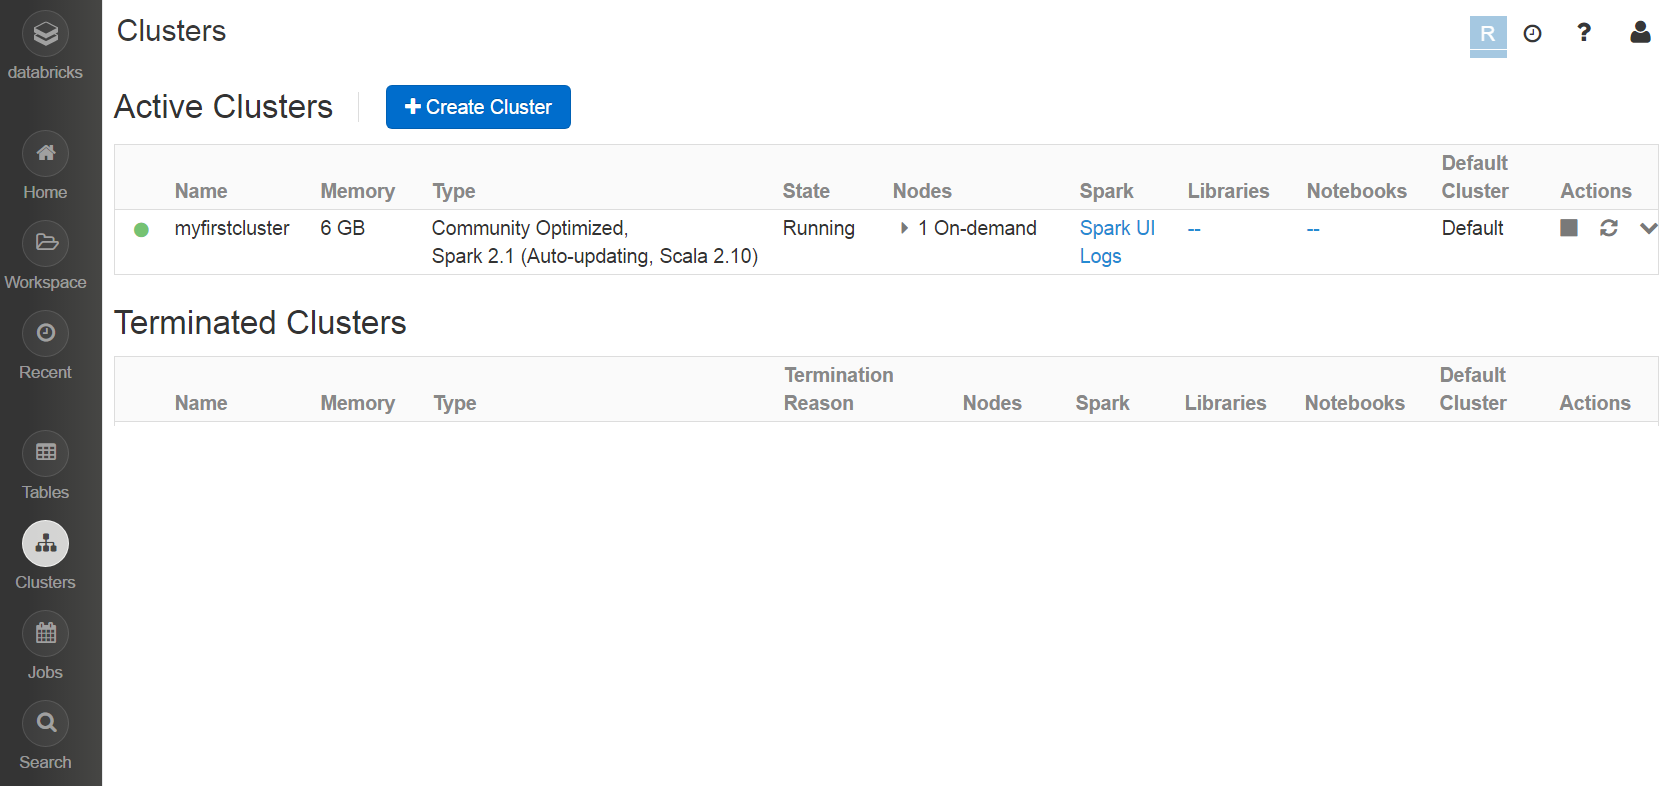
- Once the cluster is created, the blinking green signal will become solid green, as follows:
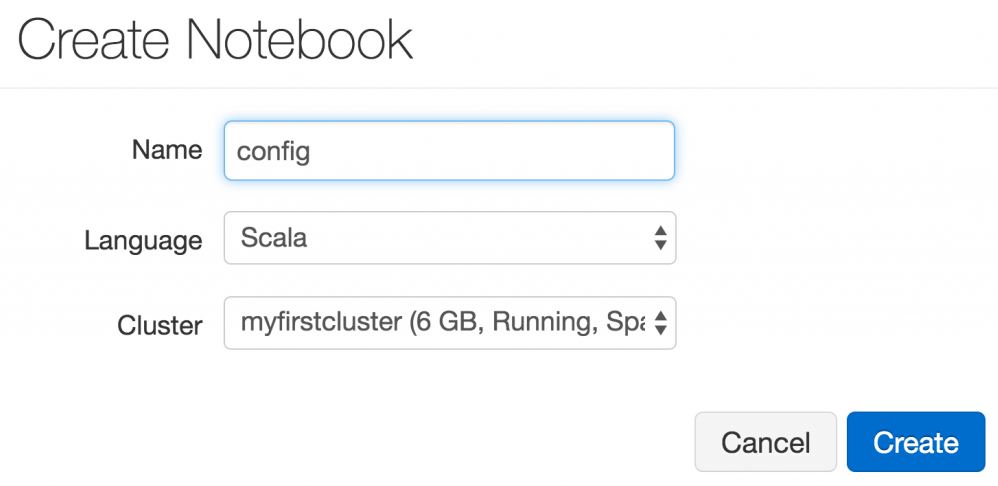
- Now go to Home and click on Notebook. Choose an appropriate notebook name, for example, config, and choose Scala as the language:
- Then set the AWS access parameters. There are two access parameters:
- ACCESS_KEY: This is referred to as fs.s3n.awsAccessKeyId in SparkContext's Hadoop configuration.
- SECRET_KEY: This is referred to as fs.s3n.awsSecretAccessKey in SparkContext's Hadoop configuration.
- Set ACCESS_KEY in the config notebook:
        sc.hadoopConfiguration.set("fs.s3n.awsAccessKeyId", "<replace
          with your key>")
- Set SECRET_KEY in the config notebook:
        sc.hadoopConfiguration.set("fs.s3n.awsSecretAccessKey","
          <replace with your secret key>")
- Load a folder from the sparkcookbook bucket (all of the data for the recipes in this book are available in this bucket:
        val yelpdata =
          spark.read.textFile("s3a://sparkcookbook/yelpdata")
- The problem with the previous approach was that if you were to publish your notebook, your keys would be visible. To avoid the use of this approach, use Databricks File System (DBFS).
- Set the access key in the Scala notebook:
val accessKey = "<your access key>"
- Set the secret key in the Scala notebook:
val secretKey = "<your secret key>".replace("/", "%2F")
- Set the bucket name in the Scala notebook:
val bucket = "sparkcookbook"
- Set the mount name in the Scala notebook:
val mount = "cookbook"
- Mount the bucket:
        dbutils.fs.mount(s"s3a://$accessKey:$secretKey@$bucket",
          s"/mnt/$mount")
- Display the contents of the bucket:
display(dbutils.fs.ls(s"/mnt/$mount"))
How it works...
Let's look at the key concepts in Databricks Cloud.
Cluster
The concept of clusters is self-evident. A cluster contains a master node and one or more slave nodes. These nodes are EC2 nodes, which we are going to learn more about in the next recipe.
Notebook
Notebook is the most powerful feature of Databricks Cloud. You can write your code in Scala/Python/R or a simple SQL notebook. These notebooks cover the whole 9 yards. You can use notebooks to write code like a programmer, use SQL like an analyst, or do visualization like a Business Intelligence (BI) expert.
Table
Tables enable Spark to run SQL queries.
Library
Library is the section where you upload the libraries you would like to attach to your notebooks. The beauty is that you do not have to upload libraries manually; you can simply provide the Maven parameters and it would find the library for you and attach it.


