SourceSafe Installation
The server installation is started by executing Setup.exe from the SourceSafe installation kit.
After loading the required components, the SourceSafe Setup displays the Start Page:
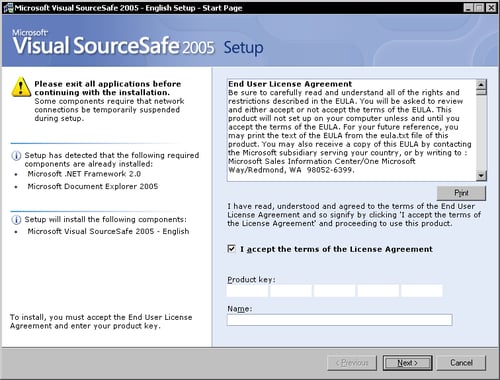
The Start Page asks for the product key, the user name, and the acceptance of the terms of the license agreement.
Note
Every individual installation of SourceSafe requires a separate license. You can reuse the same product key on multiple installations but you must have a license for every one in order to avoid violating the copyright law.
After accepting the license agreement and entering a product key click the Next button to advance to the Options Page:
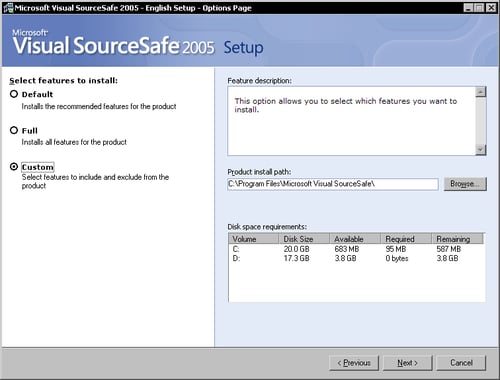
The Options Page lets you choose from the Default, Full, and Custom install options. To specifically select which components to install, choose the Custom option. Also you can leave the default installation path or set a custom installation path. Click Next to advance to the second Options Page:
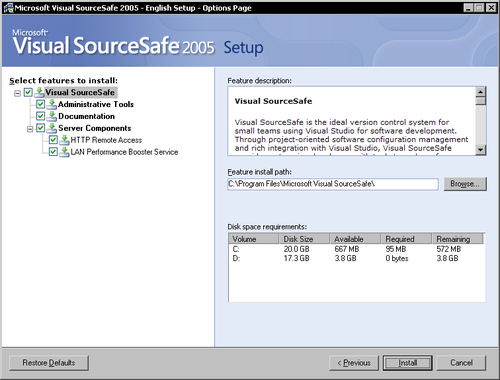
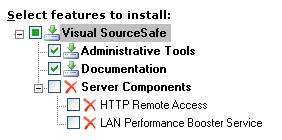
The second Options Page lets you choose the components you want to install.
Visual SourceSafe: Installs the client components such as Visual SourceSafe Explorer.
Administrative Tools: Installs the Visual SourceSafe Administrator and tools for database maintenance.
Documentation: Installs the Visual SourceSafe documentation.
Server Components: Installs the server components:
HTTP Remote Access: Installs the HTTP web service components.
LAN Performance Booster Service: Installs the LAN booster Windows service.
Server Configuration
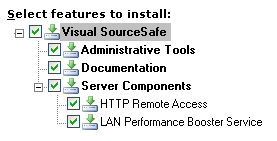
To install SourceSafe 2005 on the server machine, select all the components.
Client Configuration
To install SourceSafe 2005 on the client machines, select only the client components. In the Options Page uncheck the Server Components section.
Finishing the Installation
After choosing the components to install, click Install to advance to the Install Page and finish the installation. After all components are installed, the Setup displays the Finish Page.
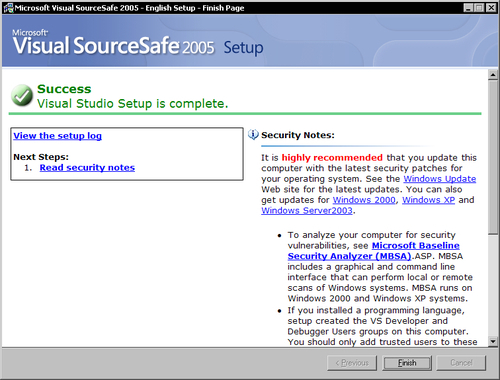
Click Finish to close the setup. .


