Before diving further into Azure VMs and their concerns with Azure Storage, let's create an Azure VM:
- Open the Azure portal and navigate to Virtual machines, as shown in the following screenshot:
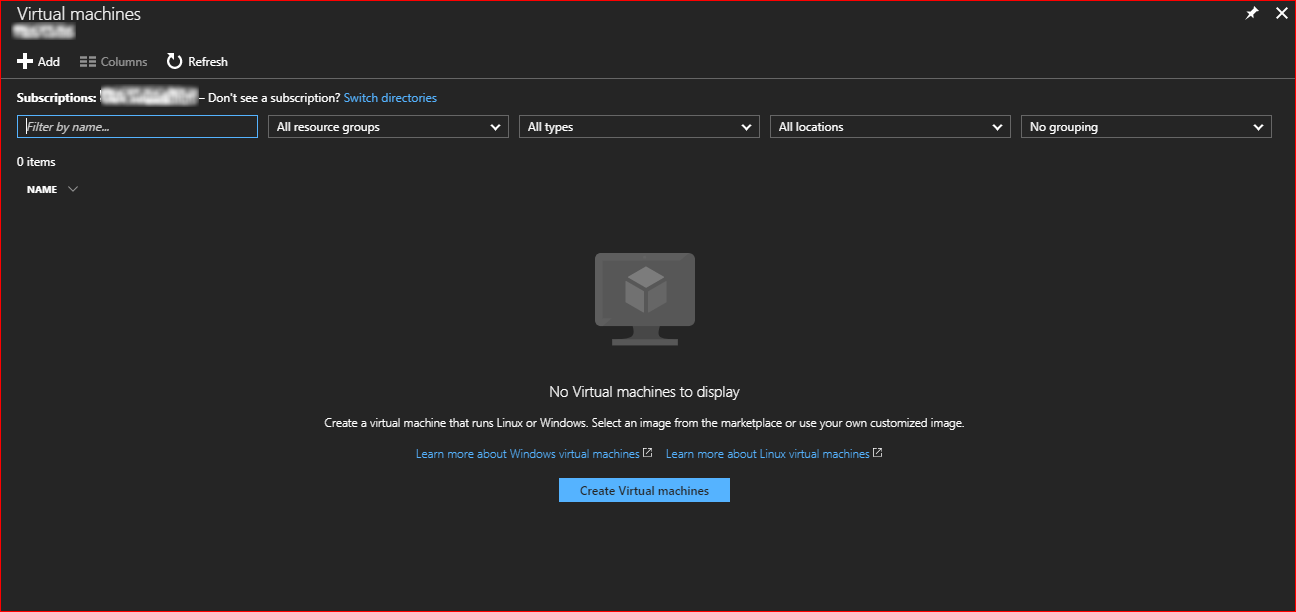
Figure 3.1: Azure VMs blade overview
- Click on Create Virtual Machines to select an OS image for the VM.
- For the sake of this demonstration, I'll select Windows Server 2016 Datacenter, as shown in the following screenshot:
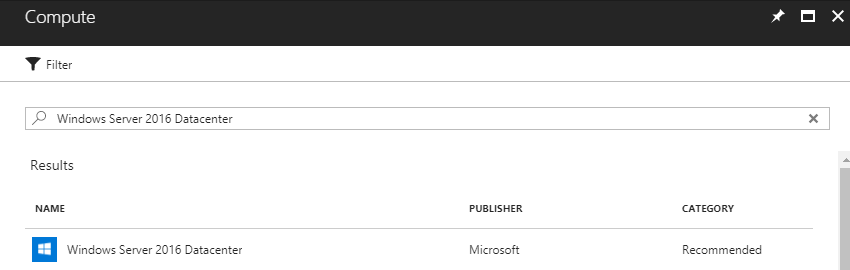
Figure 3.2: Selecting the image that is going to be used on the VM
- Once you click on the image, you will be asked to determine the deployment model, as shown in the following screenshot:
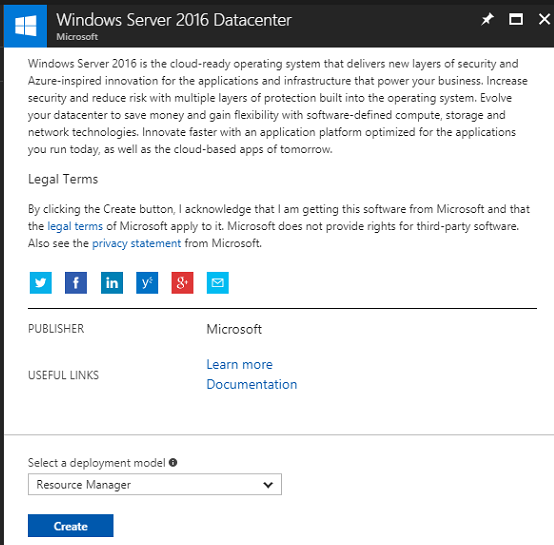
Figure 3.3: Selecting the VM deployment model
- Once you specify the deployment model, a new blade will pop up, and you will be asked to fill in the fields, as shown in the following screenshot:
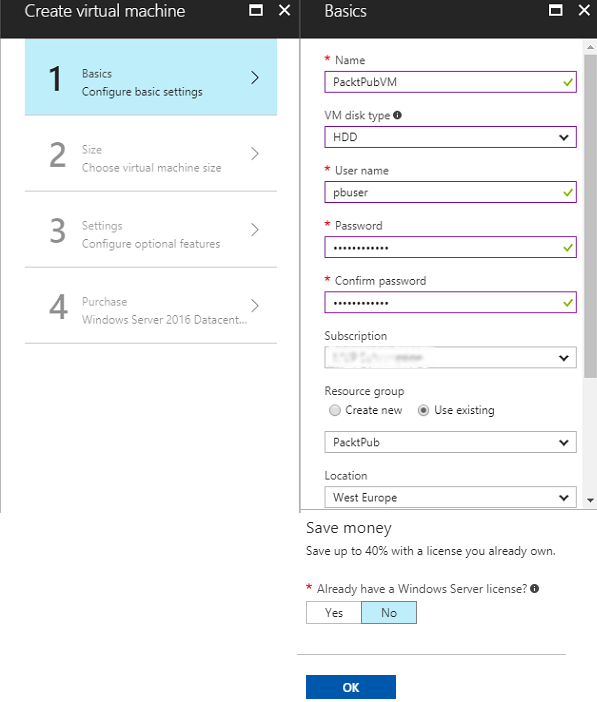
Figure 3.4: Filling in Azure VM basic...