Installing the WordPress chart
Installing a Helm chart is a simple process that can begin with the inspection of a chart's values. In the next section, we will inspect the values that are available on the WordPress chart and describe how to create a file that allows customizing the installation. Finally, we will install the chart and access the WordPress application.
Creating a values file for configuration
You can override the values defined in charts by providing a YAML-formatted values file. In order to properly create a values file, you need to inspect the supported values that the chart provides. This can be done by running the helm show values command, as explained earlier.
Run the following command to inspect the WordPress chart's values:
$ helm show values bitnami/wordpress --version 8.1.0
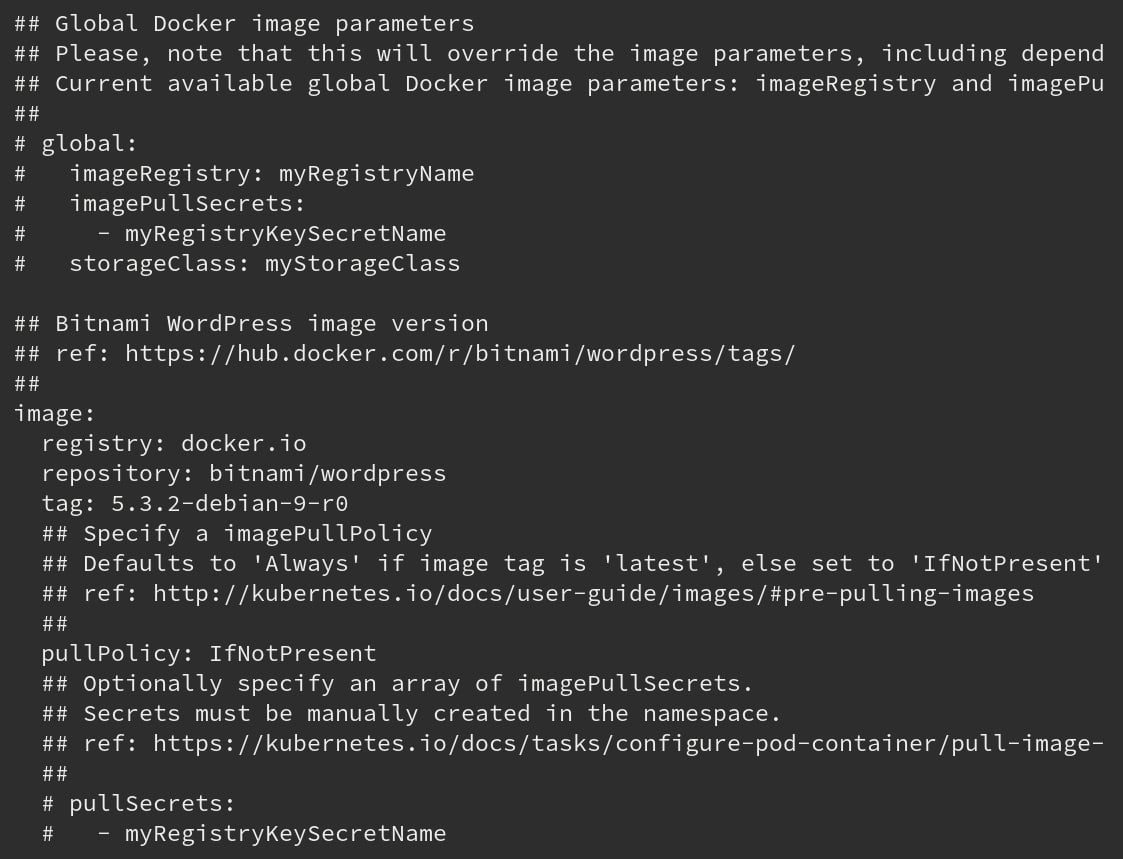
The result of this command should be a long list of possible values that you can set, many of which already have default values set:

Figure...


